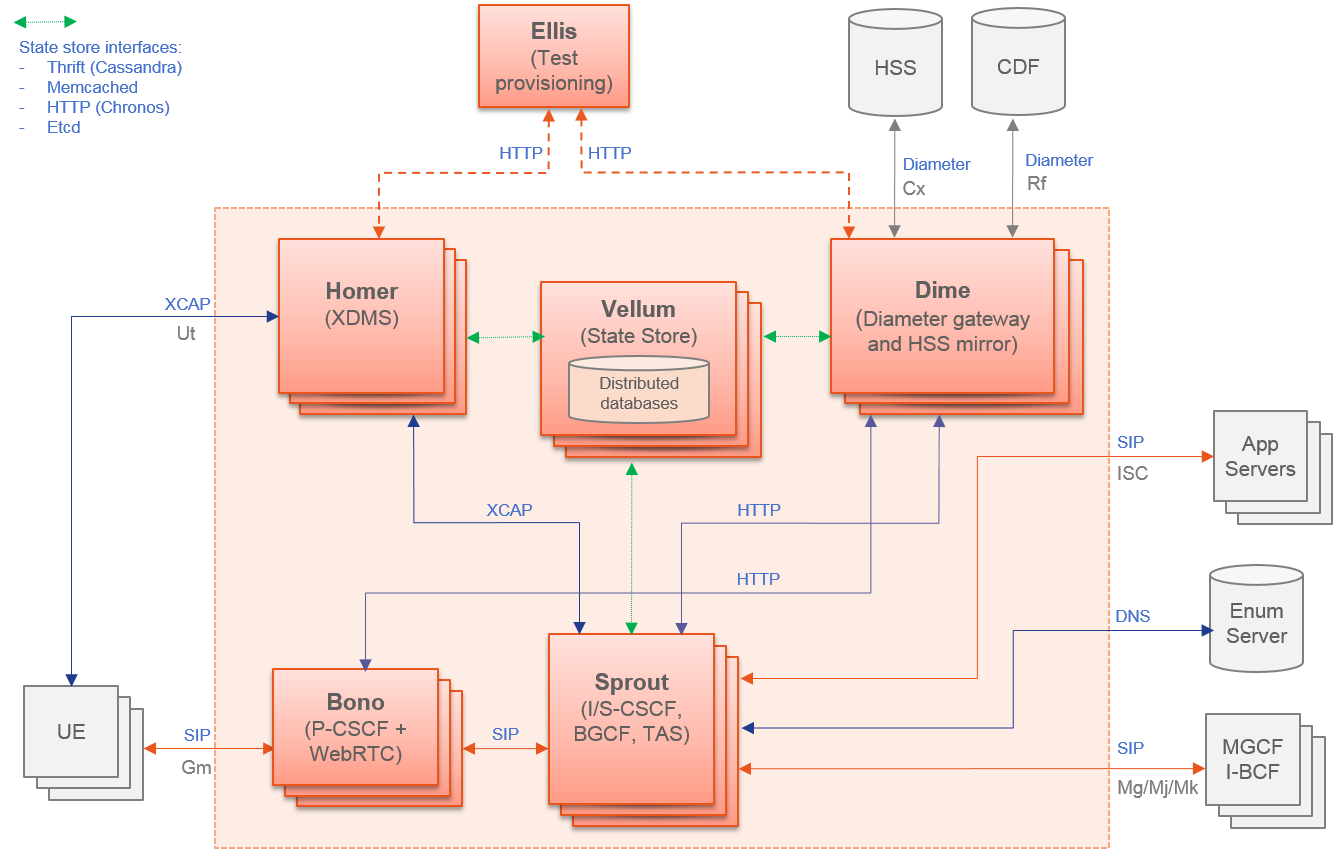
Metaswitch has an open sourced vIMS solution known as Clearwater that is a useful demonstration of features in ONAP for onboarding new VNFs.
The team at Metaswitch has created ONAP compliant HEAT templates and we would like to thank Metaswitch for providing them for use both in this tutorial and for people that would like to spin up Clearwater vIMS in their environments.
Its a fairly complex VNF with 7 server types with each server having a primary and secondary pair. This tutorial will show the steps for onboarding and instantiating the vIMS VNF onto ONAP. It will also show how to use the Clearwater test suite to confirm the installation. No customizations have been done so its not a production ready installation but an example of the steps to onboard and instantiate a more complex VNF.
The HEAT templates used for this tutorital have not be optimized for closed loop control etc since all interfaces on the virtual machines are on the public IP side. Over time we will likely modify the HEAT template to add an internal ONAP OA&M LAN and add a tutorial to show closed loop control with DCAE, Policy, APPC to perhaps restart one of the servers.
For more details on the Clearwater vIMS consult http://clearwater.readthedocs.io
An example HEAT template plus manifest zip file for uploading to SDC is in Metaswitch's github (https://github.com/Metaswitch/clearwater-onap) .
You will need to modify the nested yaml files.
Unzip the file and change the lines that refernence "server" to be the component name "_server" in two places.
So for bono.yaml change sever to bono_sever in both the resource and in the output.
bono.yaml: bono_server:
bono.yaml: value: { get_attr: [ bono_server, accessIPv4 ] }
dns.yaml: dns_server:
dns.yaml: value: { get_attr: [ dns_server, accessIPv4 ] }
ellis.yaml: ellis_server:
ellis.yaml: value: { get_attr: [ ellis_server, accessIPv4 ] }
homer.yaml: homer_server:
homer.yaml: value: { get_attr: [ homer_server, accessIPv4 ] }
homestead.yaml: homestead_server:
homestead.yaml: value: { get_attr: [ homestead_server, accessIPv4 ] }
ralf.yaml: ralf_server:
ralf.yaml: value: { get_attr: [ ralf_server, accessIPv4 ] }
sprout.yaml: sprout_server:
sprout.yaml: value: { get_attr: [ sprout_server, accessIPv4 ] }
Also remove COPYING from the zip file since that isnt in the manifest.json.
Recreate the zip with a command like: zip clearwater.20180606.zip *
High Level Steps
- SDC: Onboard the infrastructure service (using SDC portal)
- AAI : Create cloud account (using AAI API)
- VID : start to Instantiate the VNF (using VID portal)
- SDNC : declare VNF Profile (using SDNC admin portal) and preload VNF data (using SDNC API)
- VID : finalize VNF instanciation (usind VID portal)
- Install and run clearwater automated test suite
- VID: Delete VNF instance
The reader should be familiar with the Installing and Running the ONAP Demos since the flow is the same but we will use vIMS artifacts.
SDC: Onboard the infrastructure service
Reference: Tutorial: Onboarding and Distributing a Vendor Software Product (VSP)
- Login to the Portal with the service designer account (cs0008)
- Select the SDC Application from the portal home
- Re-use an existing Licence (TBD to do vIMS specific license)
- Select ONBOARD from the top menu
- Hover over the Add button and select "New Vendor Software Product"
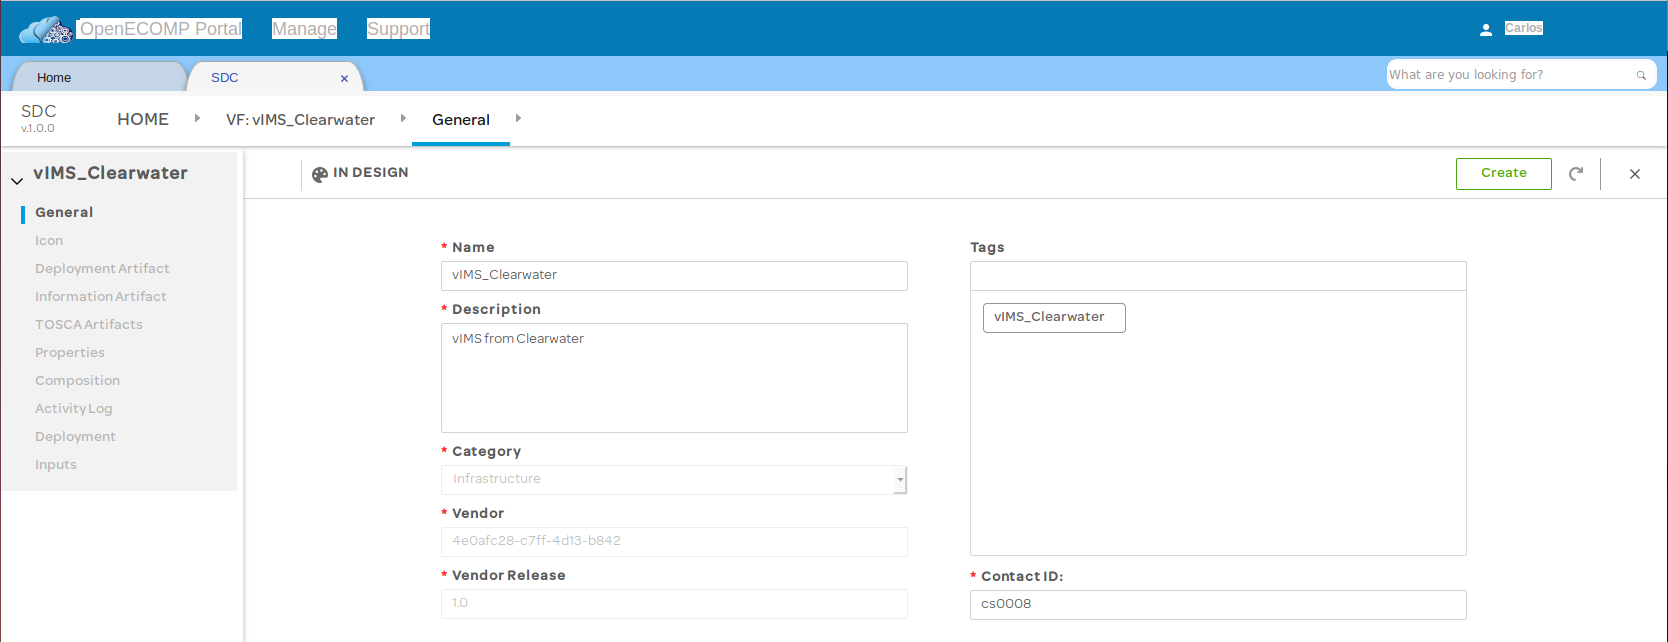
- Fill in the diaglog box as below.
- Name: vIMS_Clearwater
- Vendor: Select from list based on license being used
- Category: Infrastructure (Generic)
- Description: vIMS from Clearwater

- Click SAVE
- Select the yellow icon under the License Agreement

- Select the License Information (Feature Group appears after you pick a License Agreement)
- License Version: 1.0
- License Agreement: select from list
- Feature Group: Select from list
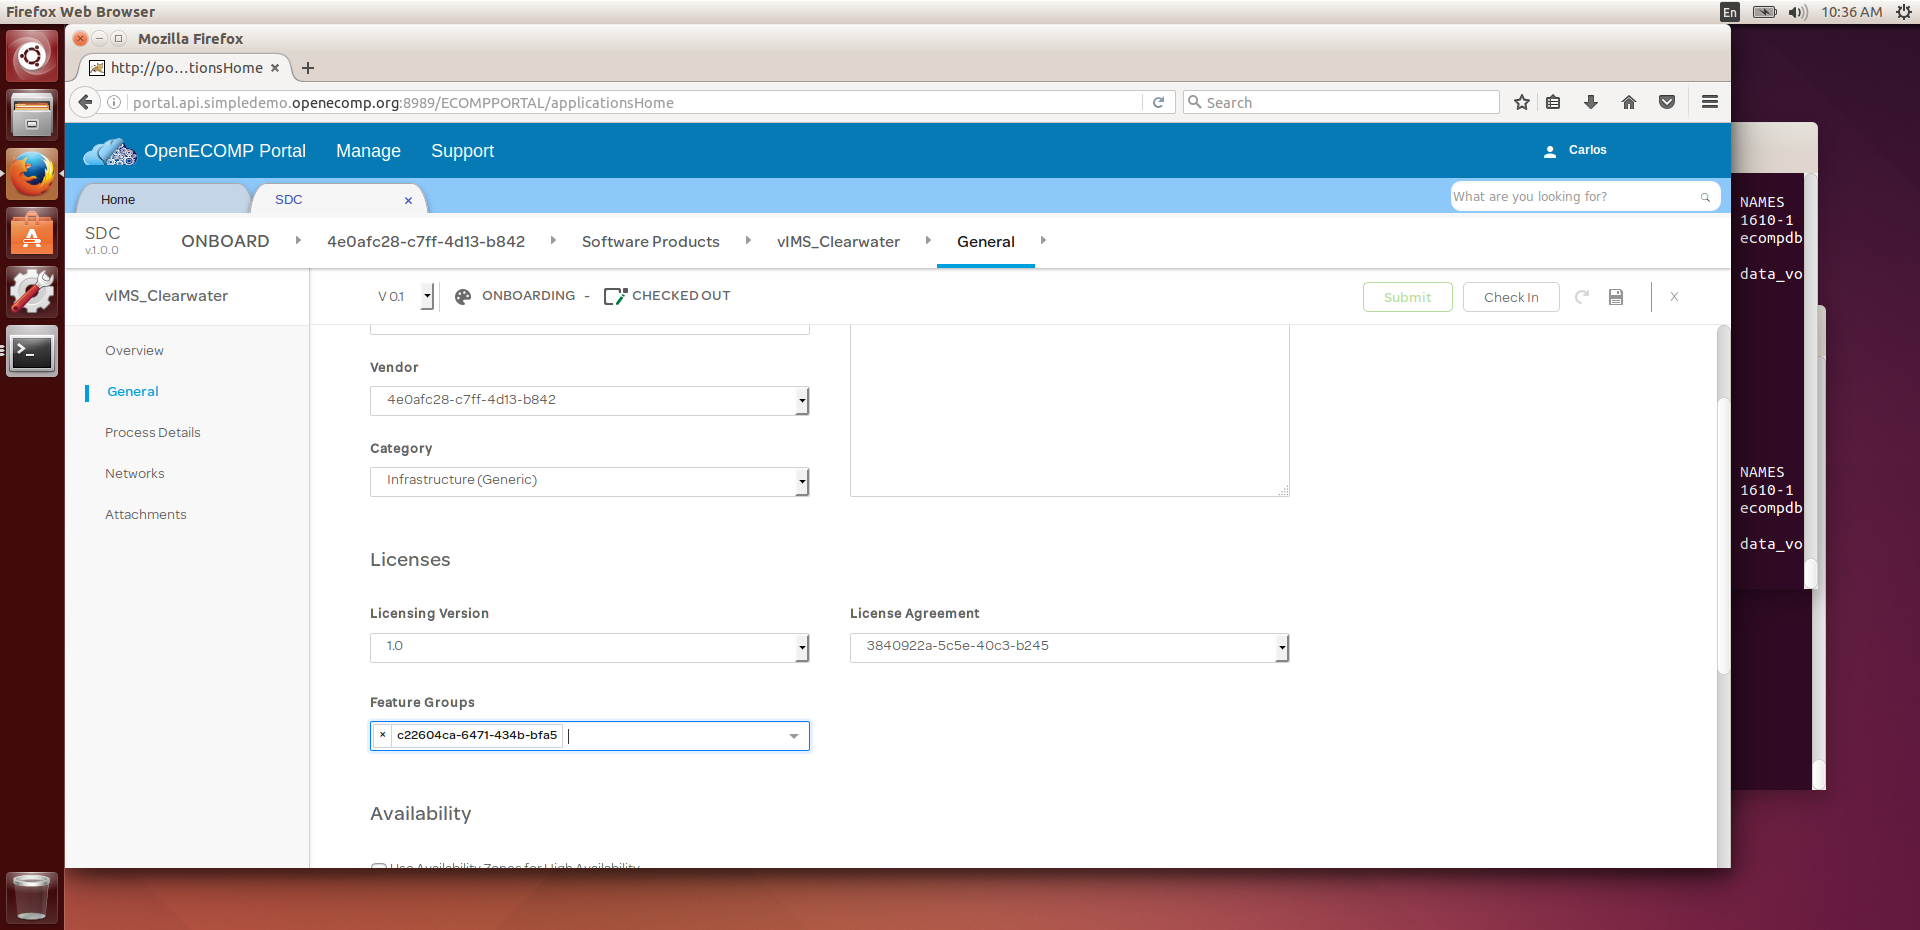
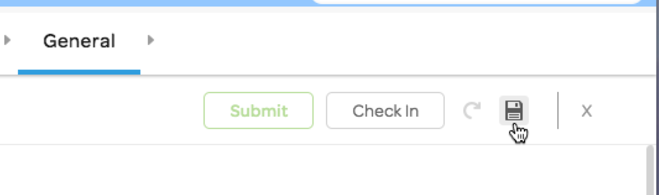
- Save by clicking on the disk icon on the upper right hand side
- Create ZIP file to your desktop
- From the zip file or files from https://github.com/Metaswitch/clearwater-onap with the modifications to the yaml files described above.
- From the zip file or files from https://github.com/Metaswitch/clearwater-onap with the modifications to the yaml files described above.
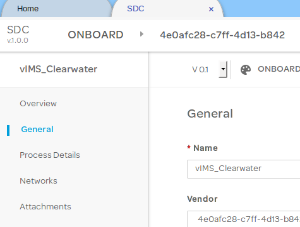
- Select the "Overview" menu item on the left hand side
- Click on the "Select file" box to upload

- Select the ZIP file for the Clearwater VNF from your desktop
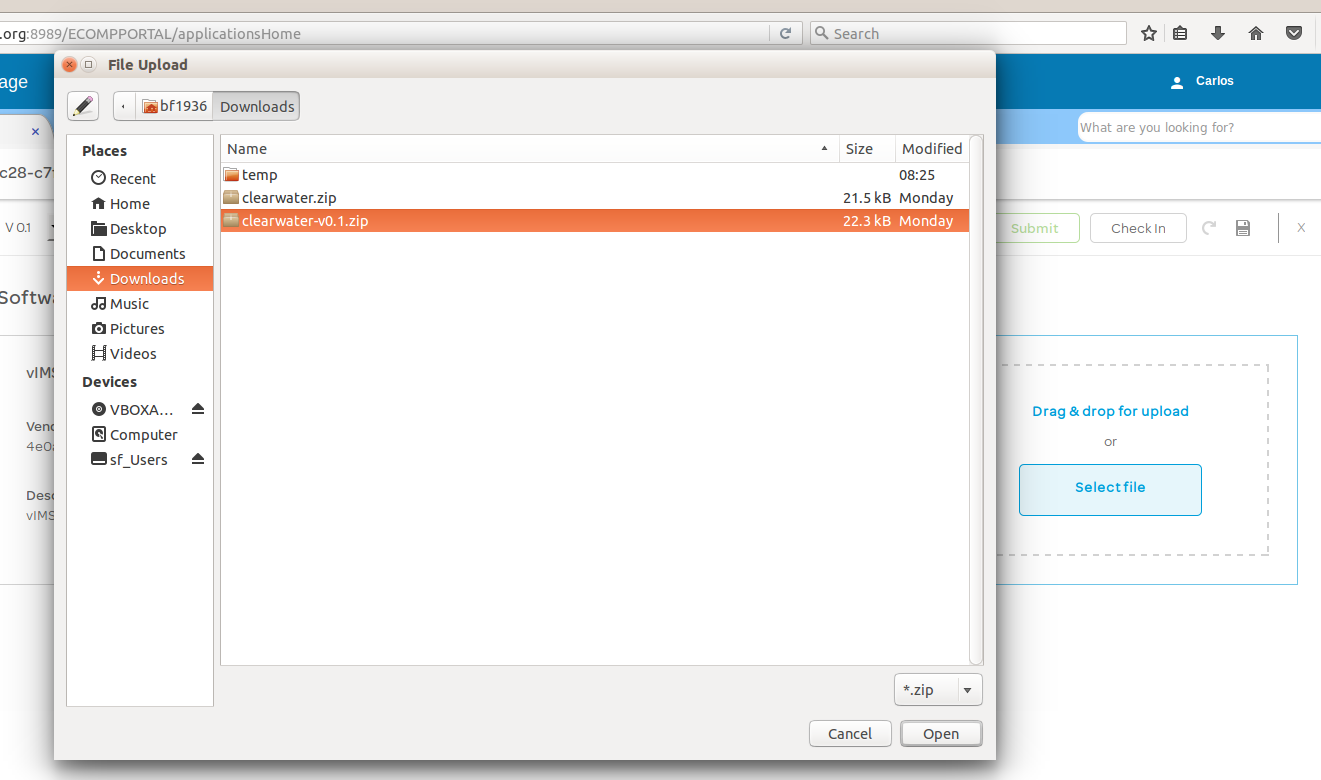
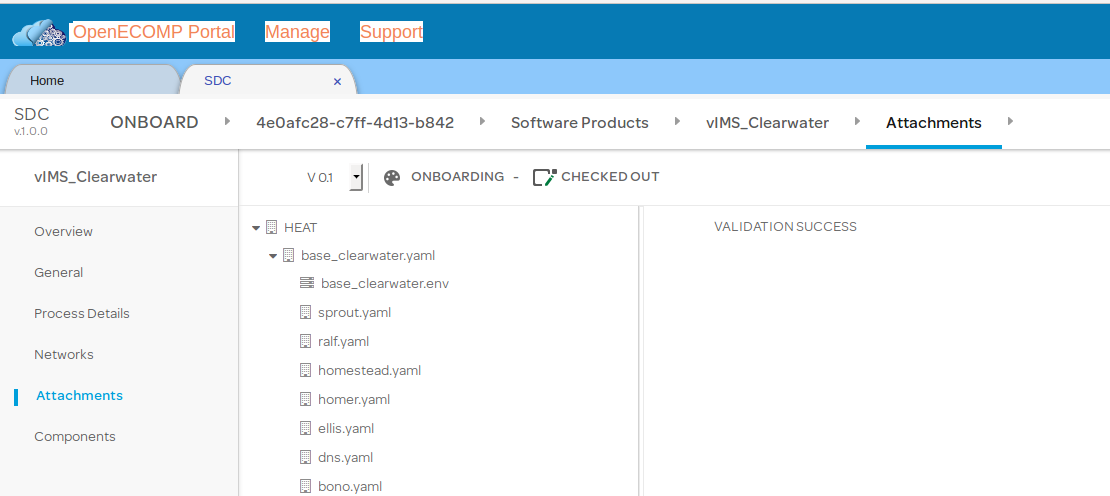
- SDC will analyze the ZIP file and display the heat templates with validation status
- Click on Check In to save your work (and this makes the Submit button active)
- Click on Submit (you should get a dialog box saying it succeeded)
- Next, we need to return to the SDC home screen to create a new virtual function (VF) based on the virtual software product (VSP) we just created.
- Hover over the arrow to the right of "Onboard" in the bread crumb trail; a menu will appear. Select "Home".
- Click on the "Vendor Software Product Repository" icon in the upper right corner of the SDC "Home" screen.

- In the dialog box that pops up use the Search box to filter for vIMS

- Select the vIMS_Clearwater and click on the arrow to display the VSP Description row
- Select the "Import VSF" icon on the right side (its the left one with the up arrow)
- Select "Create" on the upper right hand corner to create the VSF which may take some time
- It should display success and now we can use the left hand menu items
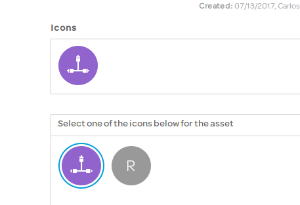
- Select ICON and then click on a desired ICON (I picked the purple one)
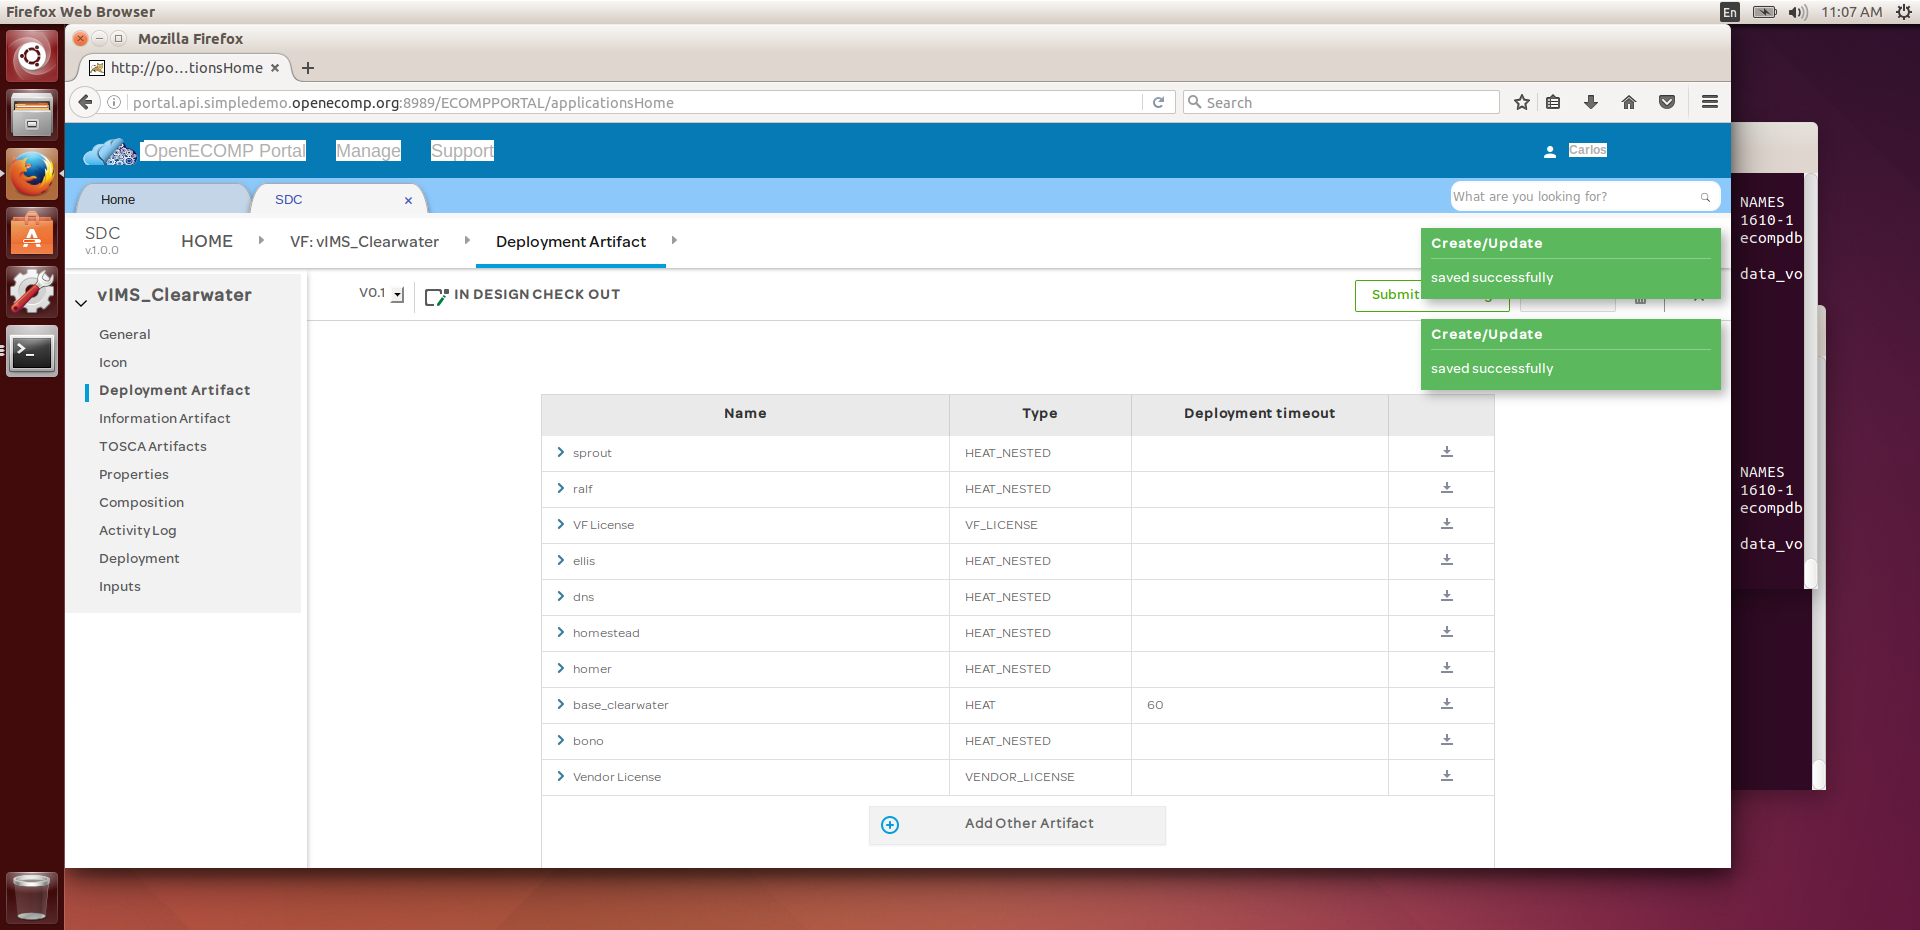
- Click on "Deployment Artifact" to generate/update and display the deployment configurations.
- The "Information Artifact" page can be used to attach a variety of different data and metadata to the VF.
- We dont need to do anything on this page - just click on the menu item
- The "TOSCA Artifacts" page shows the TOSCA orchestration information generated by SDC from the VF's specifications.
- We dont need to do anything on this page - just click on the menu item
- Data properties can be added to the VF on the "Properties" page.
- We dont need to do anything on this page - just click on the menu item
- Clicking on left pane "Composition" under "Properties" takes us into the actual Design Studio, where a graphical representation of our underlying VSP is shown on the canvas. To return to the VF specification, click on "VF: vIMS_Clearwater" in the bread crumbs above the canvas.
- Note that there is no internal networking in the current heat template so the servers dont seem to be connected.
- They are all on the internet and that connection is not shown

- The "Activity Log" page tracks all changes to the VF.
- We dont need to do anything on this page - just click on the menu item
- The "Deployment" page shows the resources related to the deployment of the VF, and a variety of information can be inspected from here.
- We dont need to do anything on this page - just click on the menu item
- We dont need to do anything on this page - just click on the menu item
- Finally, the "Inputs" page show the parameters used to set up the VF. Details can be viewed by clicking on the various disclosure arrows.
- We dont need to do anything on this page - just click on the menu item
- We dont need to do anything on this page - just click on the menu item
- At this point, our new VF needs to be submitted for testing as part of the ONAP workflow. Do not check in the VF at this point, simply click on "Submit For Testing".
- A form will appear, prompting you for a message to the test team. Enter one and click "Save".
- You will be returned to the SDC Home screen, where our VF now shows as being "Ready for testing". You may need to filter for vIMS if there are a lot of robot test runs on your home page.

- Test the Virtual Function (VF)
- Logout and Login as the tester account (jm0007)
- Select SDC application
- Select the vIMS icon
- Click on Start Testing
- Click on Accept
- Fill in the message to the designer with some text
- Logout and Login as the service designer (cs0008) and go back to SDC application
- Filter for vIMS if you need to and see the vIMS is certified

- Hover over the "Add" panel, and click the "Add Service" button when it appears.
- Fill in the parameters
- Name: vIMS_Clearwater_Service
- Description: vIMS_Clearwater_Service
- Category: Mobility
- you could select voip call control as the other pertinent choice
- Project Code: 11111
- this is a text only attribute that is used for tracking what project owned a VNF/Service. Its not used by ONAP.
- Click Create

- As when we created our virtual function, the sidebar links were greyed; now that the service has been created, they're active. Click on the icon link, and select an icon for the service.
- Next, click on "Composition". This is the step at which we actually "design" the service we'll be distributing. Initially, the "Composition" page shows an empty canvas and a couple of default network elements. Enter IMS in the search window .
- Now we can see our vIMS VF in the sidebar. Drag the VF out of the sidebar and drop it onto the canvas.

- You have now created a new service consisting of the single virtual function. Before it can be distributed for use, though, the service must be tested and approved. Click "Submit for testing" and enter a message in the dialog which appears. Click "Save".
- You'll be returned to the SDC Home screen, and an alert showing that the new service has been successfully submitted for testing will appear. Note that both our virtual function and our new service now appear on the SDC Home screen; the service shows "v0.1" and a status of "Ready for testing".
- jm008: This completes our Designer's involvement in the workflow, and the service now goes to the Tester for testing and approval. Log out and log back in as
jm0007. Click on "SDC" to access the SDC Home page. Note that it's once again no longer empty: the "tutorial service" artifact has been added to our workflow.- select vIMS icon
- Submit for Testing
- Accept
- Enter message
- Log out
- gv001: Log in as
gv0001.- Access the SDC Home page,
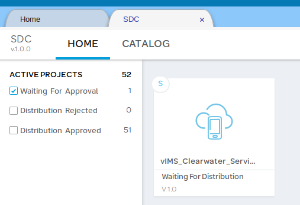
- Click on "waiting for approval"
- The now tested and accepted service appears with version "1.0" and the status "Waiting for distribution".
- Click on the service artifact to access its details and then click the "Approve" button above the form
- Enter text for the message
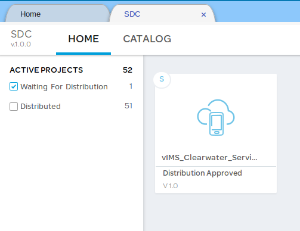
- op0001: The Governor's part in the workflow is now complete, and it only remains for a user in the "Ops" role to actually distribute the service. Log out, and log in again as
op0001. Access the SDC Home page, which now shows the "tutorial service" with a status of "Distribution Approved".- select the vIMS Service
- click on Distribute
- Enter text

- Click on Monitor to see that artifacts are distributed correctly (use refresh button inside the app next to the application search box not in the browser)

- The model is now ready for use by VID to instantiation but we need to setup the rest of the environment
10 Comments
Brian Freeman
Thanks to ChengLi for providing the HEAT templates and preload json data that made this tutorial possible.
Brian Freeman
Thanks to Mike Evans at Metaswitch and the team at Metaswitch for creating the HEAT templates originally and continuing to help on the knowledge sharing for creating HEAT and the onboarding process.
Brian Freeman
Mike, you indicated you have updated heat template (ver 0.5) - that would be awesome to try in my environment and to update the tutorial with the new networking etc.
Stephen Moffitt
Brian Freeman , can you tell me what version of ONAP was used for this tutorial please? I am trying to use 1.1.0 but I keep hitting issues and when I redeploy a component, I typically get a new set of issues. TIA.
Brian Freeman
Stephen,
I used 1.0.0.
Prakash Ramchandran
+---------------------+--------------------------------------+
| Field | Value |
+---------------------+--------------------------------------+
| id | cdf68848-4e03-4dc8-b100-6a76e213f1e4 |
| stack_name | vIMS |
| description | Clearwater deployment |
| | |
| creation_time | 2017-08-18T04:38:17Z |
| updated_time | None |
| stack_status | CREATE_IN_PROGRESS |
| stack_status_reason | Stack CREATE started |
+---------------------+--------------------------------------+
Using simply Devstack and Heat I am able to run the clearwater.yaml template using cli command, however once got over quota settings from security group , found a bunch of zone references to examples.com starting dns.yaml to all modules including clearwater.yaml. Since you have running tutorial I wonder what did you do to replace all that example.com, Can some point to me any potential refrence or your handling of it in the tutorial if any.
I tried 1. using localhost, 127.0.0.1, server-04.rackspace.com, some local dhcp network daemon at 10.0.0.2, actual dns entry in a DNS provider entry. Finally tried a local bind server with local db.local zone. None could resolve the issue of DNS. How did you solve this issue. Sure I will go through the tutorial but any pointer is welcome...I am using OpenStack Ocata with Heat and Ceph backend.on a rackspace server.
René ROBERT
Warning : the content of clearwater-v0.1.zip does not match with the Clearwater architecture that is displayed at the top of this page : no "vellum", no "dime" in the zip file.
Kedar Ambekar
Brian Freeman : Thanks for this detailed tutorial. May I check with you if below functionality is available to try using heat templates available in Gerrit ?
"Over time we will likely modify the HEAT template to add an internal ONAP OA&M LAN and add a tutorial to show closed loop control with DCAE, Policy, APPC to perhaps restart one of the servers"
Kedar Ambekar
This is more like a ClearWater query than ONAP -
When I run test suite, all tests fail with error -
RuntimeError thrown:
- Account creation failed with HTTP code 502, body {"status": 502, "message": "Bad Gateway", "reason": "Upstream request failed", "de
tail": {"Upstream error": "599", "Upstream URL": "None"}, "error": true}
In bono, see logs - UTC Error sip_connection_pool.cpp:190: Failed to resolve icscf. to an IP address - Not found (PJ_ENOTFOUND)
UTC Warning dnscachedresolver.cpp:828: Failed to retrieve record for icscf.: Domain name not fo
und
One observation is domain parameter to bono process seems to be not set-
[bono]ubuntu@0:/etc/clearwater$ ps -ef |grep bono
bono 6897 1 0 05:06 ? 00:00:11 /usr/share/clearwater/bin/bono --domain= --localhost=10.0.0.28,0.bono.me.cw-ngv.com --al
ias=10.0.0.28,0.bono.me.cw-ngv.com, --pcscf=5060,5058 --webrtc-port=5062 --routing-proxy=icscf.,5052,50,600 --sas=0.0.0.0,bono@0.bono.me
.cw-ngv.com --dns-server=127.0.0.1 --worker-threads=2 --analytics=/var/log/bono --log-file=/var/log/bono --log-level=2 --daemon --pidfil
e=/var/run/bono/bono.pid
Appreciate any input from MetaSwitch team !
Arik Yakir
For me, In "Amsterdam", SDC fails in validation- error "resource with id server occurs more than once in different addOn files"
and no submission is possible.
in previous (1707) it was fine