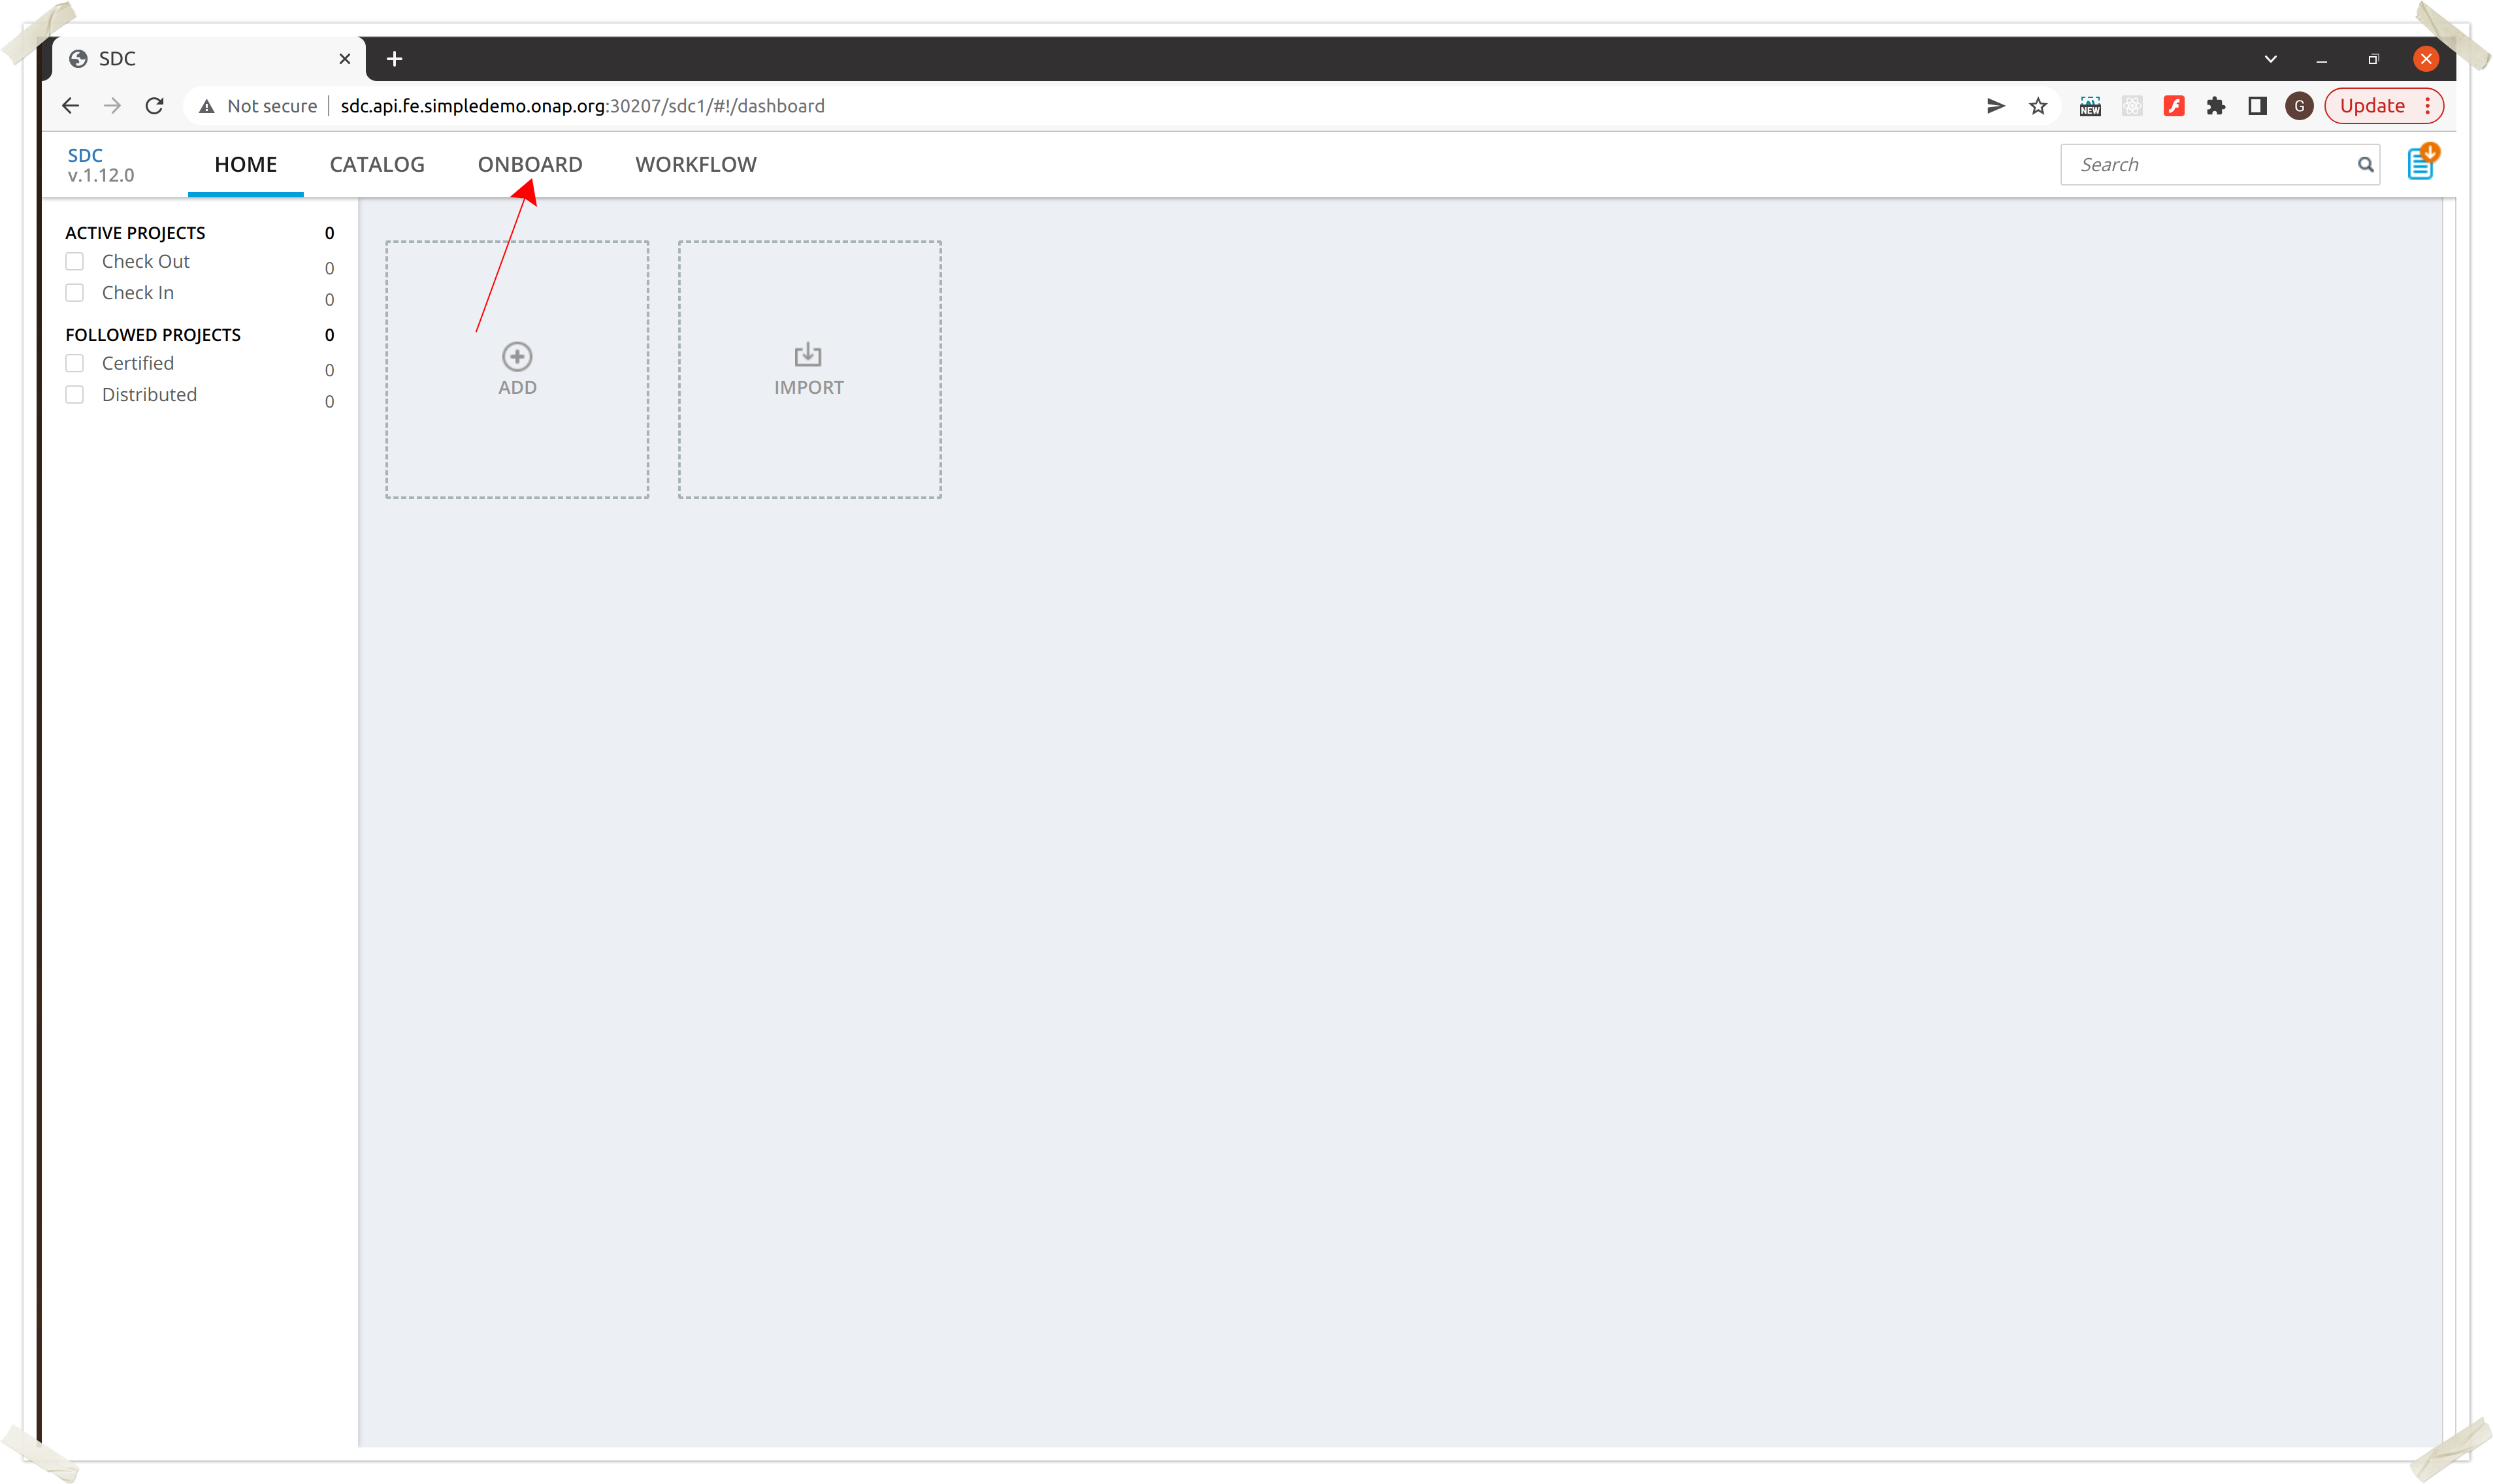
Onboarding of an ASD is done through SDC. After logging on to SDC you will be met with this page:
To begin onboarding of your ASD csar click on the Onboard button indicated in Fig. 1
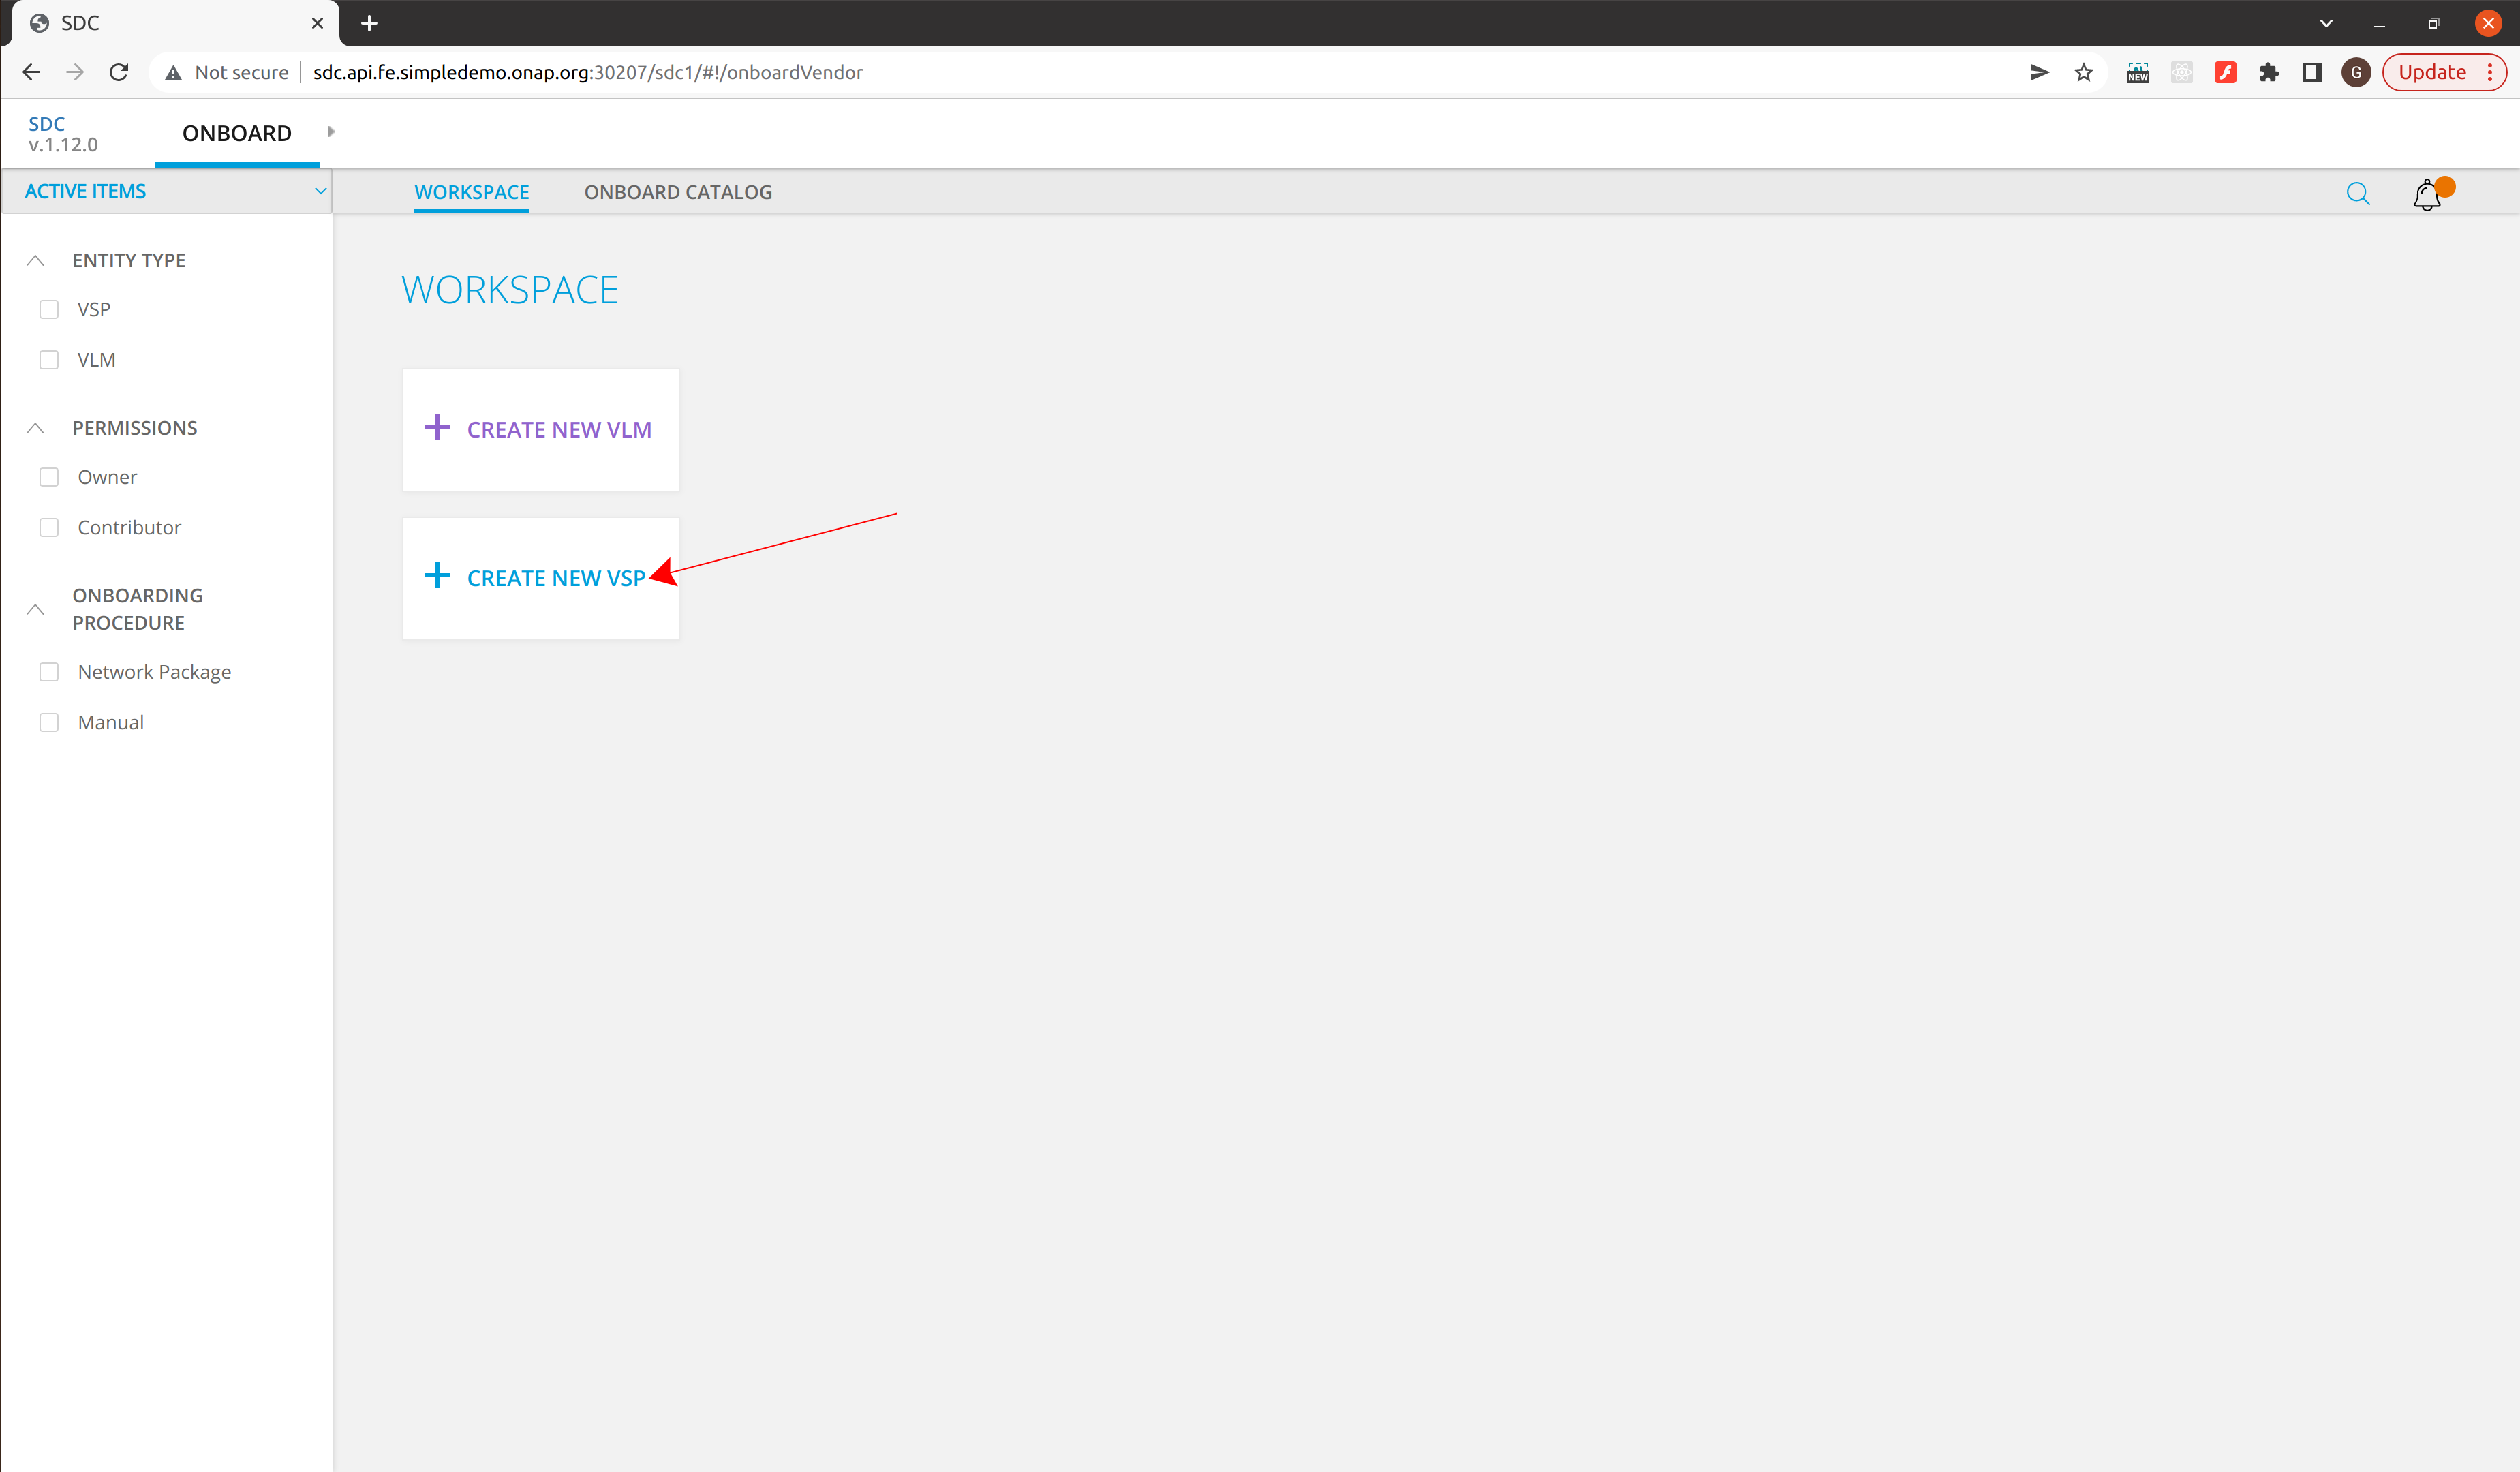
This will display the onboarding page for SDC
We are looking to create a new VSP.
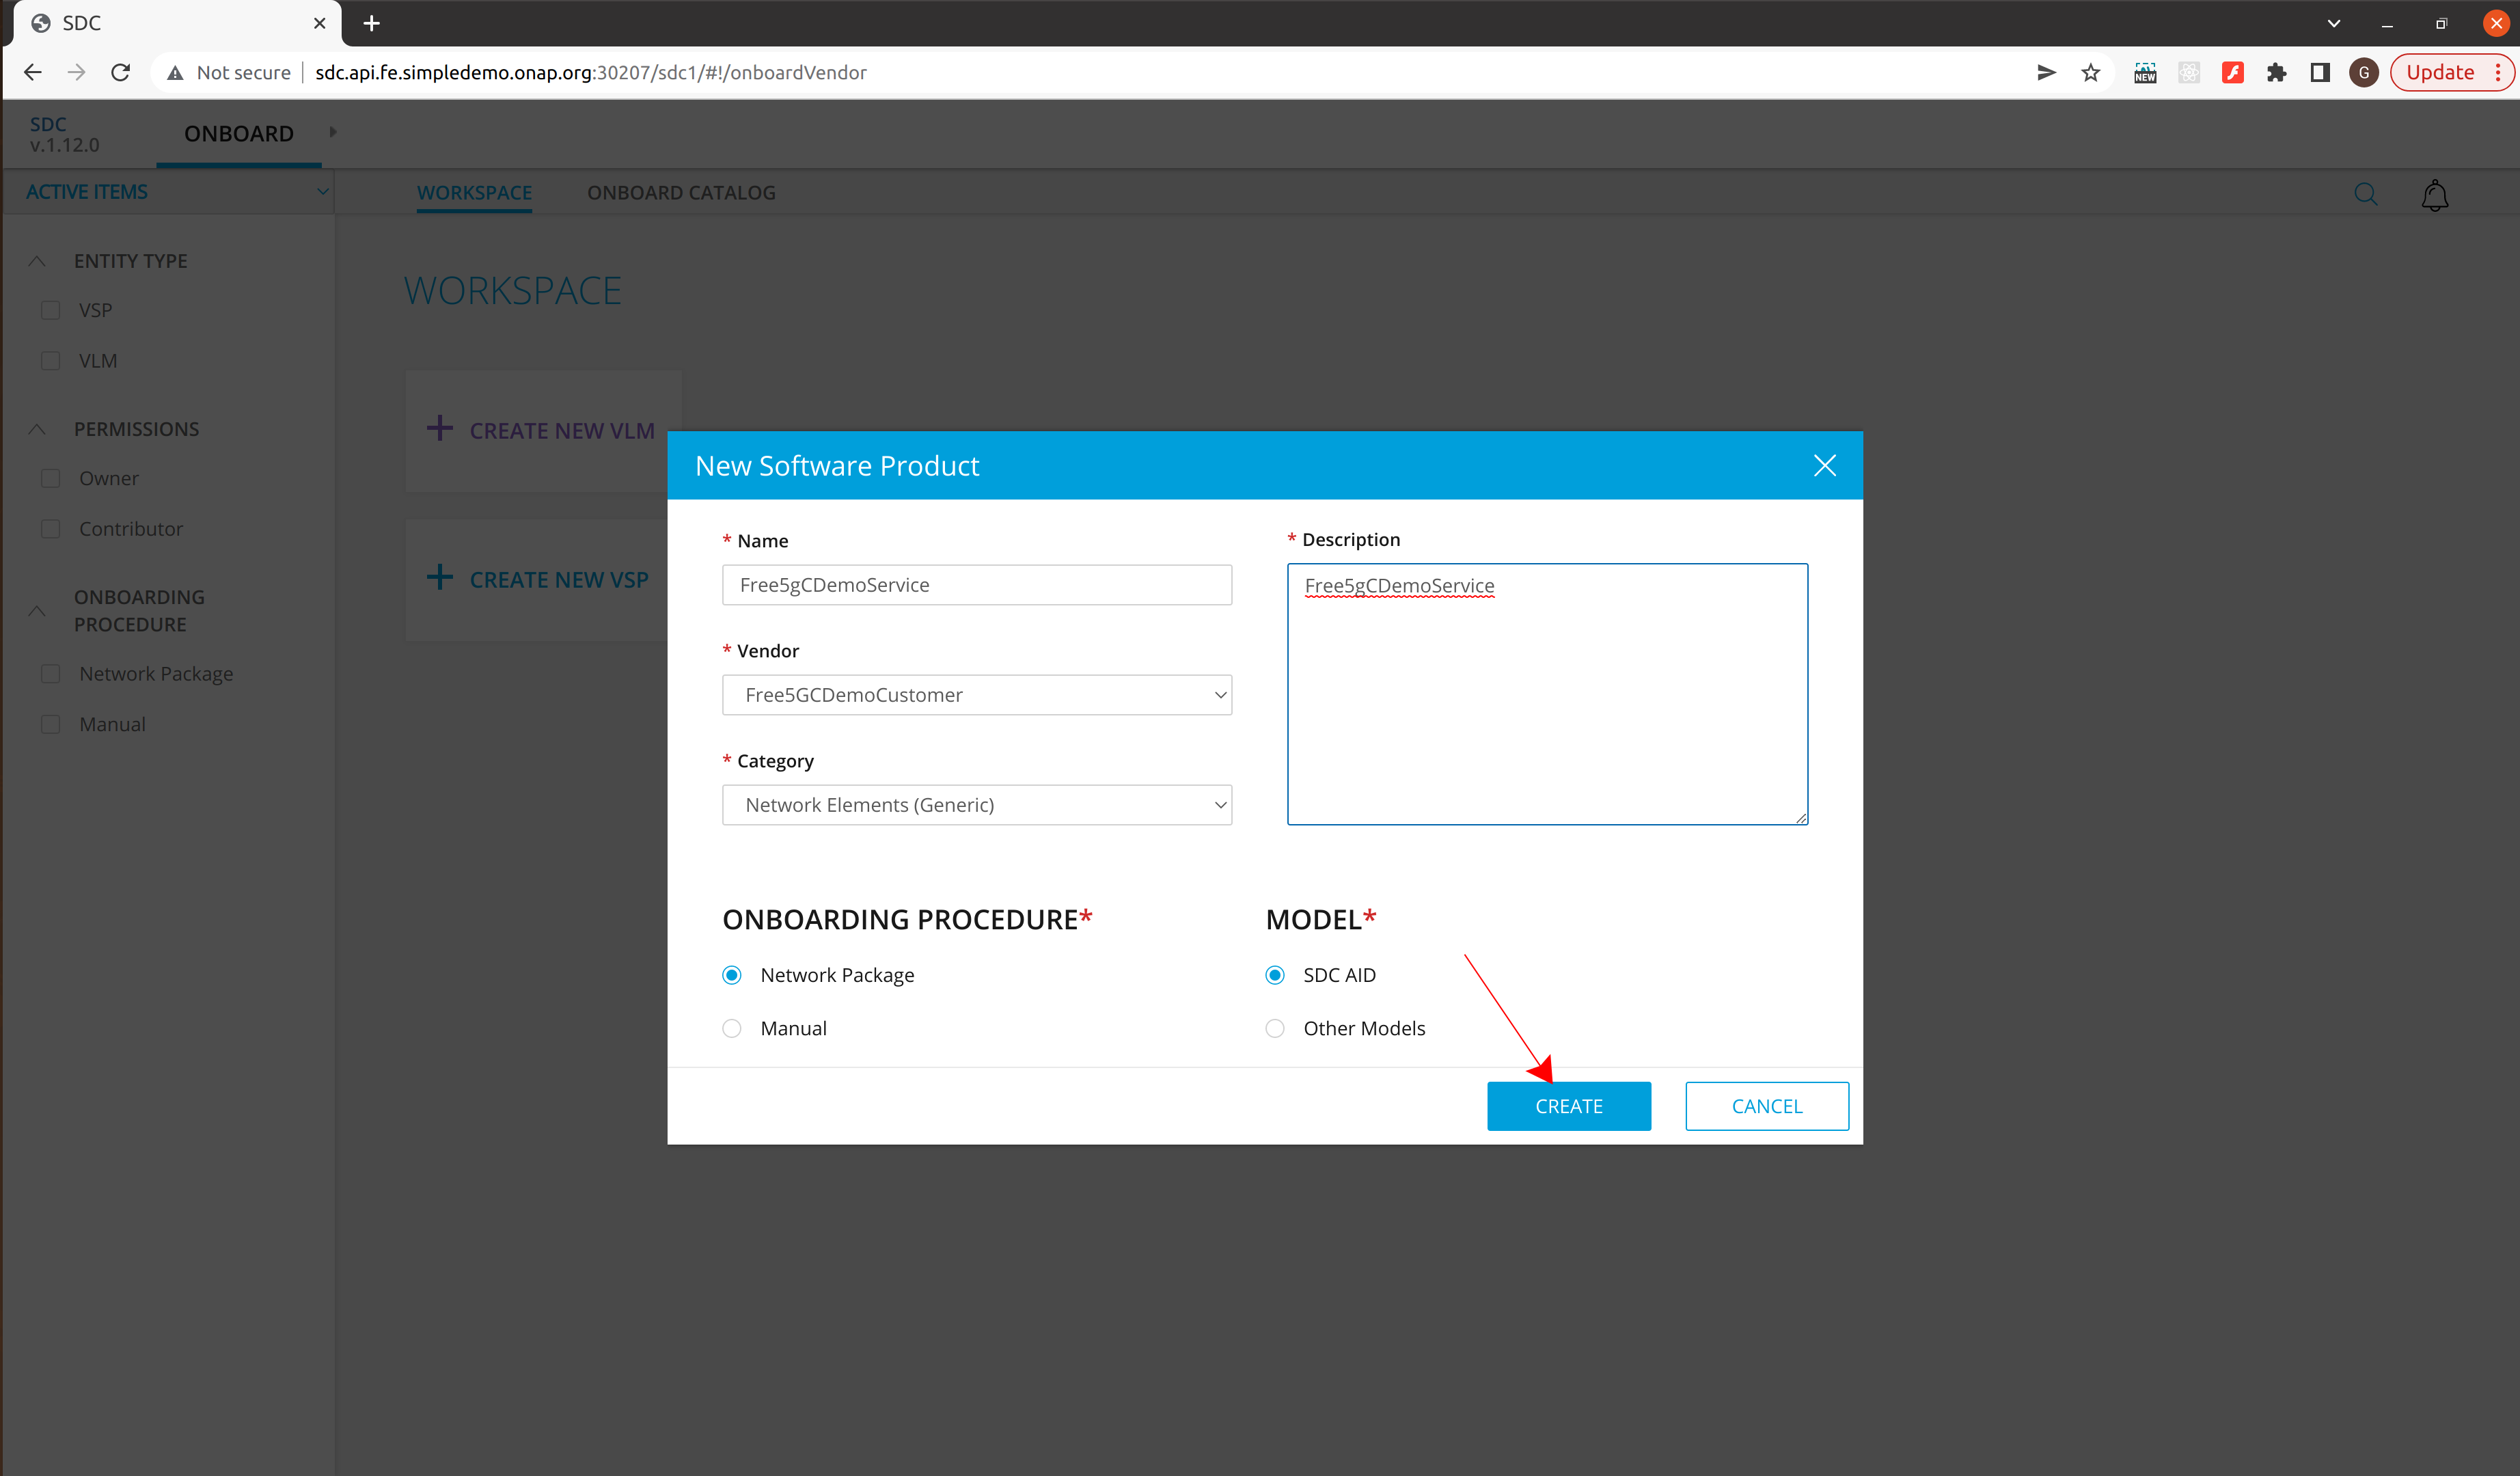
Your VSP requires a Name, Vendor, Category, Description, Onboarding Procedure and Model before clicking create.
Note: If you have no Vendor you can add one on the onboarding page in Create VLM.
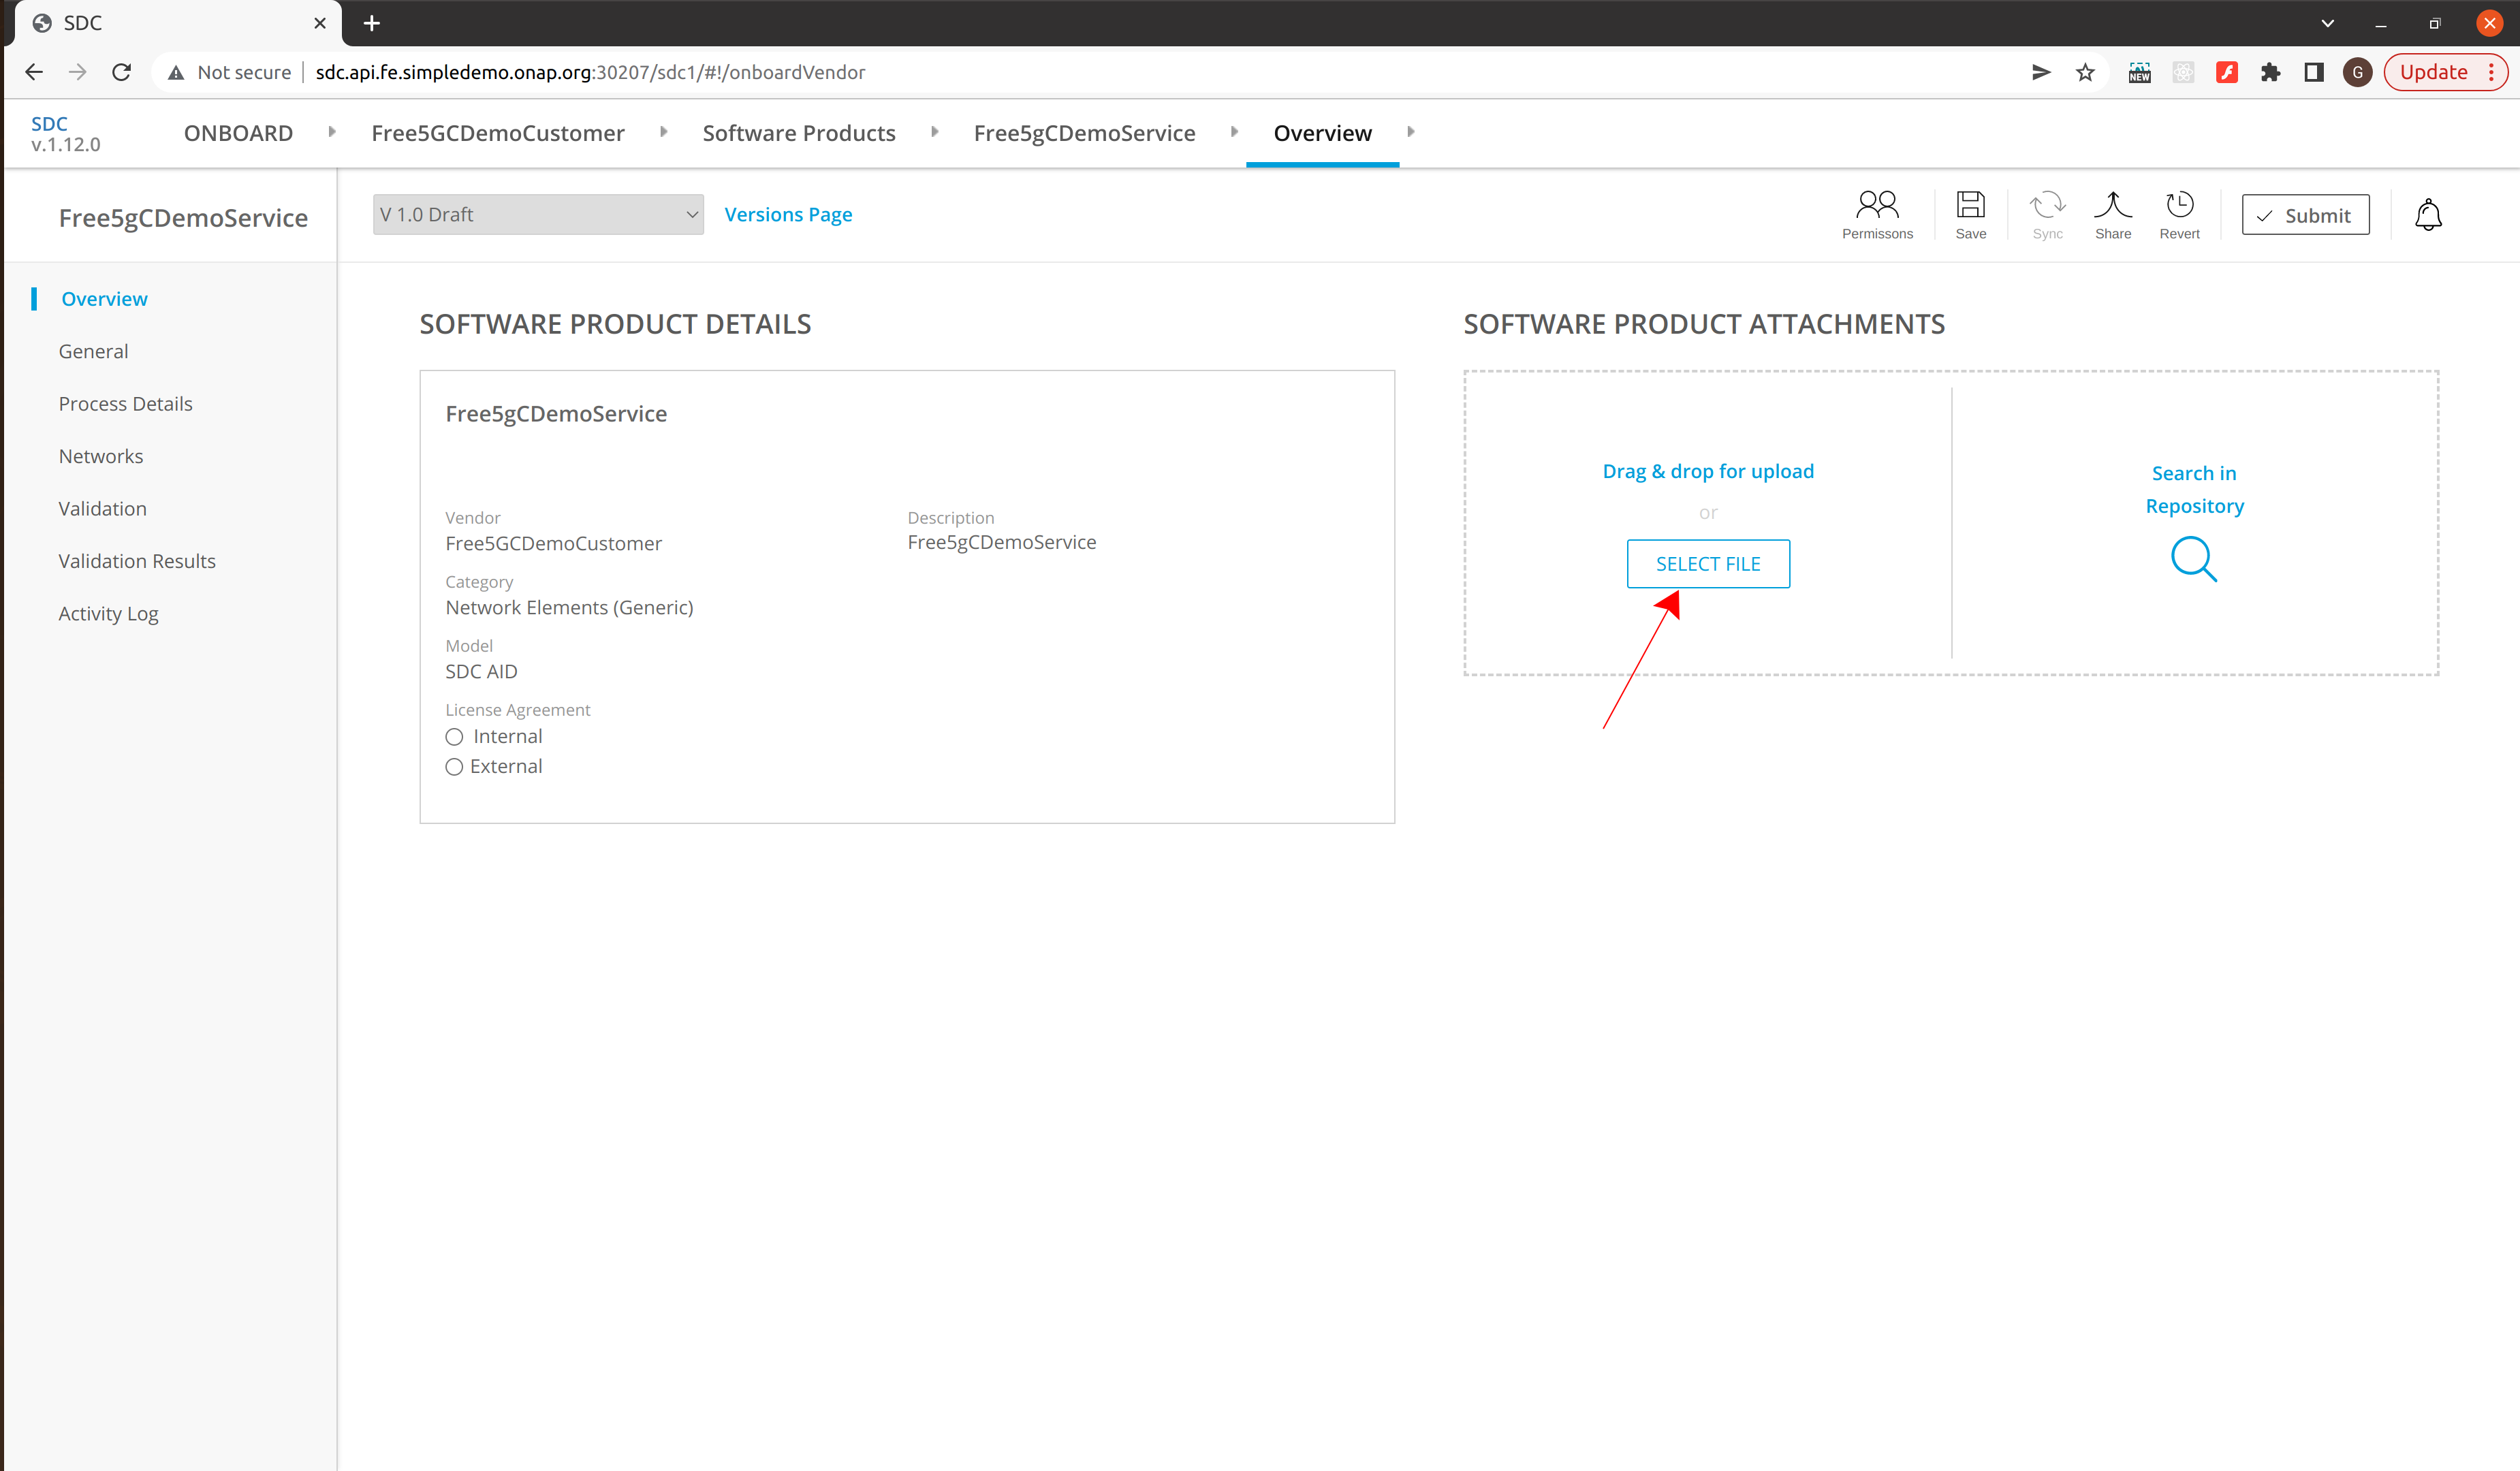
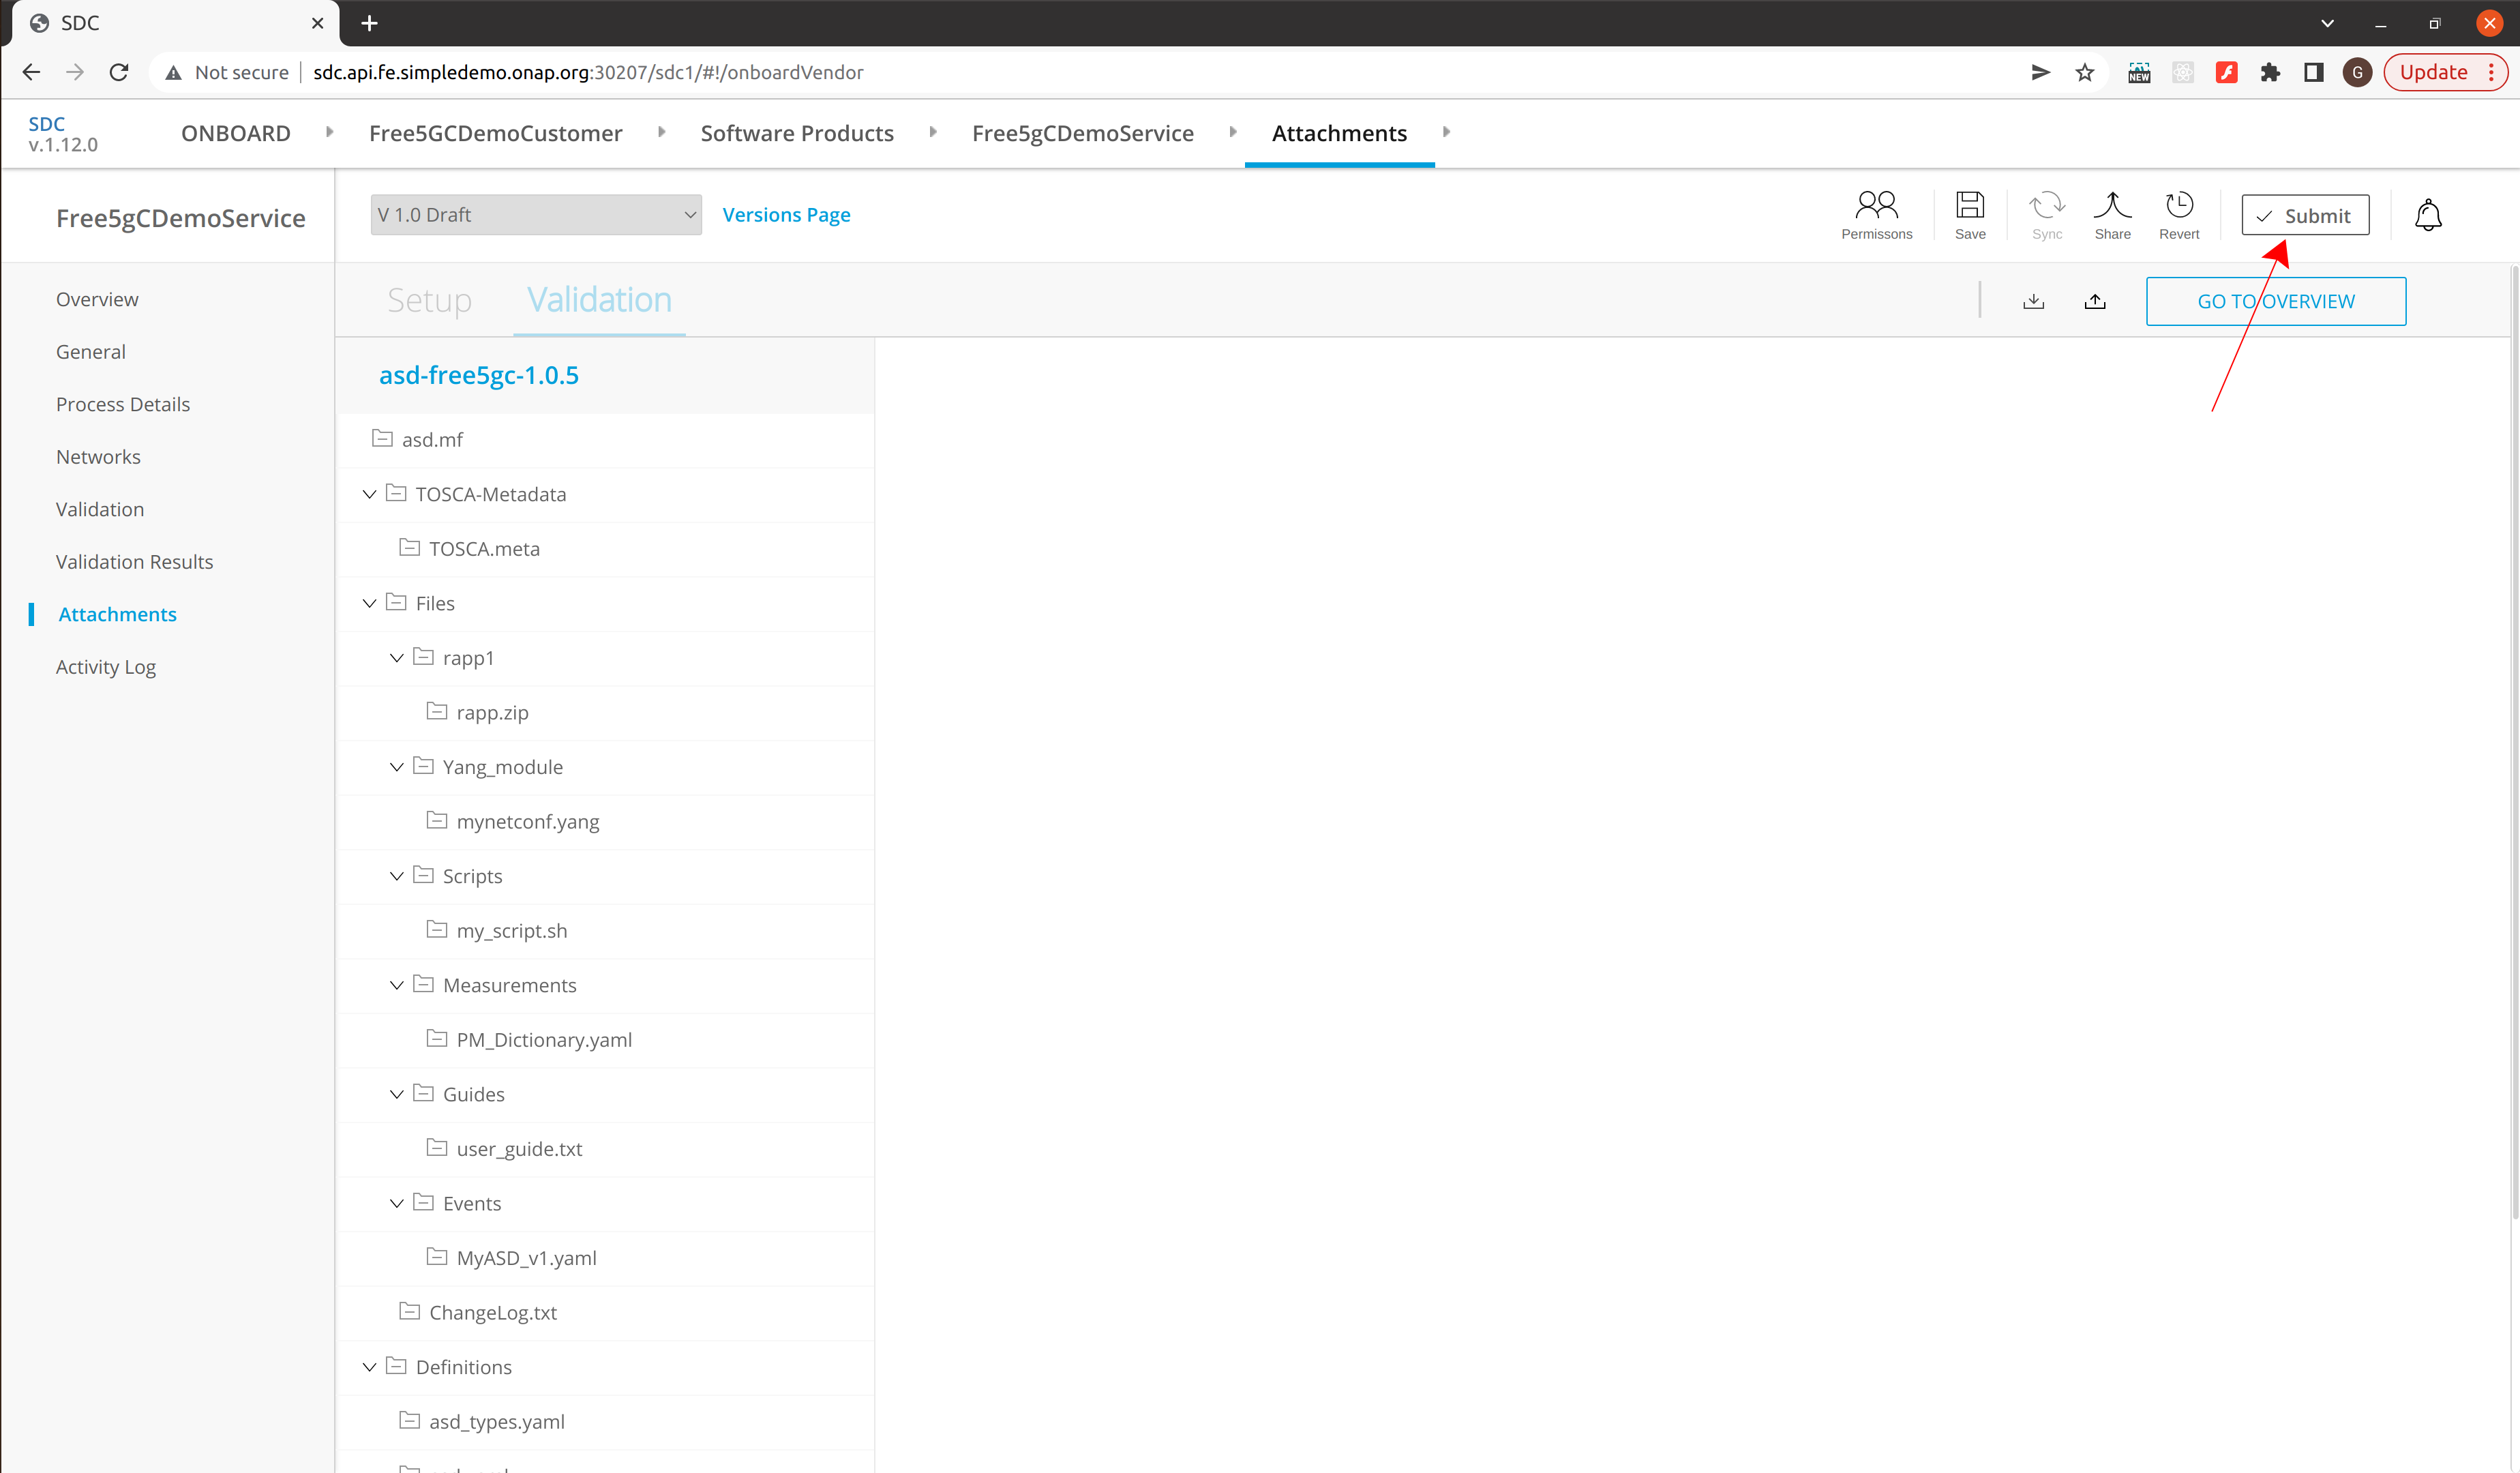
After some time creating, the Software Product the attachments page will load. Clicking Select File, choose the csar you wish to use. A sample csar is attached at the bottom of this guide.
Once the attachment has complete and the above screen has loaded the software product can be submitted. The submit message is not a hard requirement.
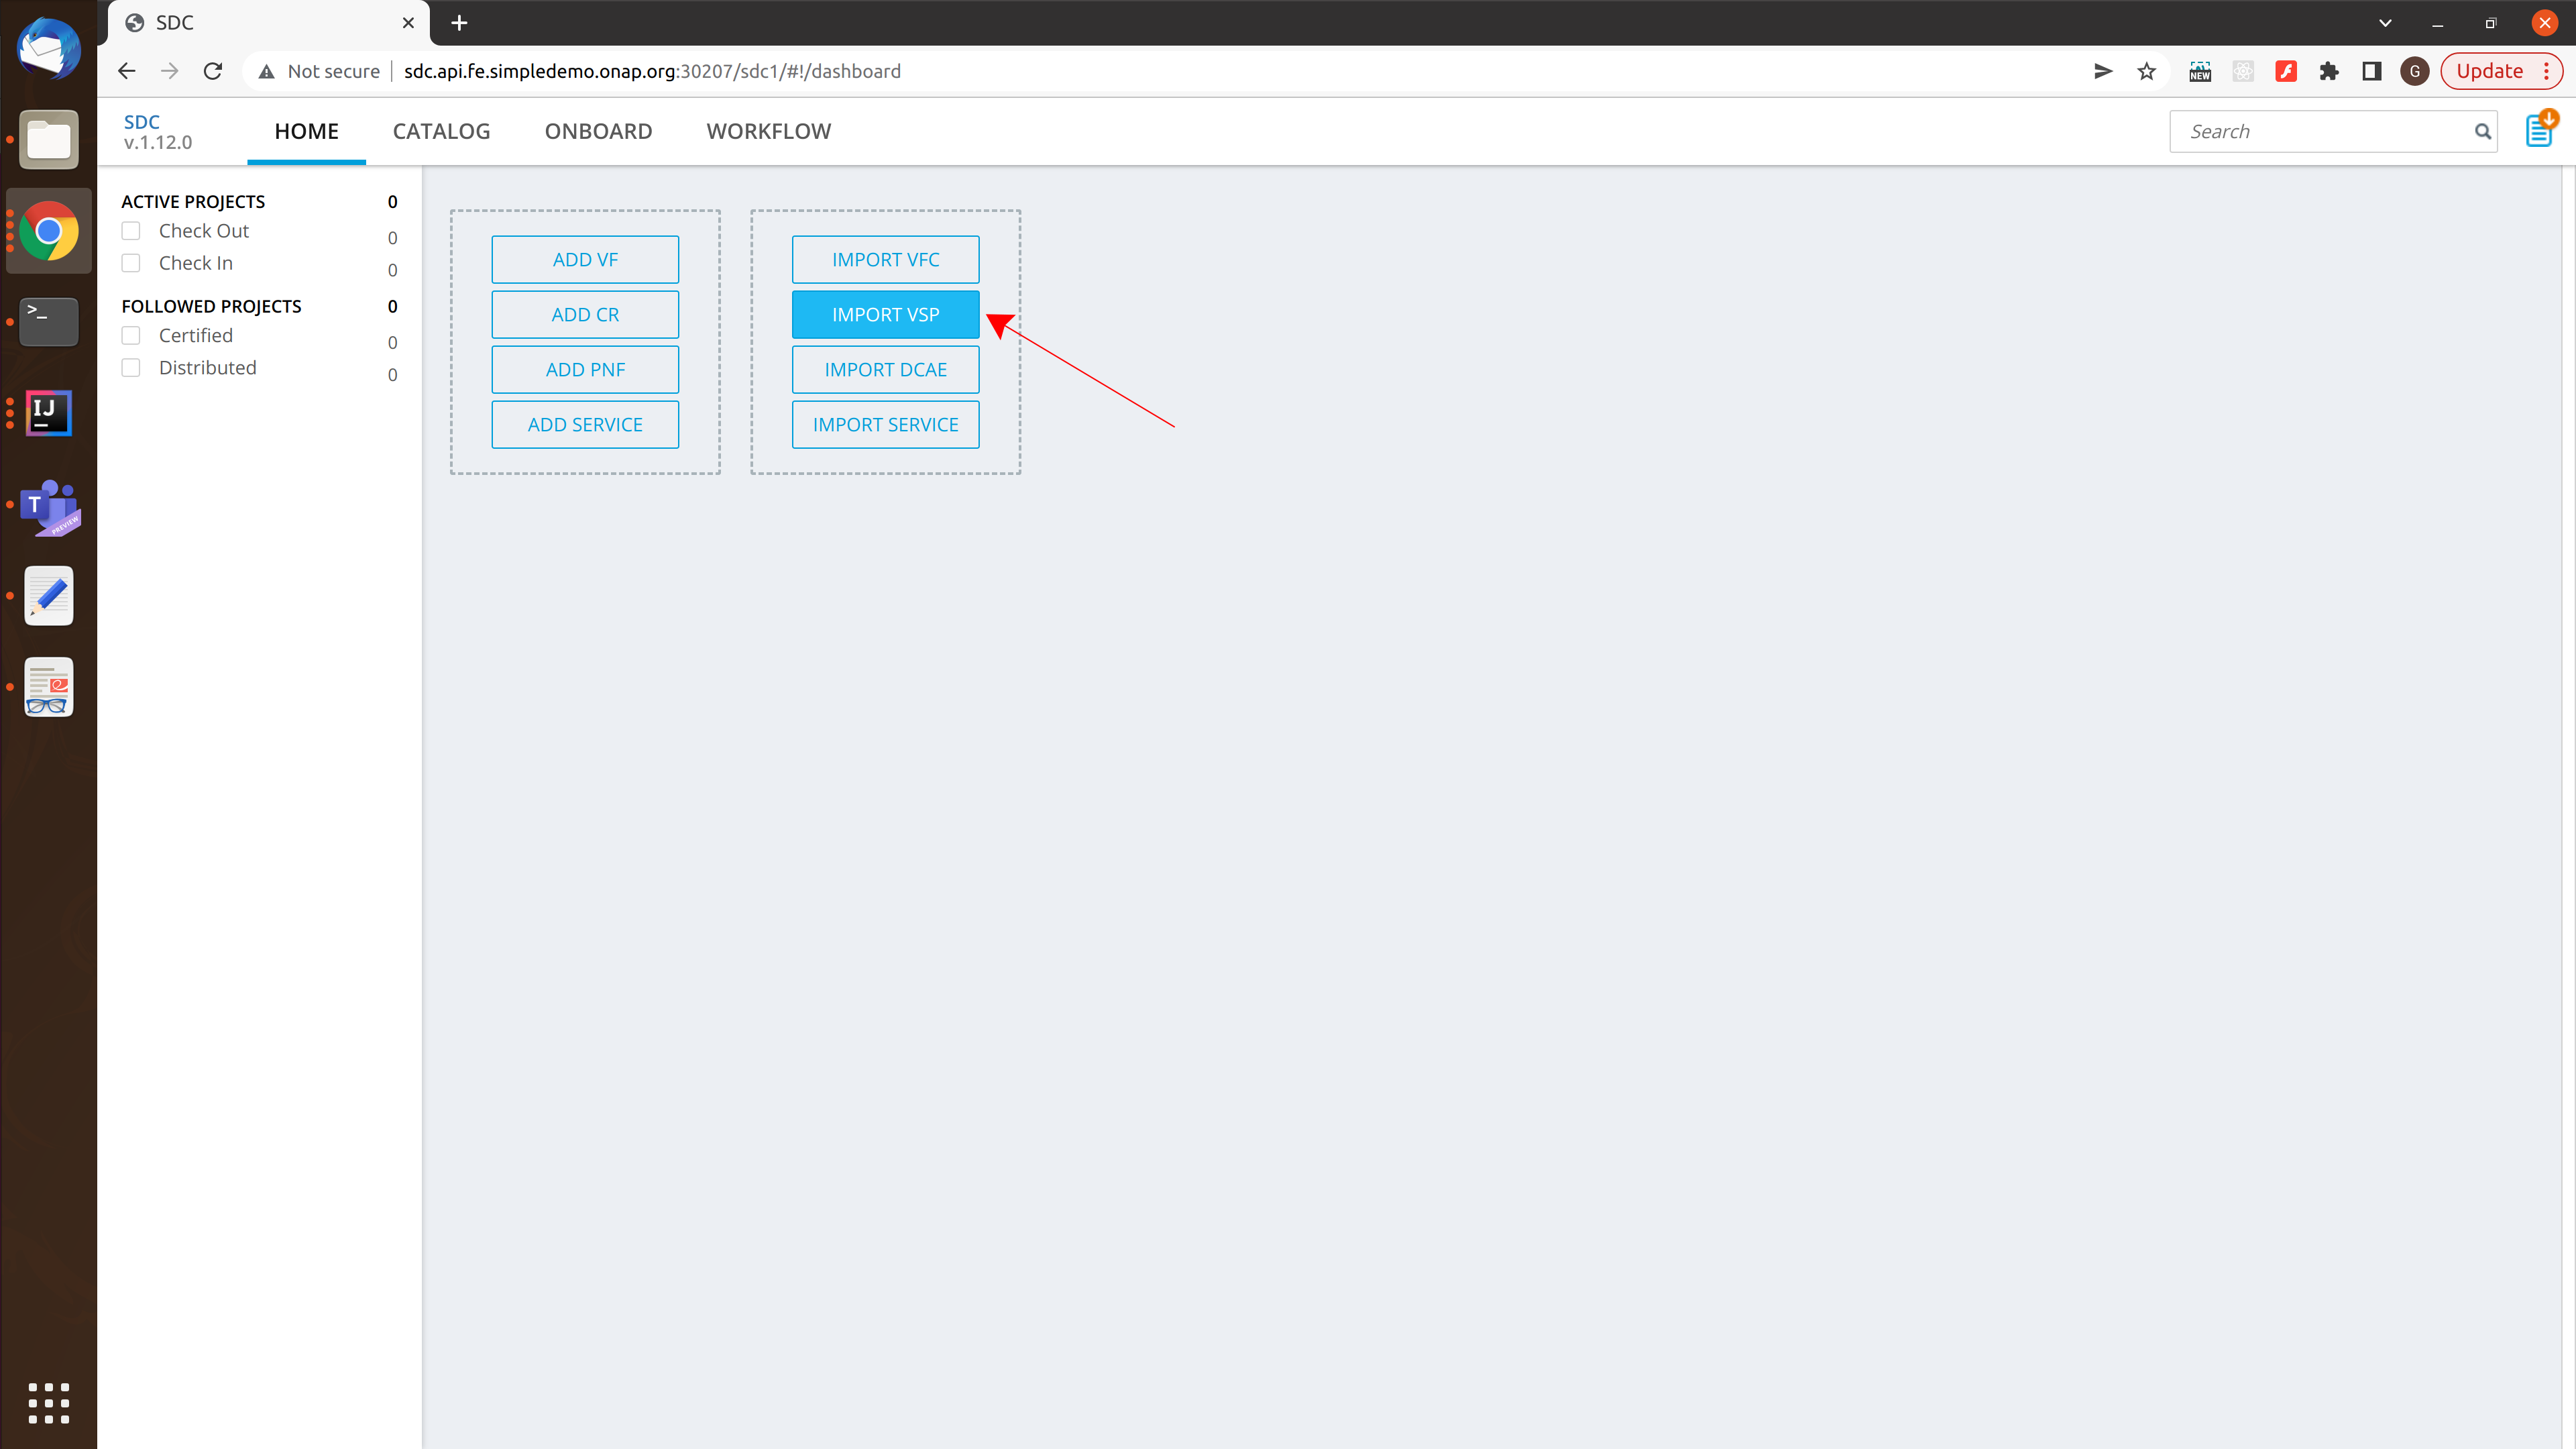
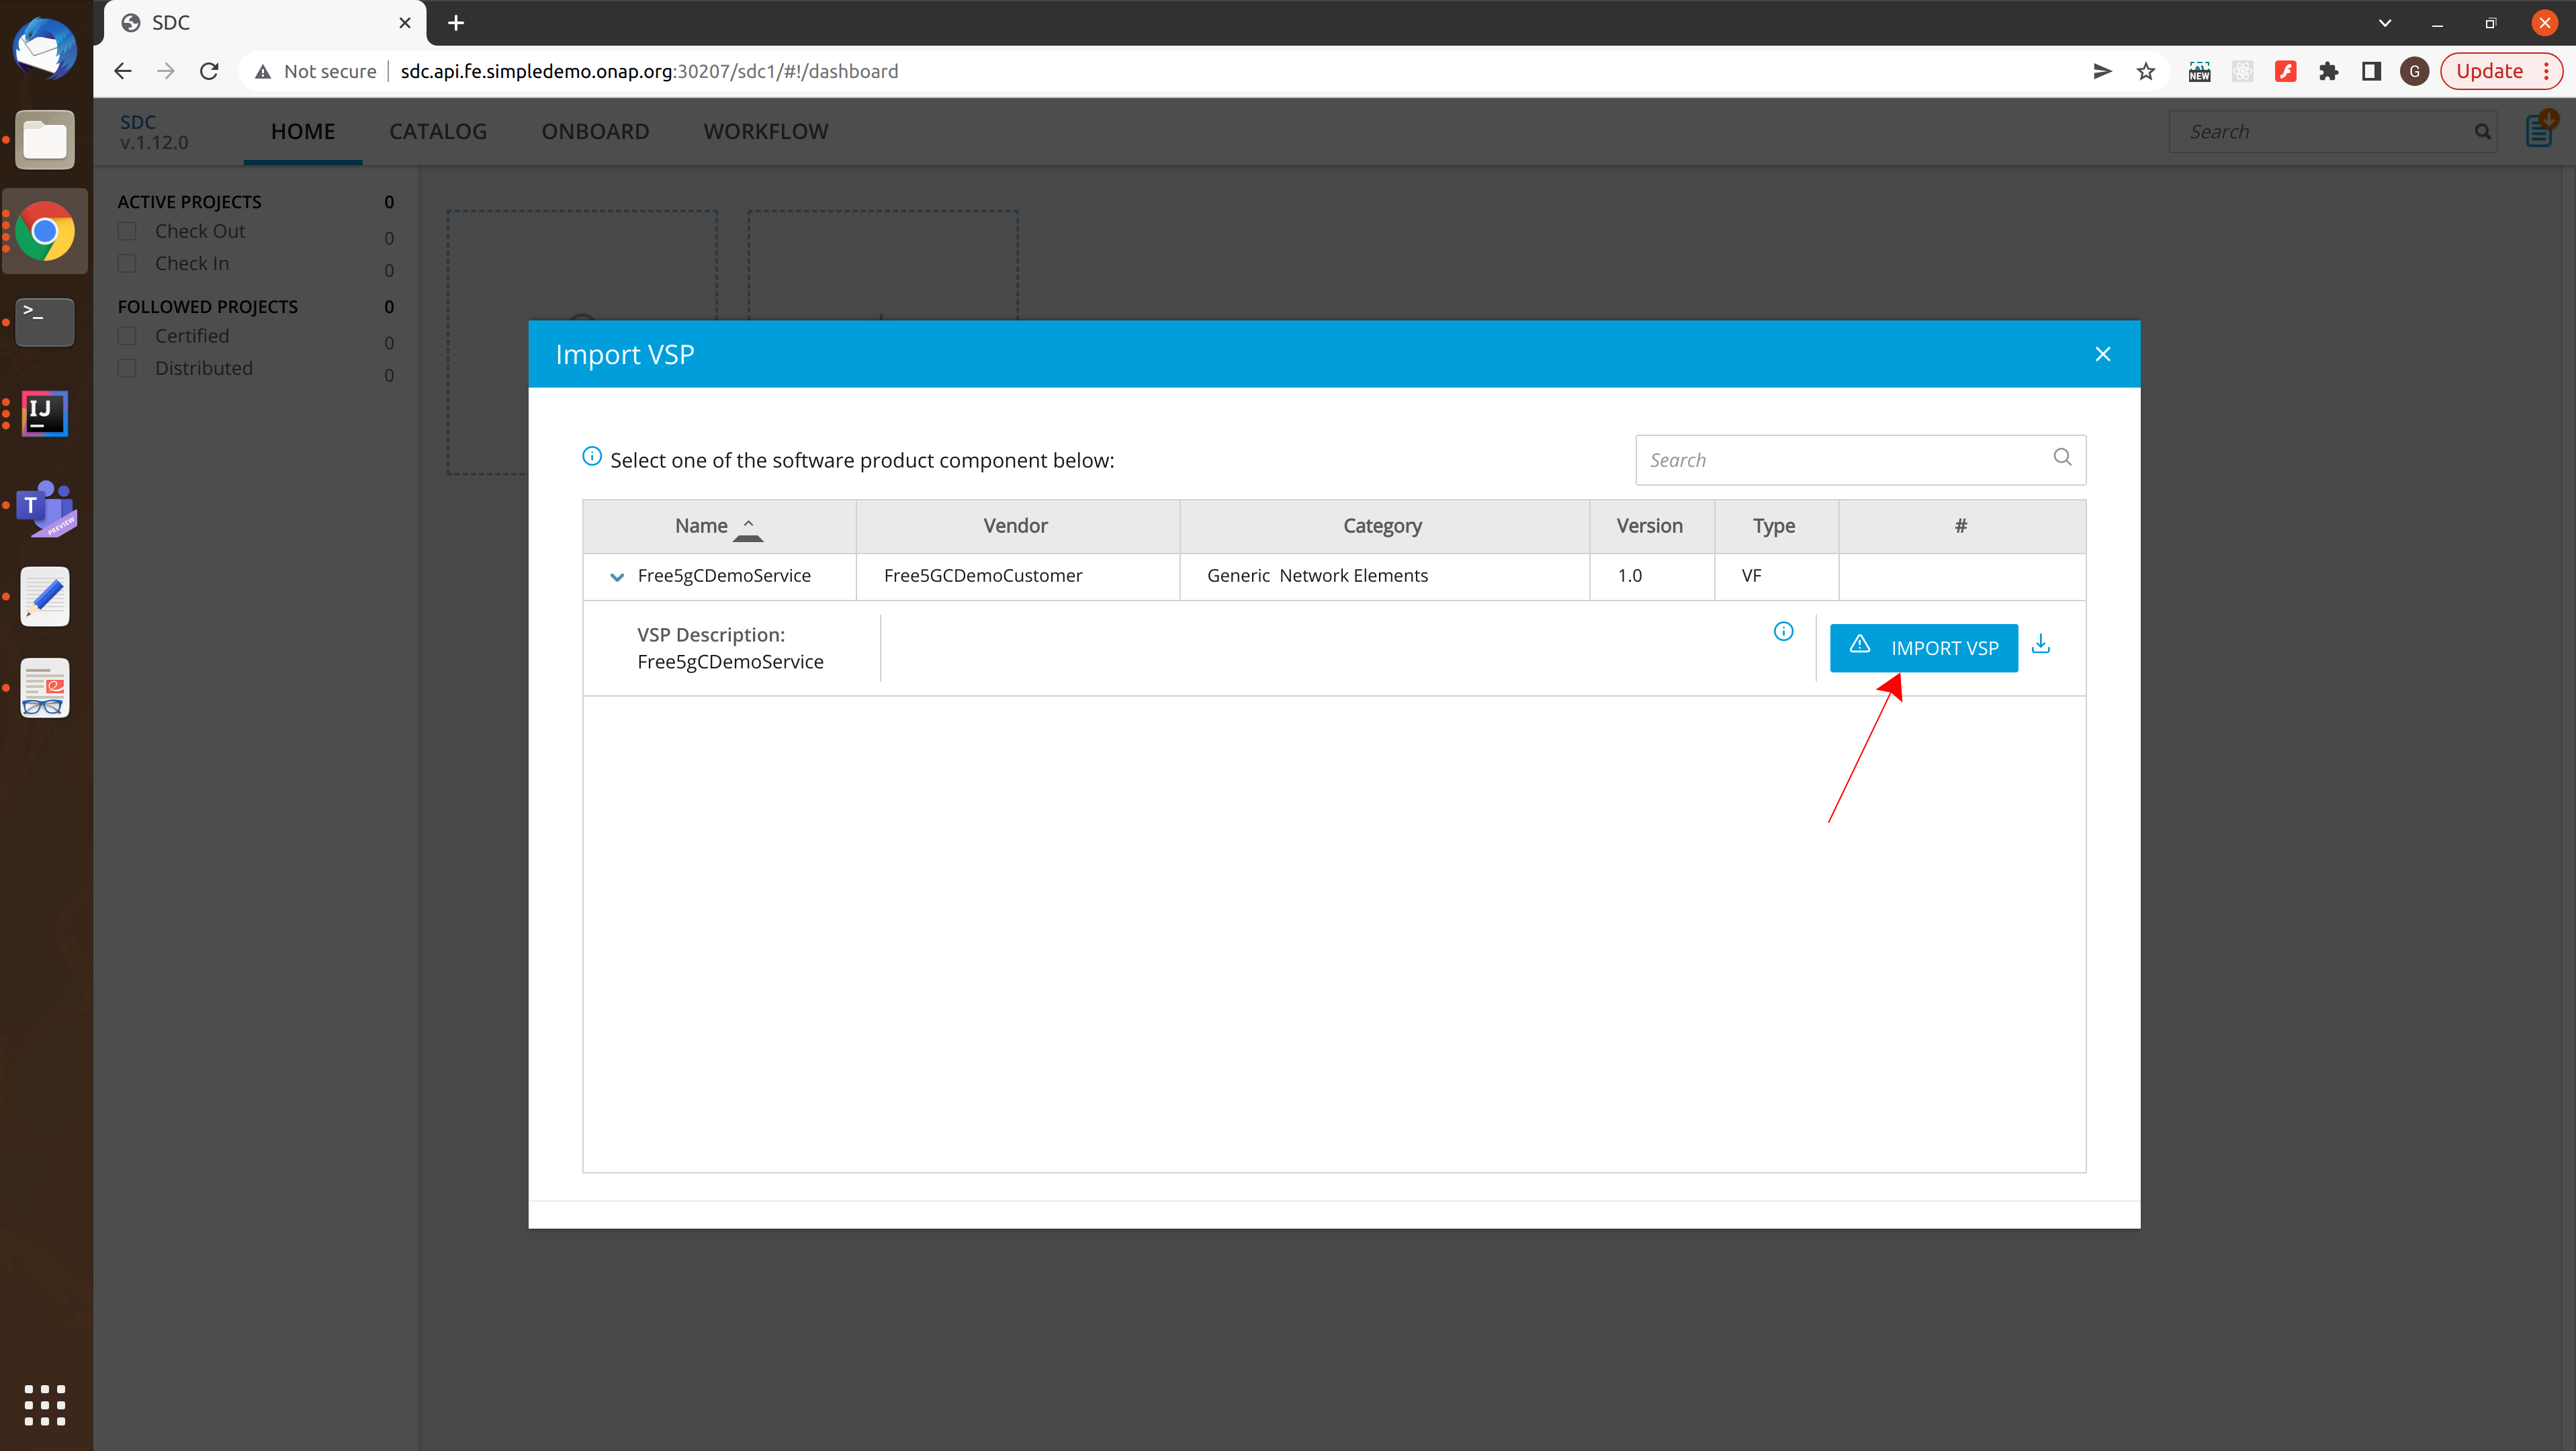
Returning now to the Home page the VSP can be imported.
The Import VSP button should be visible on expansion of the table row.
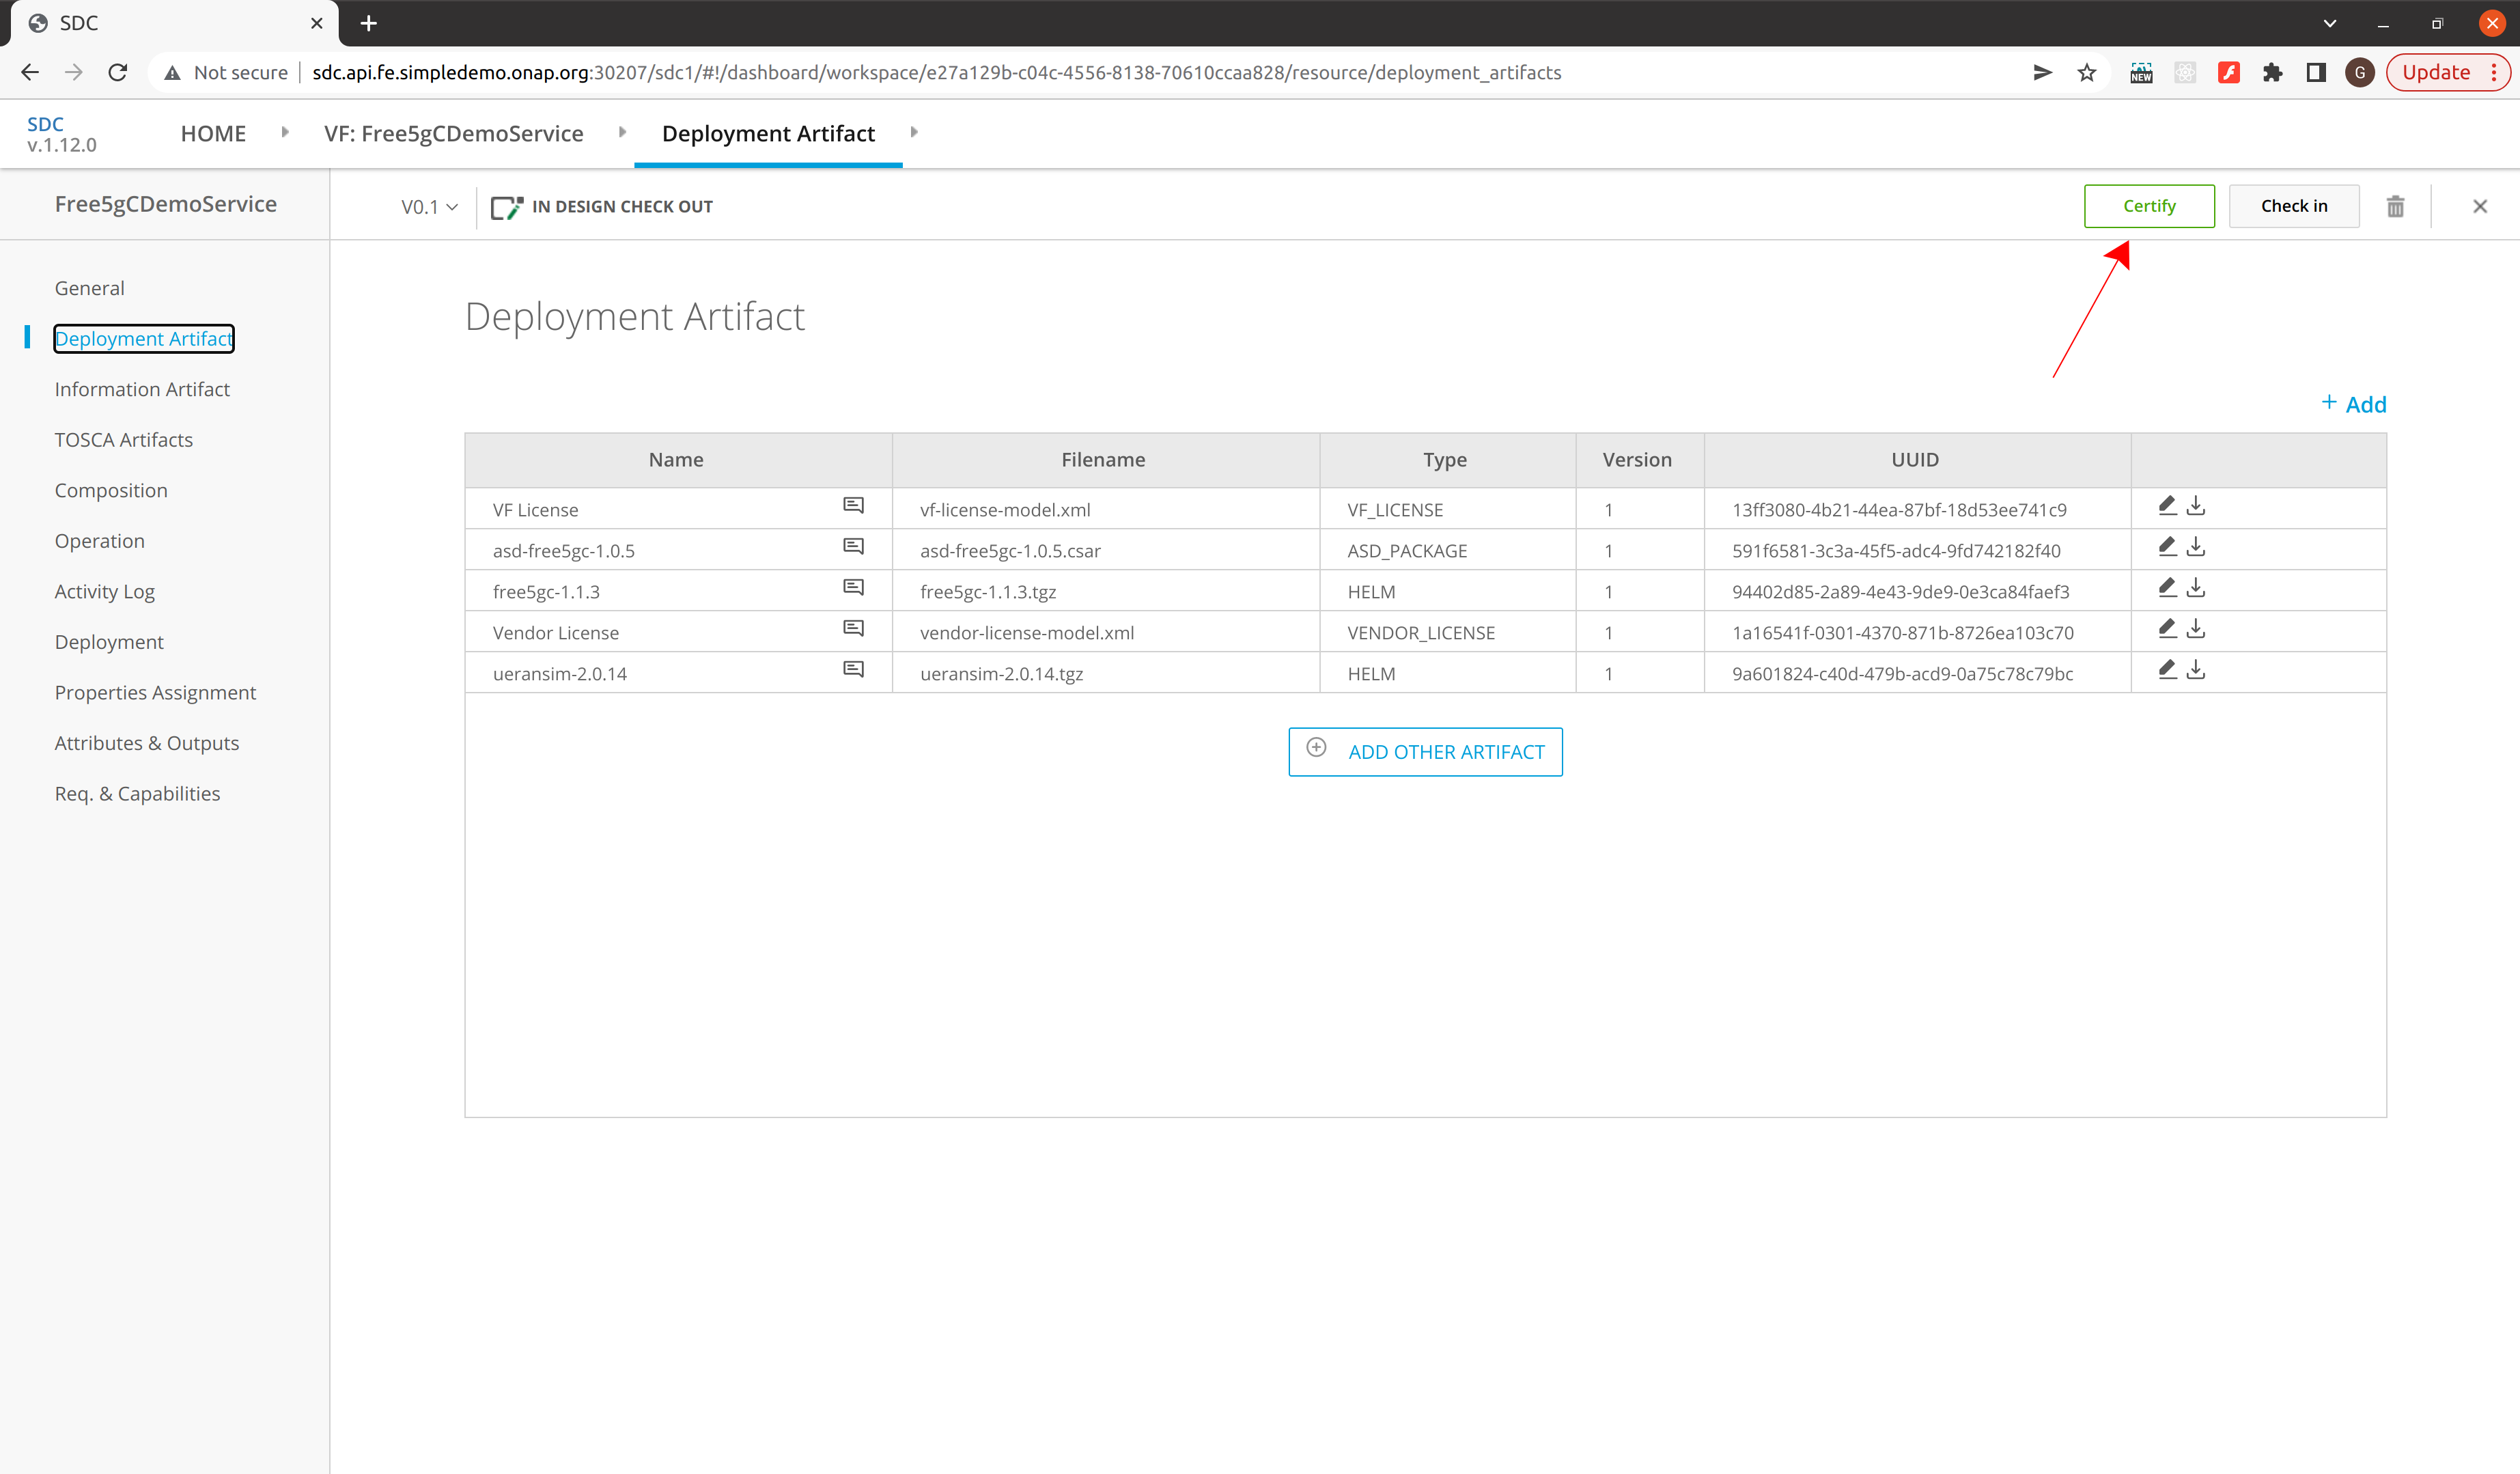
On completion the Deployment Artifacts should be visible from the menu on the left of the screen. Once all is correct it can be certified.
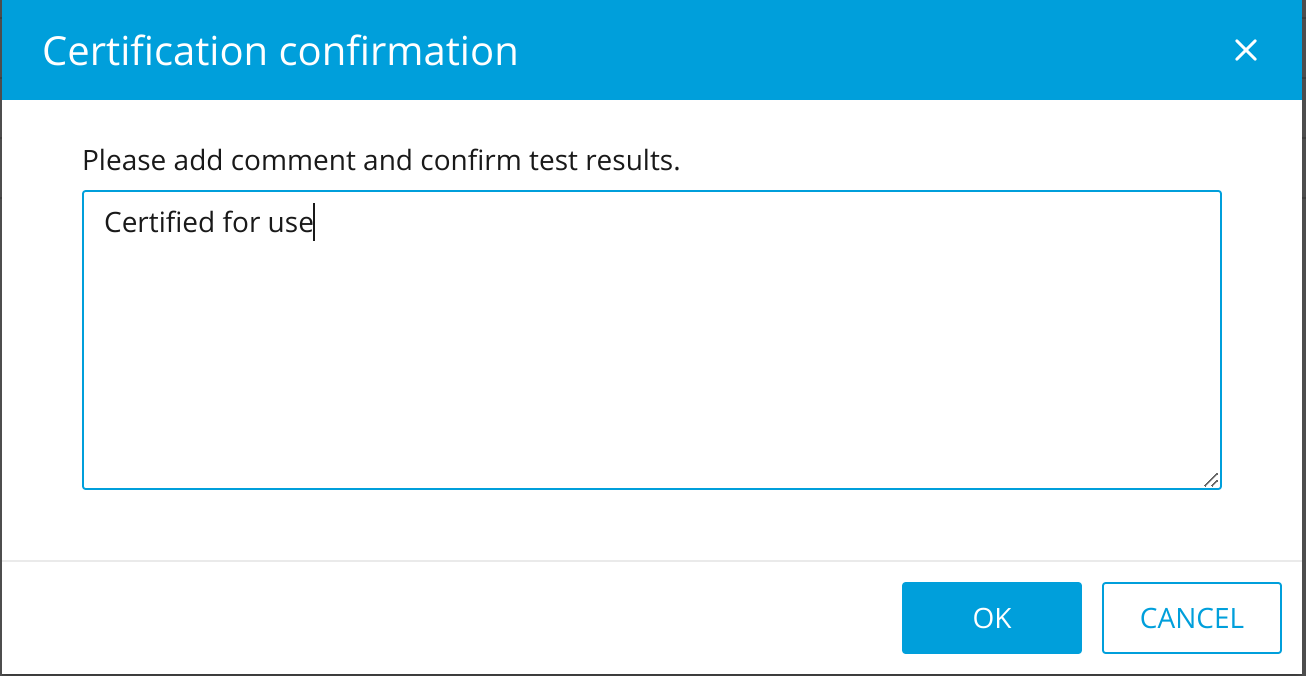
Make the certify message meaningful to the VSP.
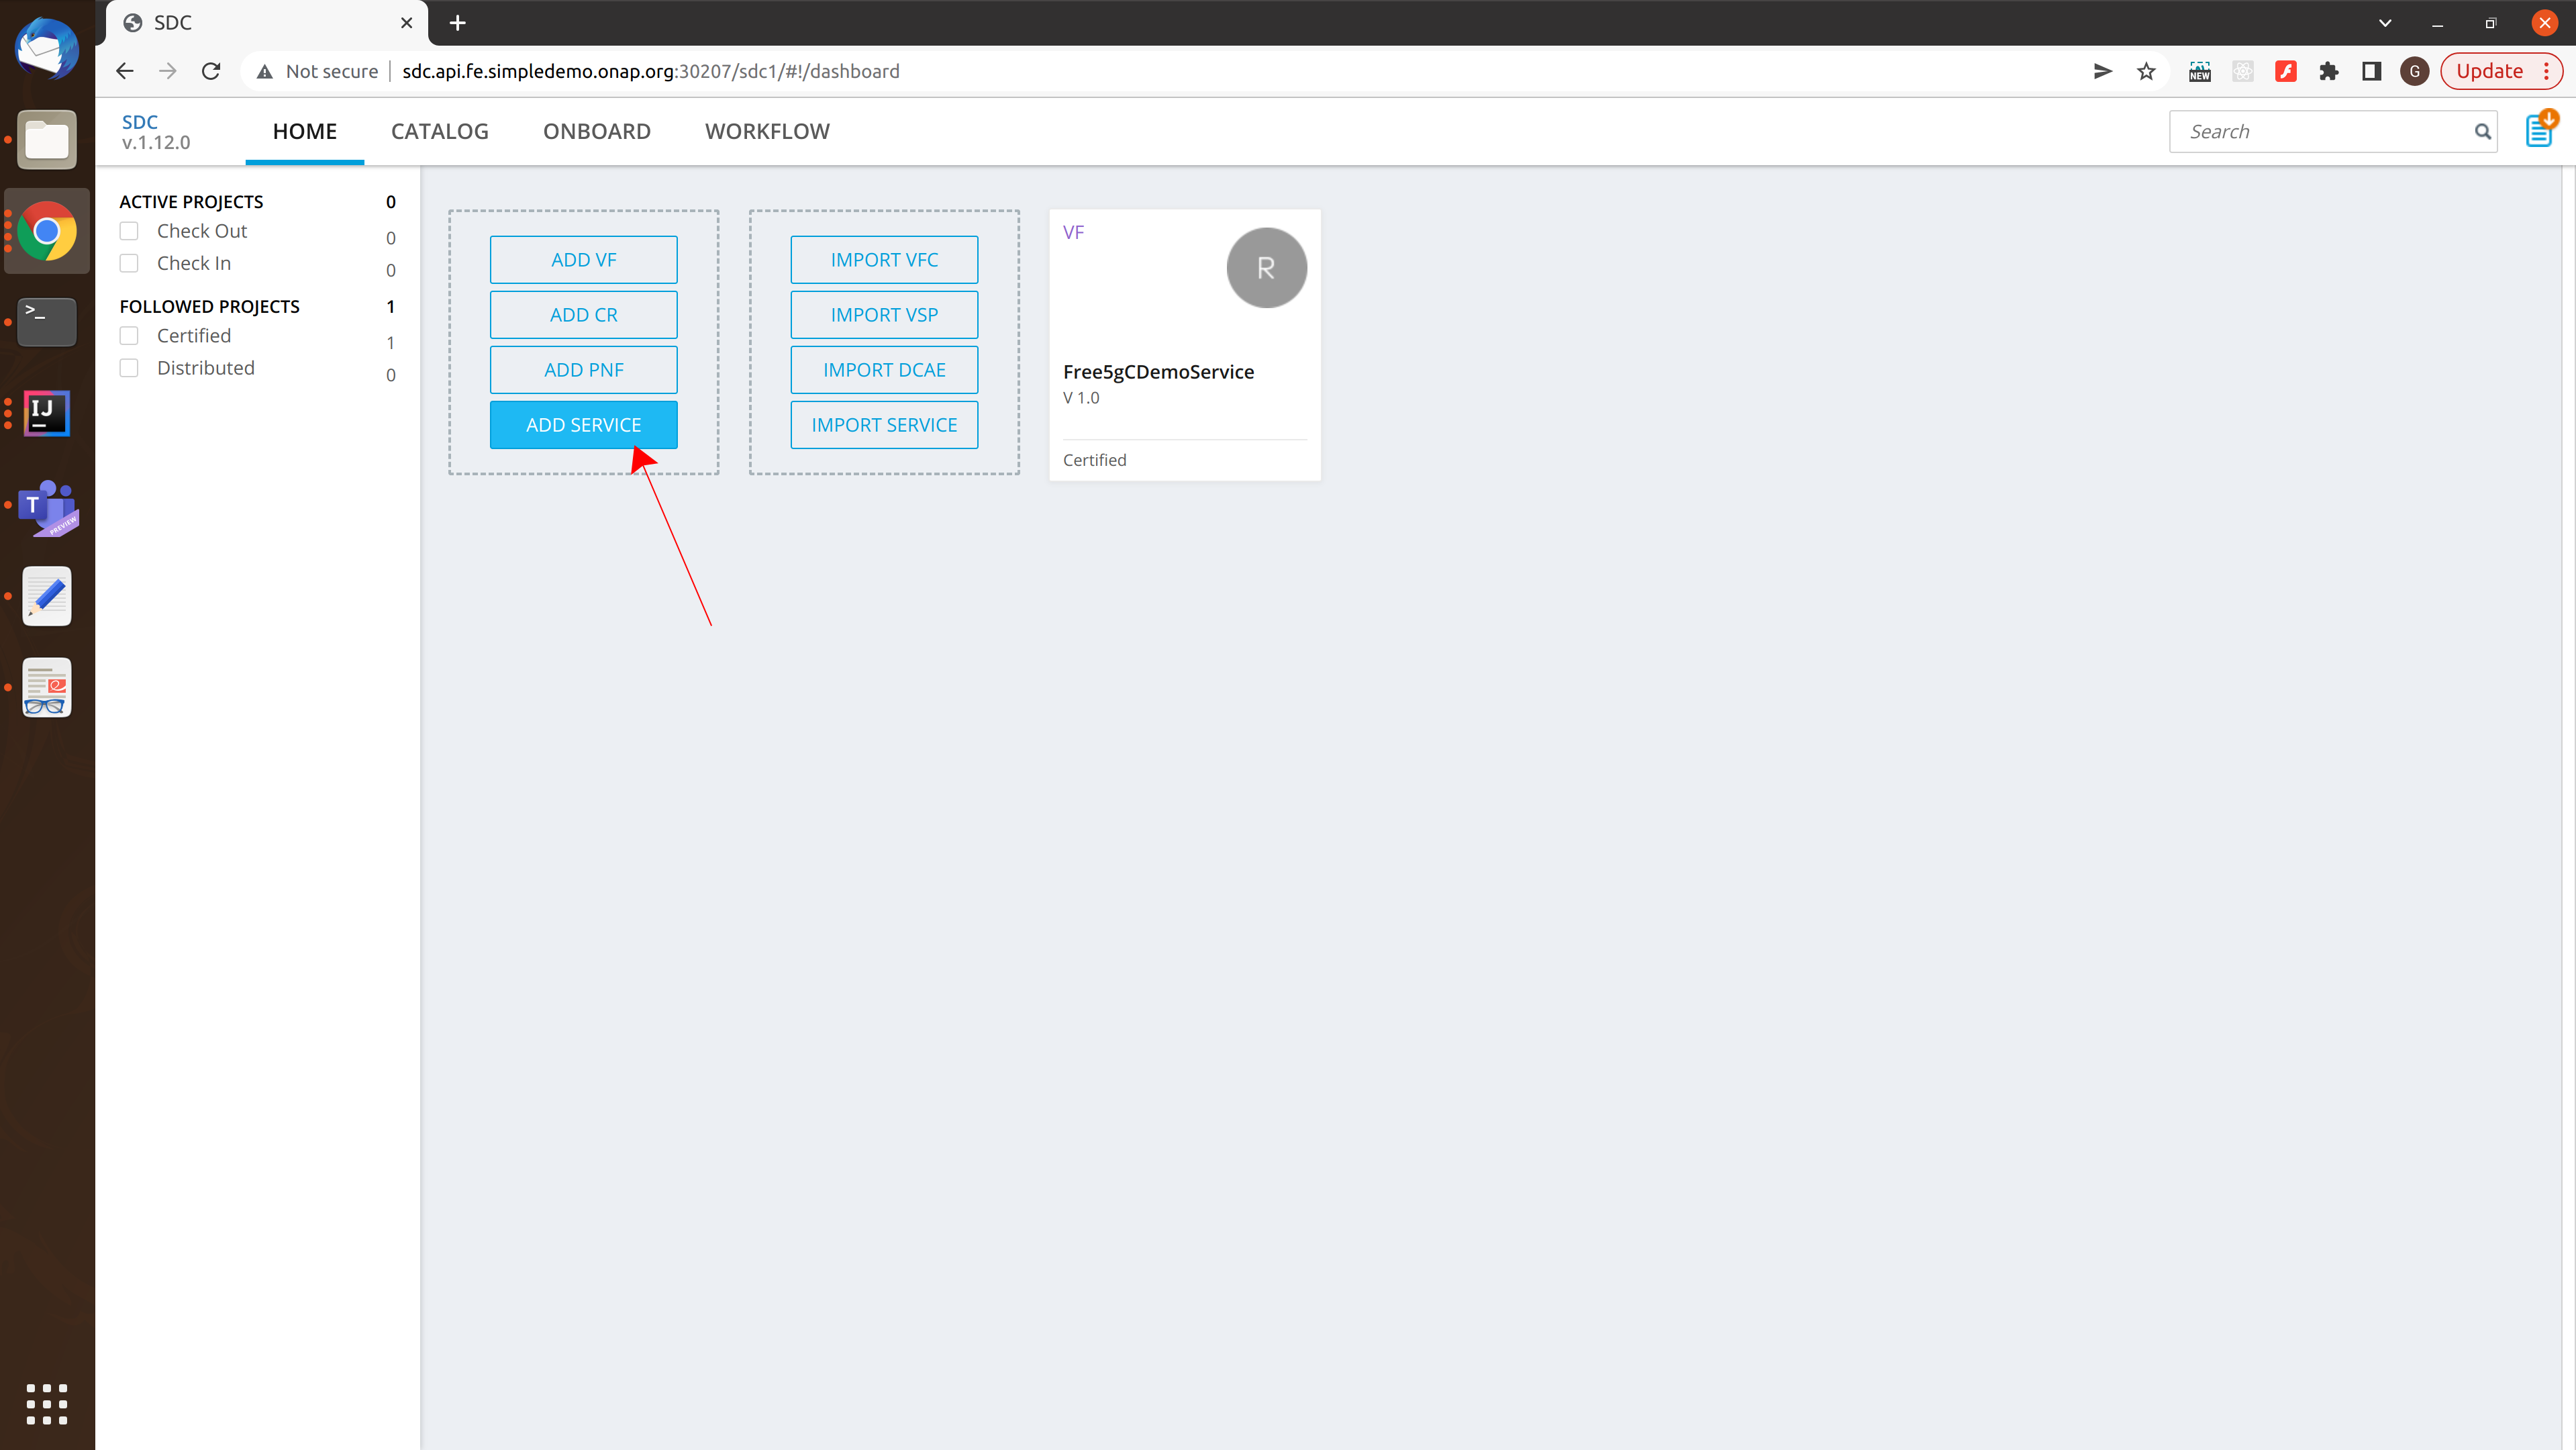
Returning again to the Home page a service can now be added.
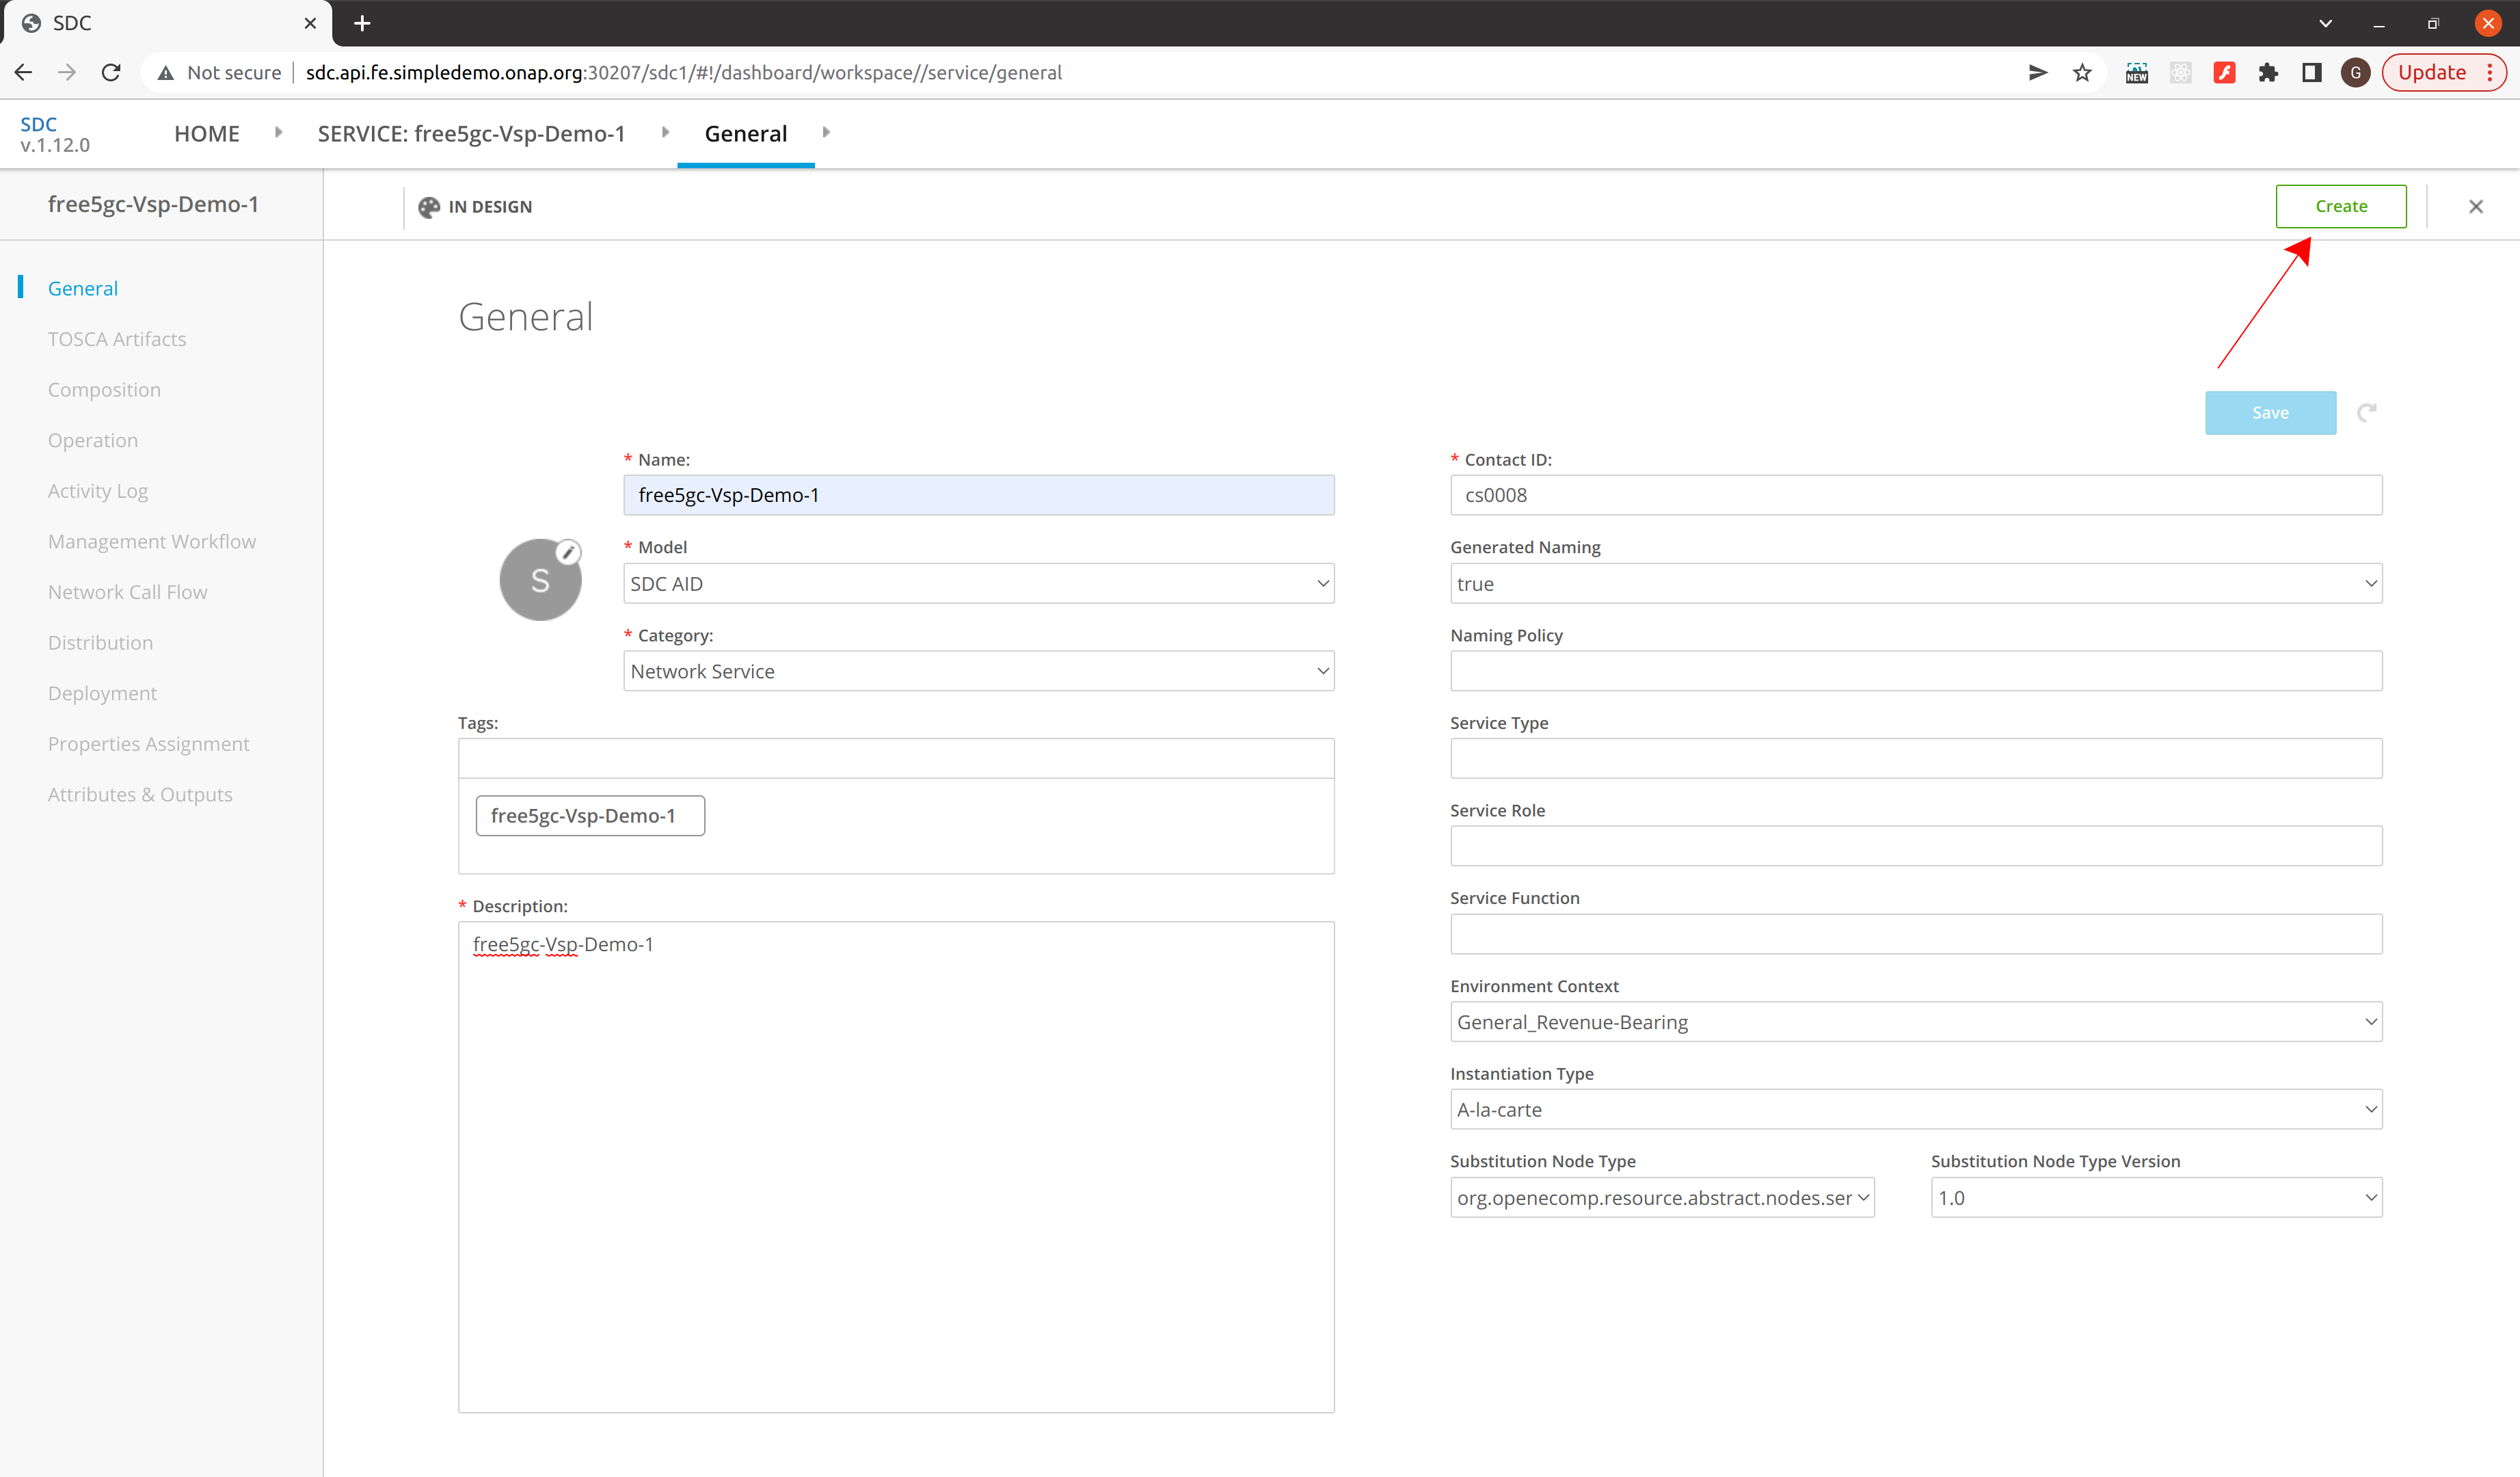
The service requires a Name, Model, Category and Description before creating. The category for this action is Network Service.
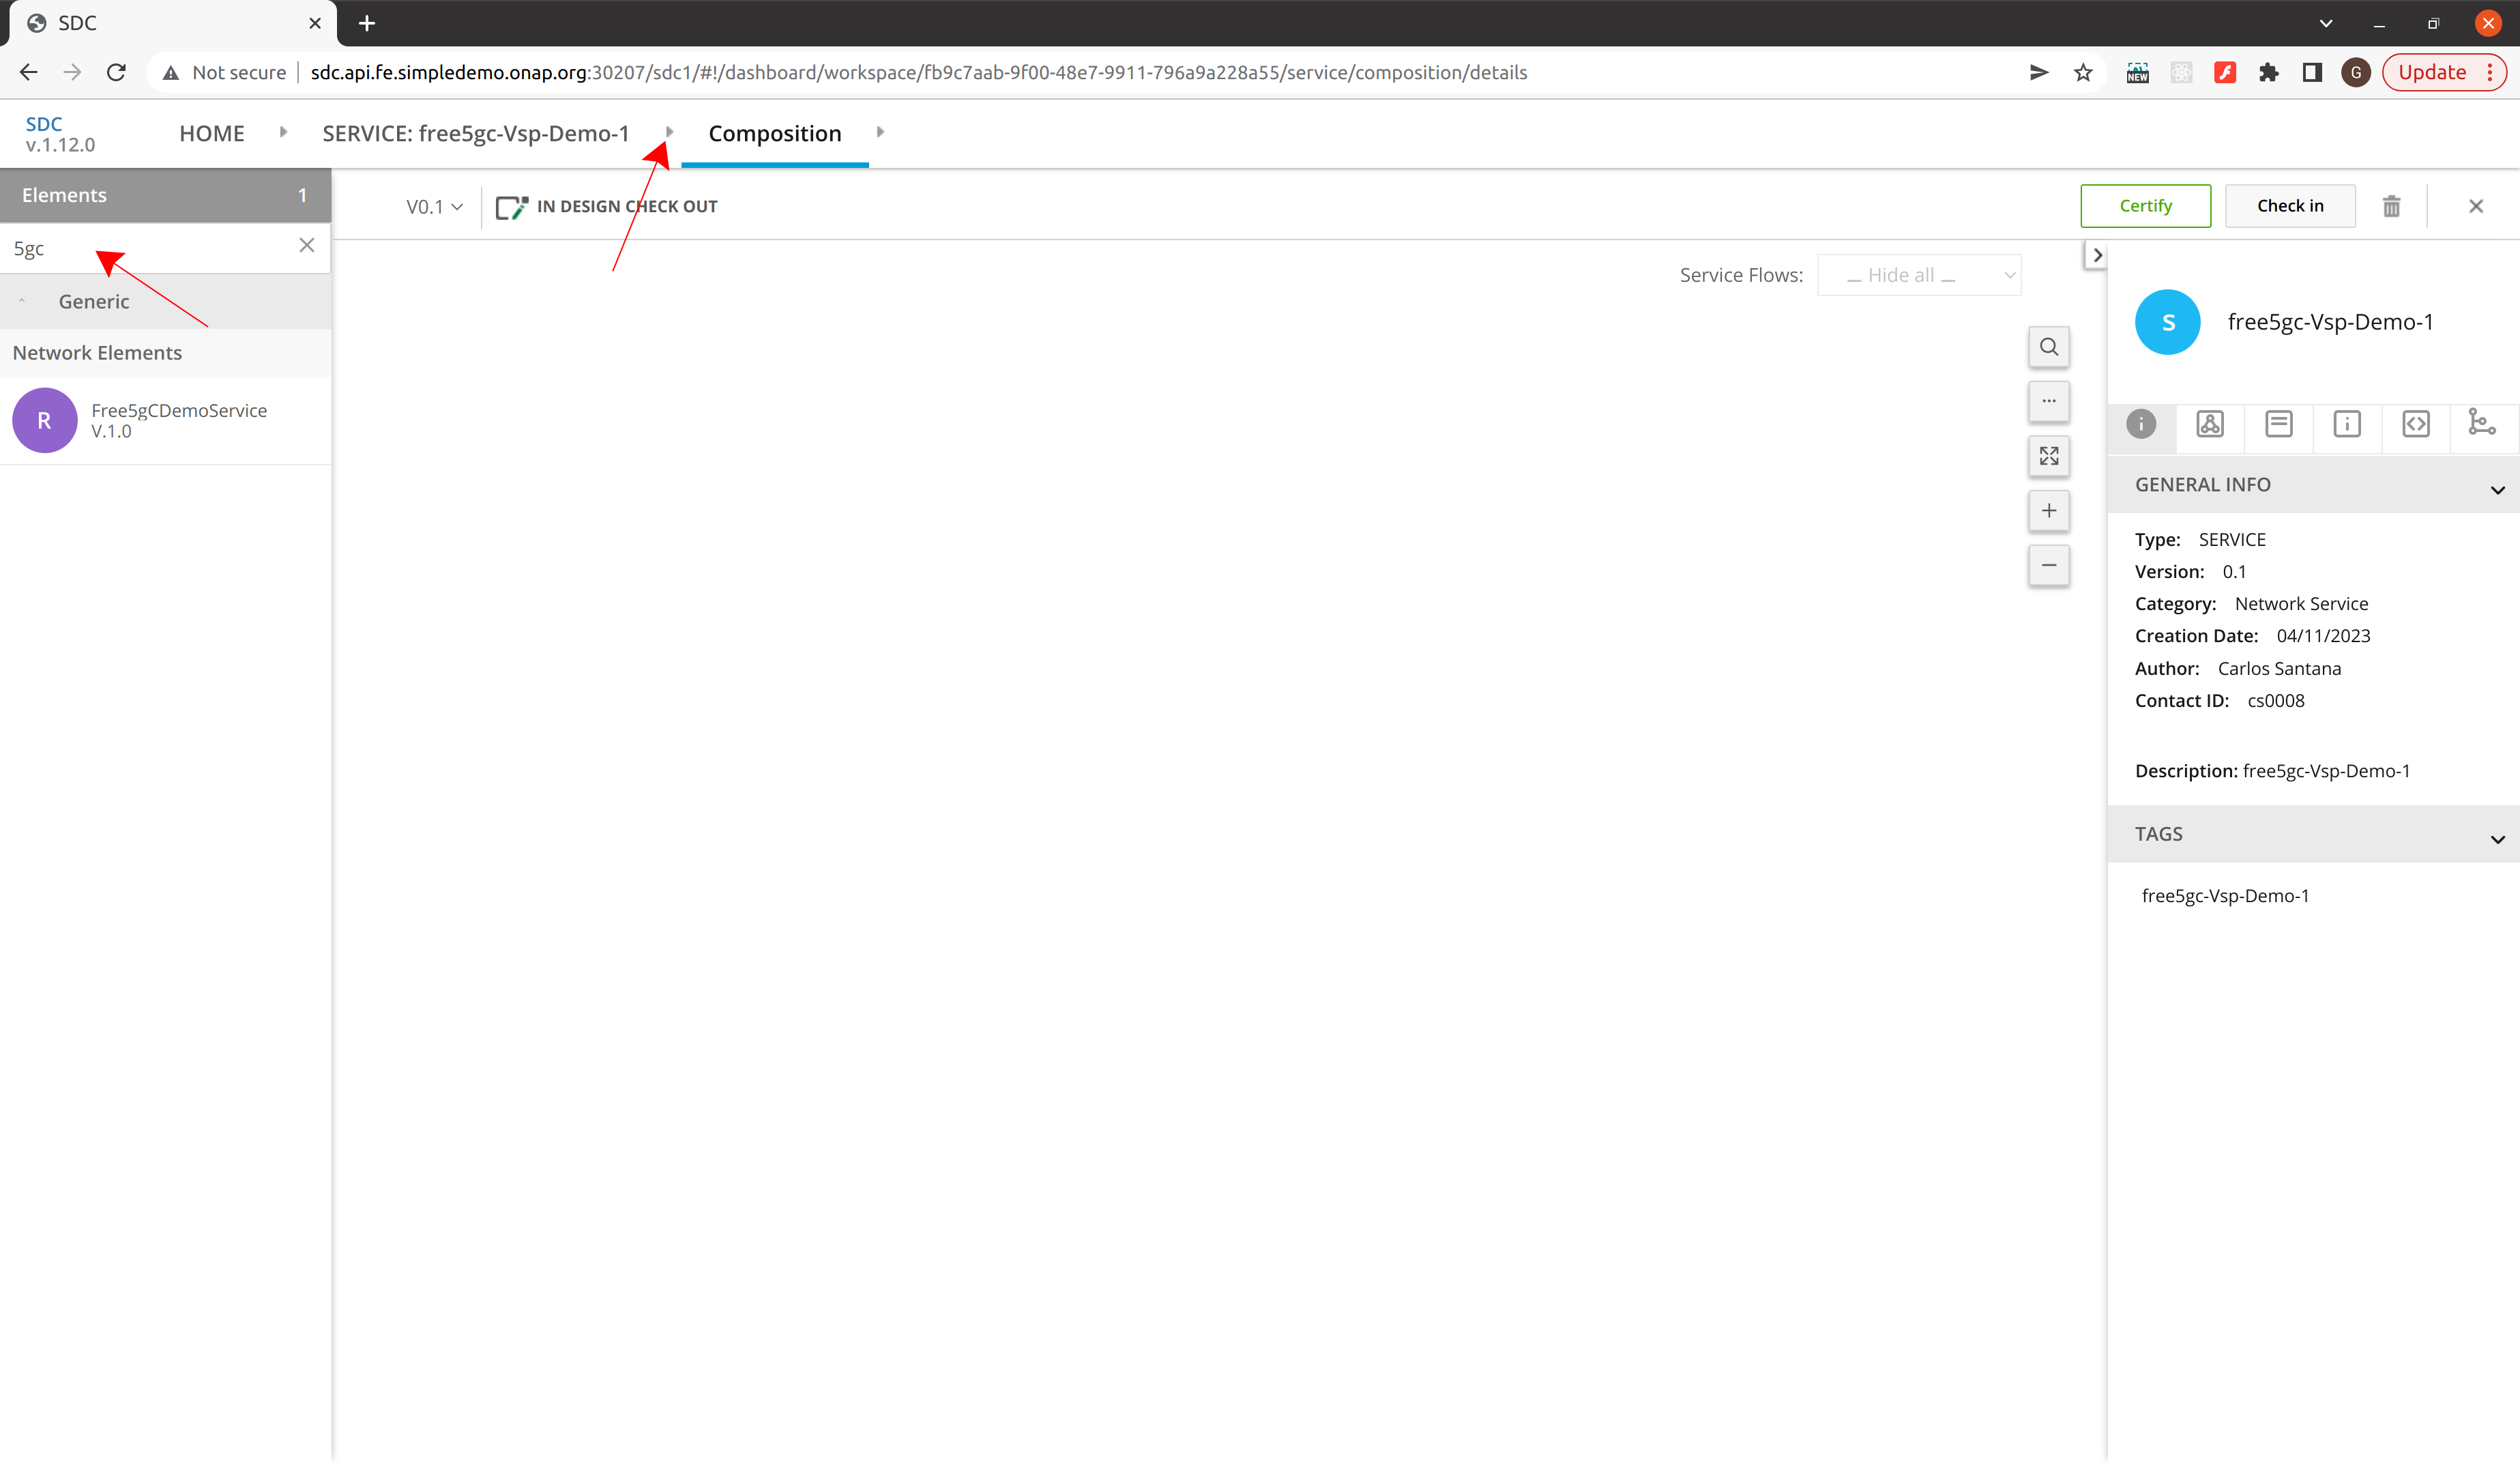
Using the arrrow beside the service at the top of the screen navigate to the Composition page.
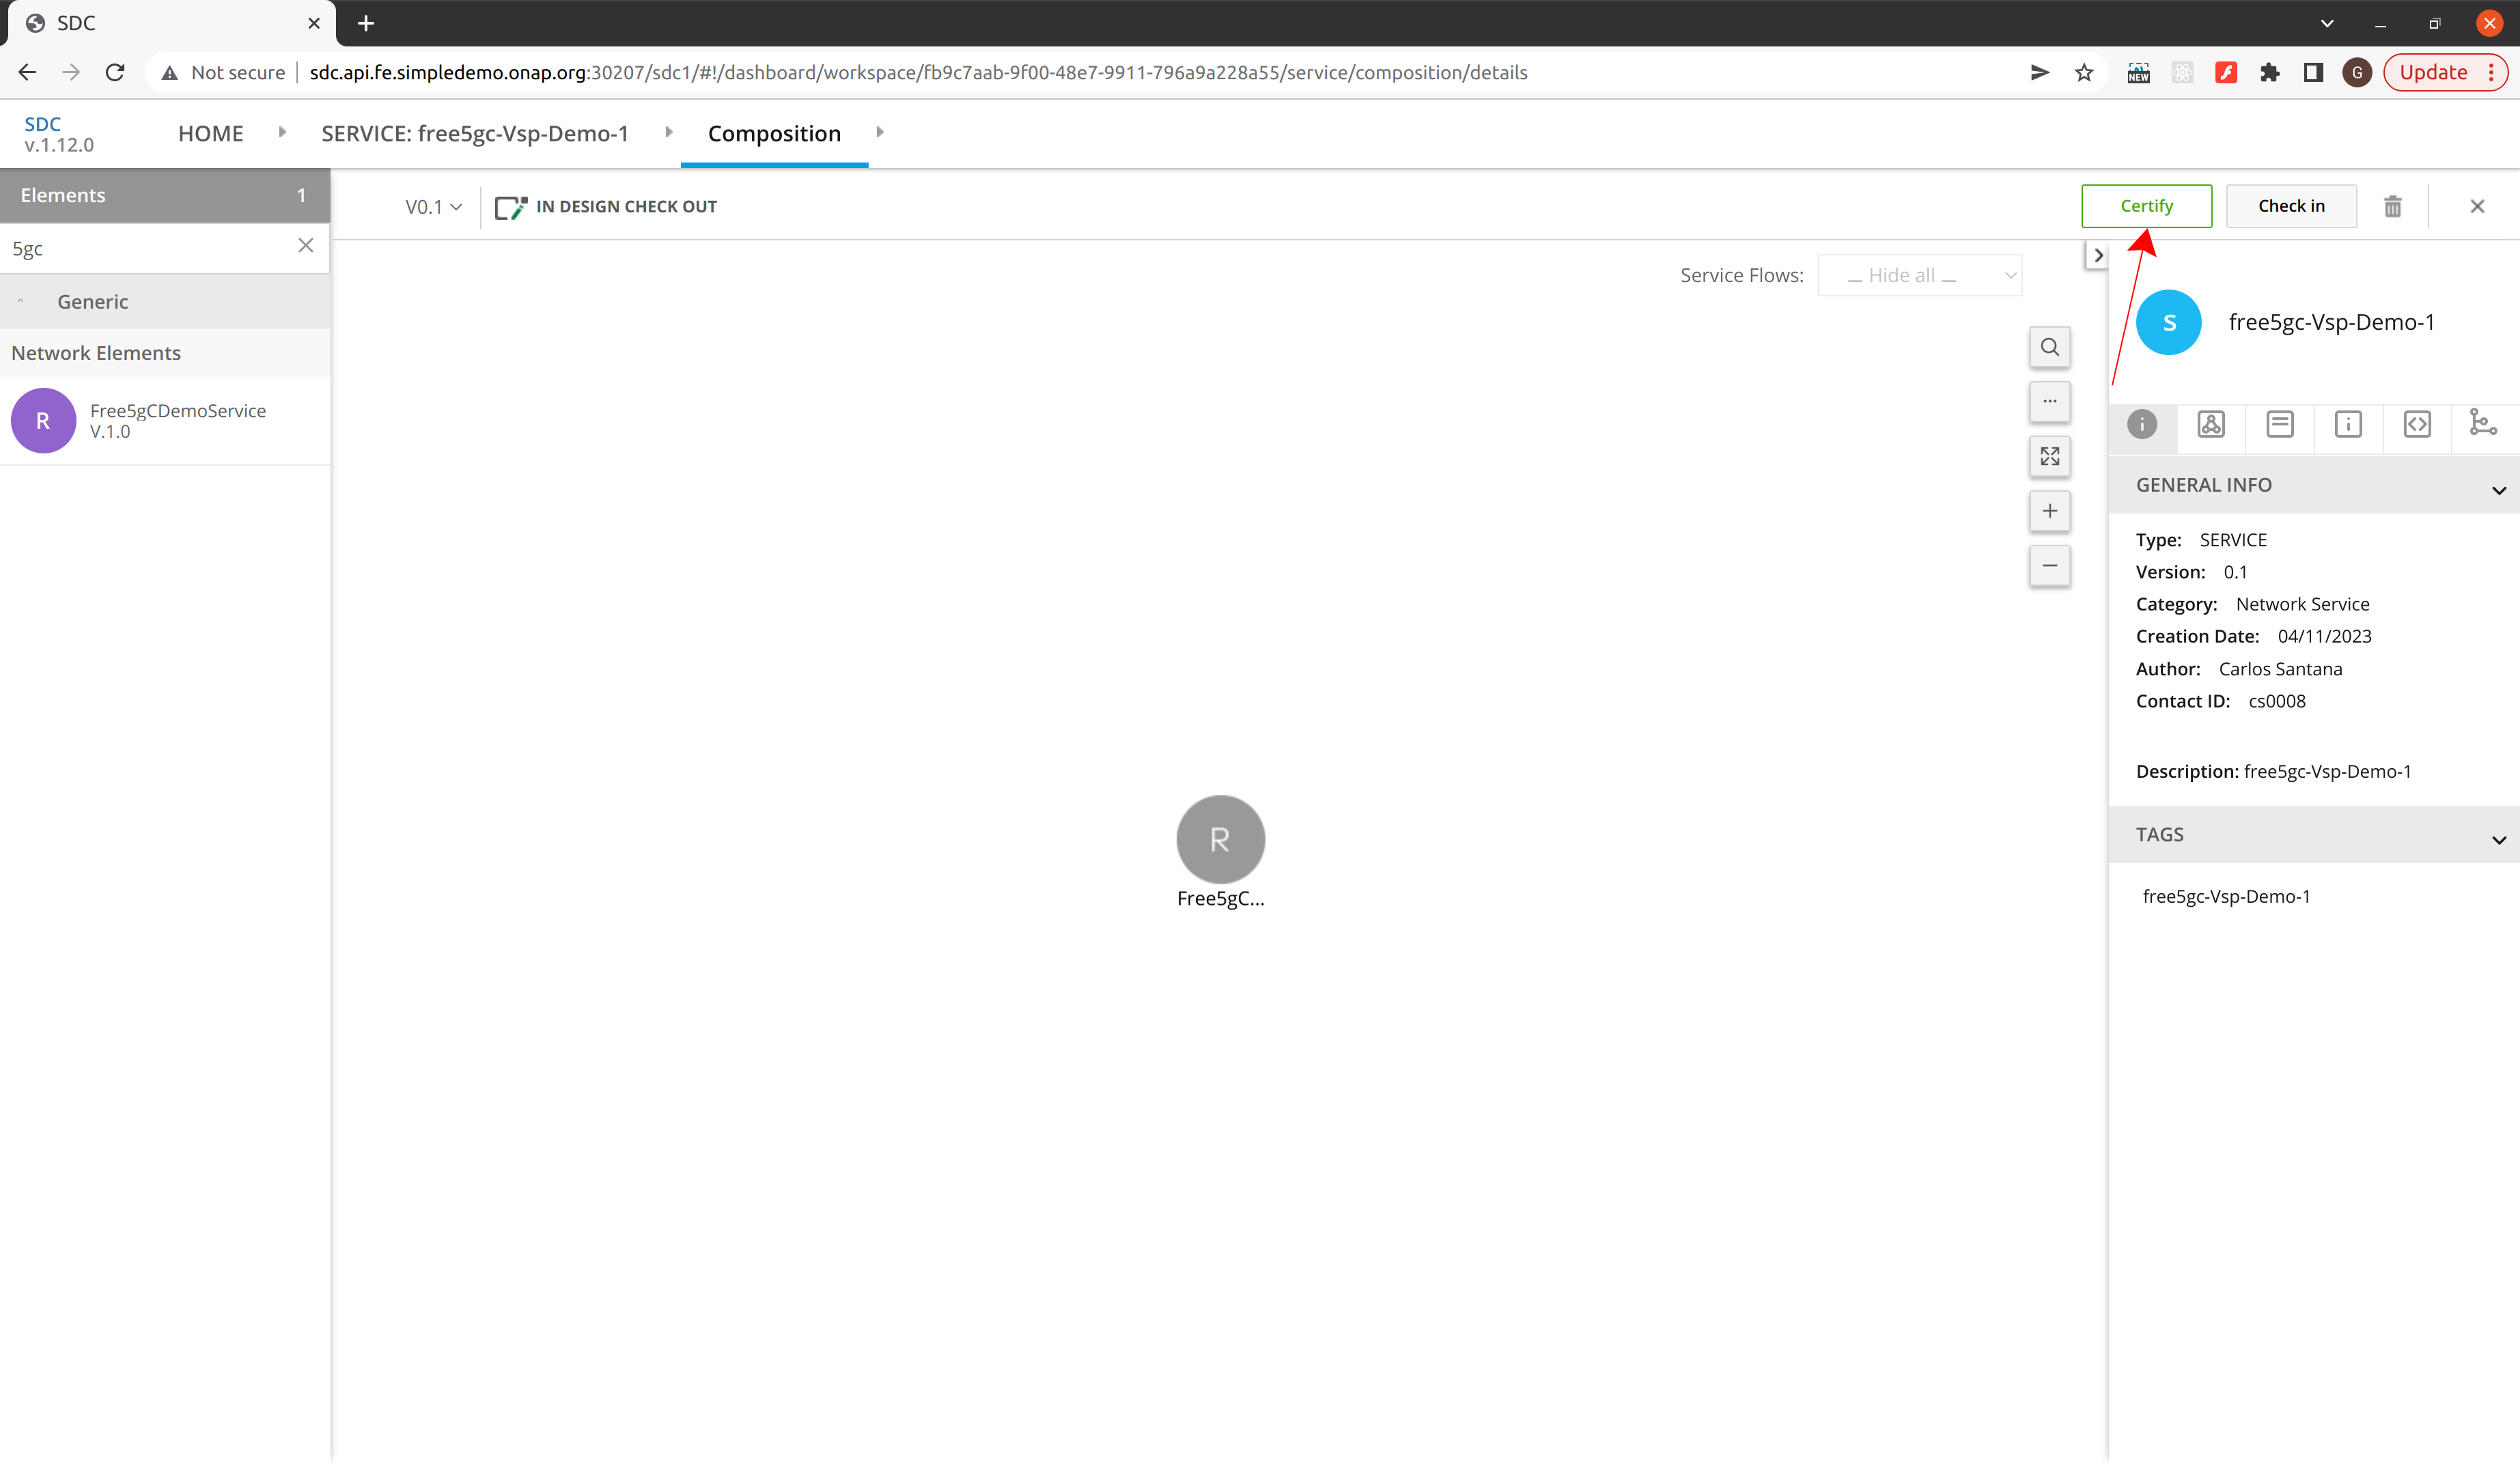
In the text box on the left of the screen find your network element and drag it to the centre of the screen.
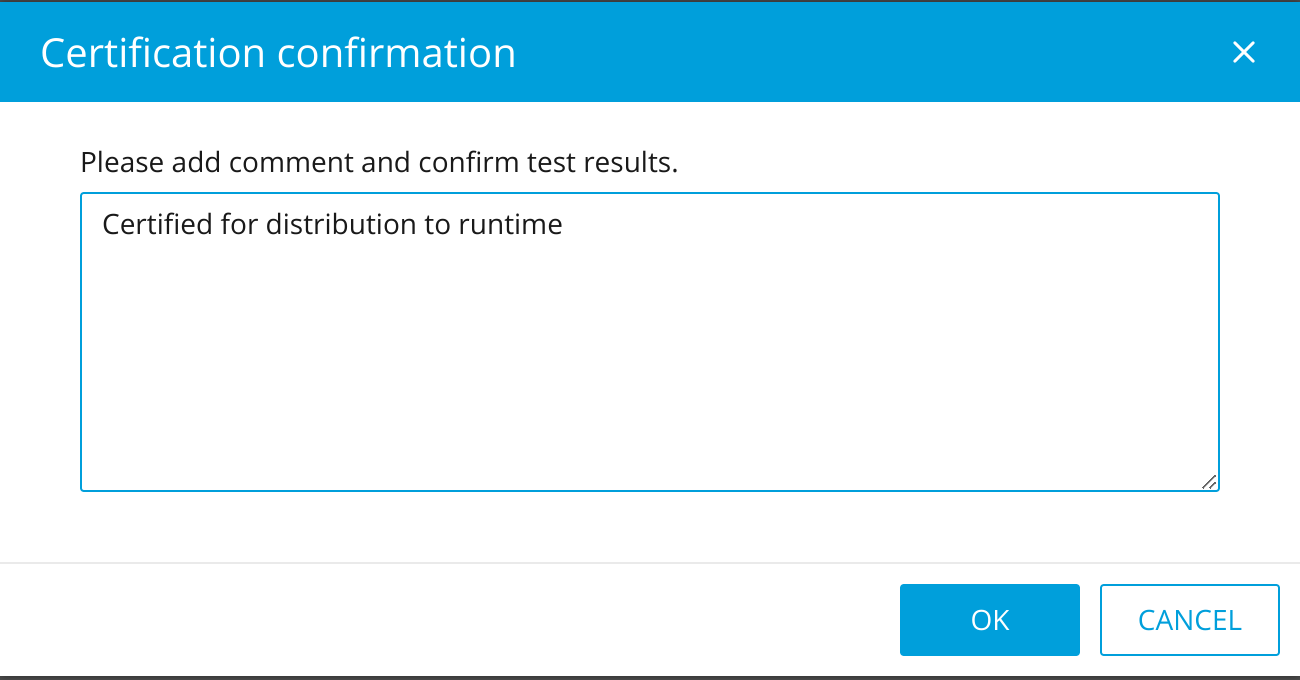
The service can now be certified.
Again try to make this message meaningful.
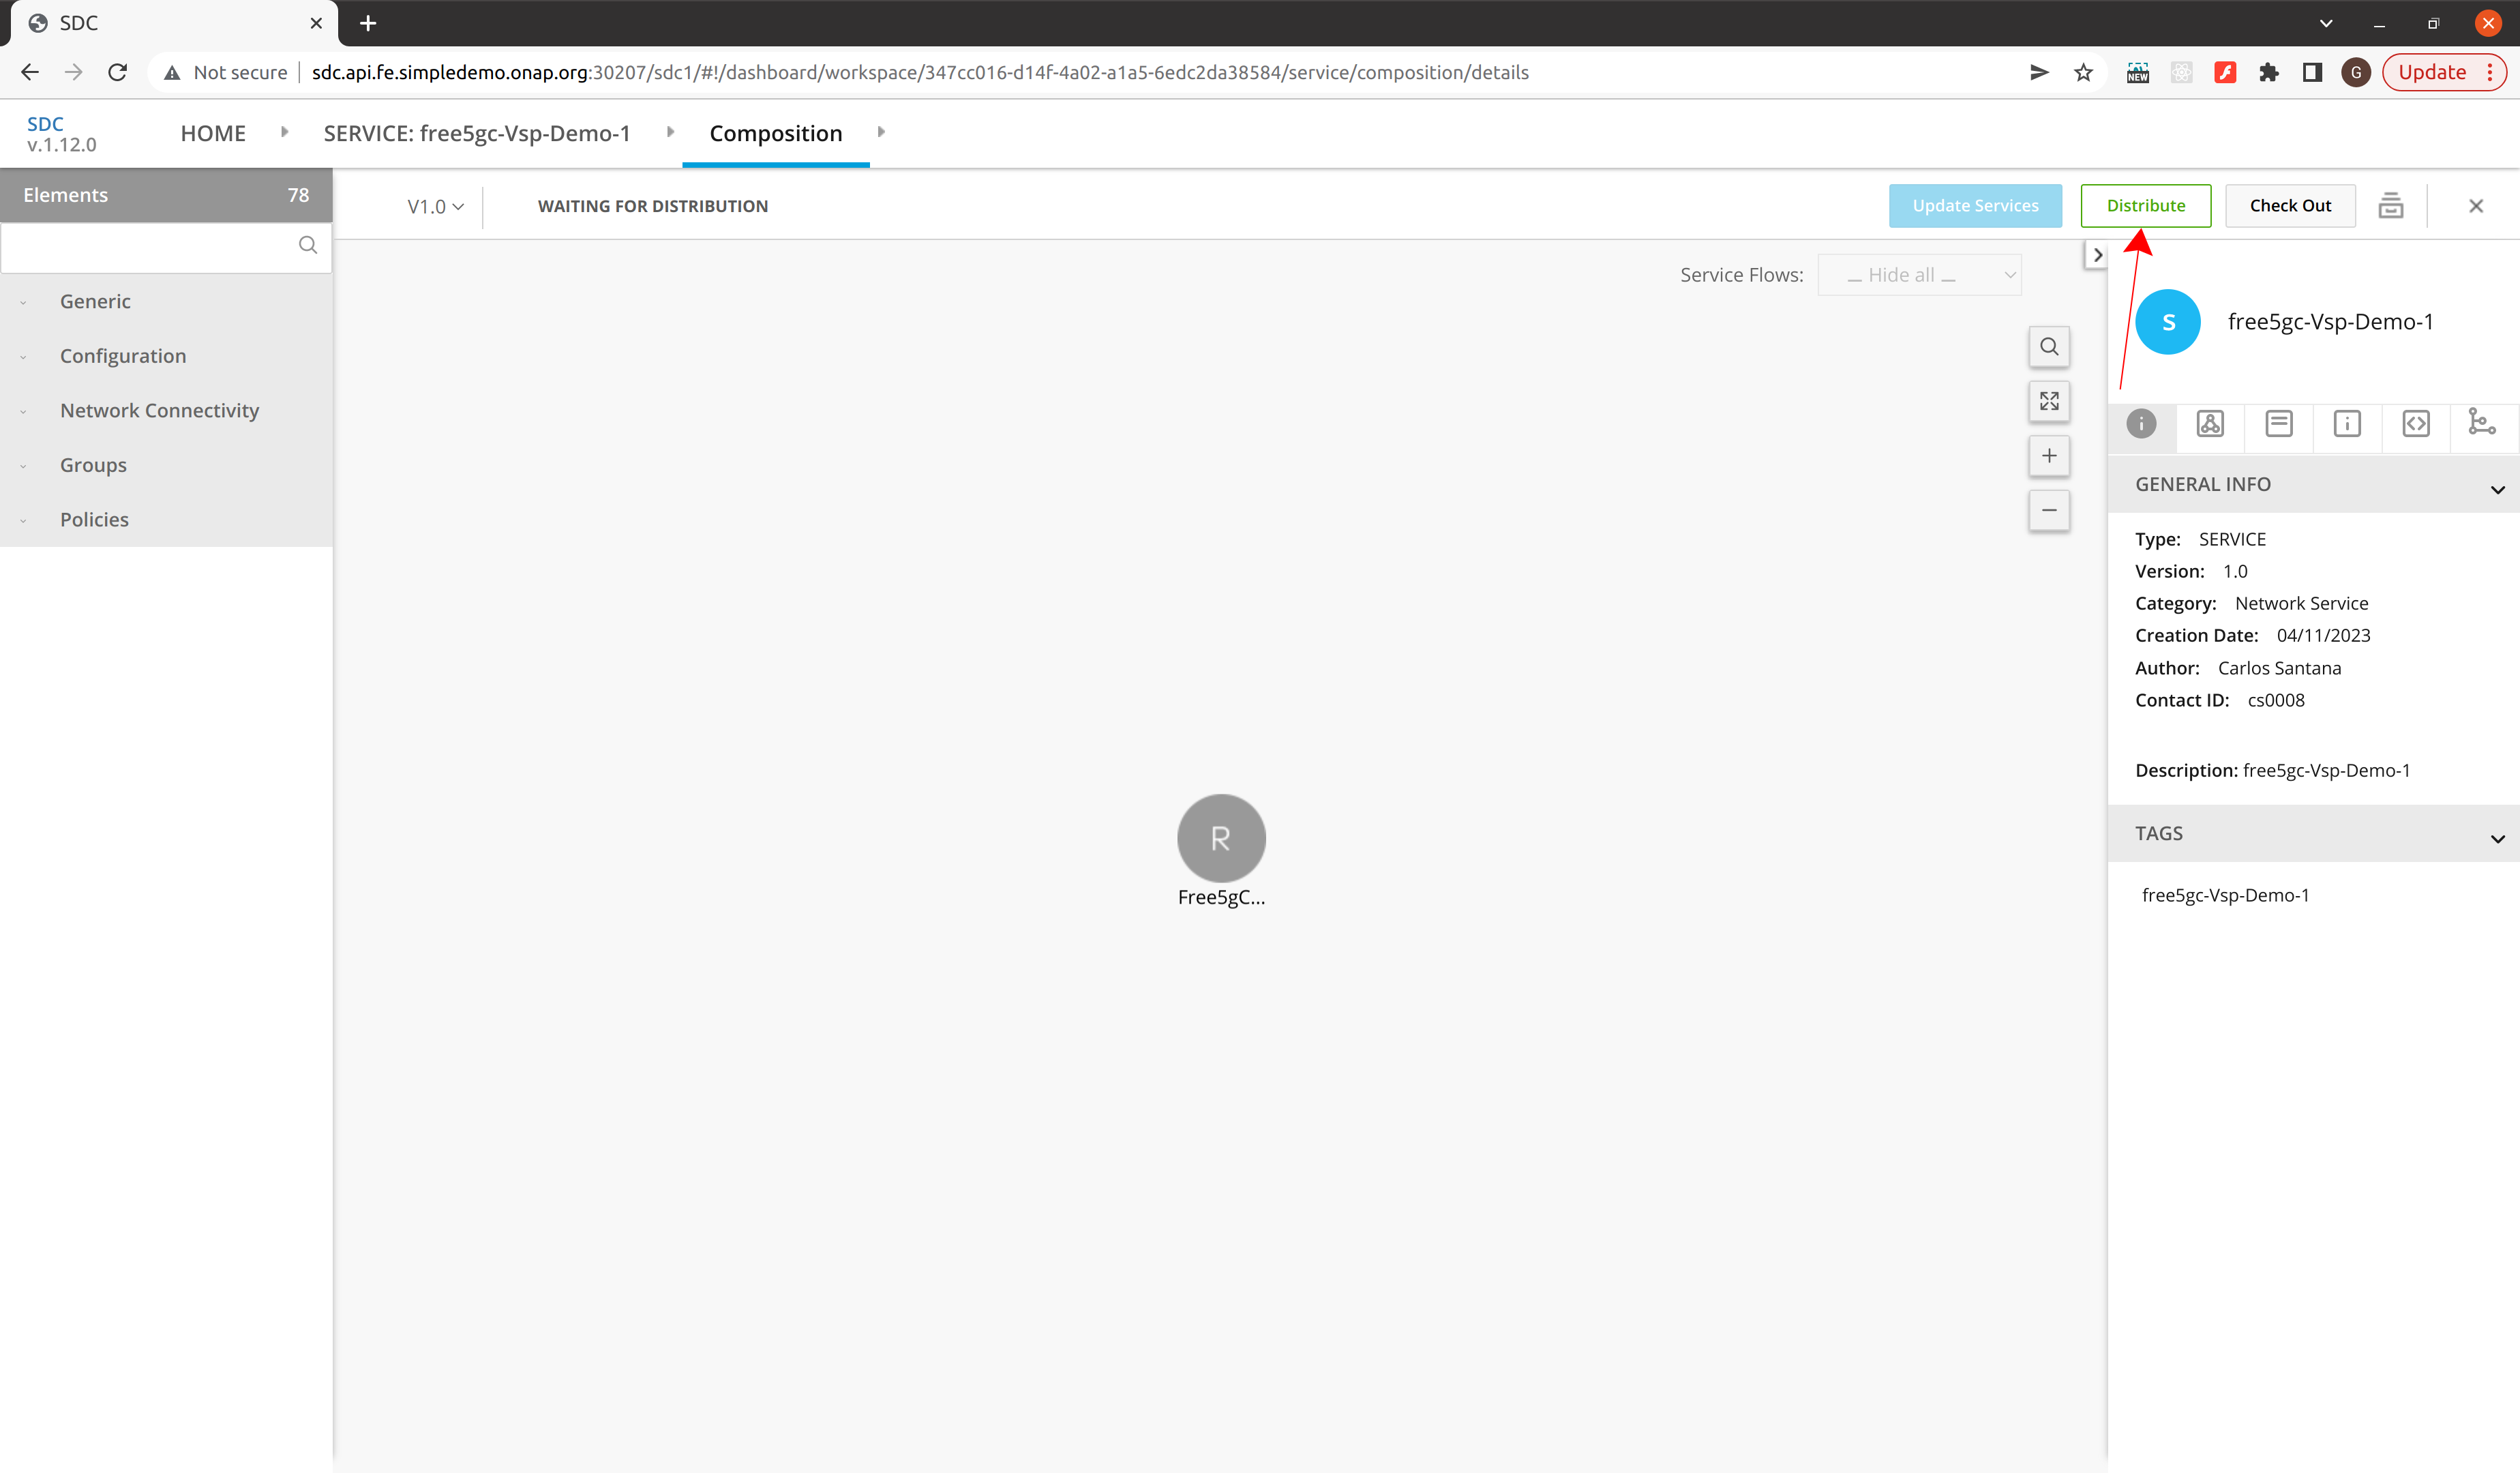
Distribute the service to make it available to the runtime environment.
Once distribution does not show any errors the distribution has been successful and the service can be instantiated in the runtime environment.
Video Tutorial
To follow
Example CSAR
