...
- Once the screen is filled in, select "Next"
- It will then prompt you for the branches to select. Choose: "master" and Click "Next".
- You will then be prompted to select a local directory on your machine into which the model should be loaded. It can be any location you want, and not necessarily the workspace you are using for Eclipse/Papyrus projects. As an "initial branch", select "master". Select the option "Import all existing Eclipse projects...". Your screen at this point should look like this:

- Also remember to check the box to import all existing Eclipse projects.
- If you forget to do so, you will not see the project in the Papyrus perspective.
- Alternatively, if you forget to select the checkbox,
- In the Git perspective, select the Working Tree, then right click and select import projects
- Note: In order for the above process to work, you may have to exit your corporate VPN.
- Alternatively, go to preferences/geneal/network connection, and set up a proxy access gerrit, including
- set to manual
- fill out http and https
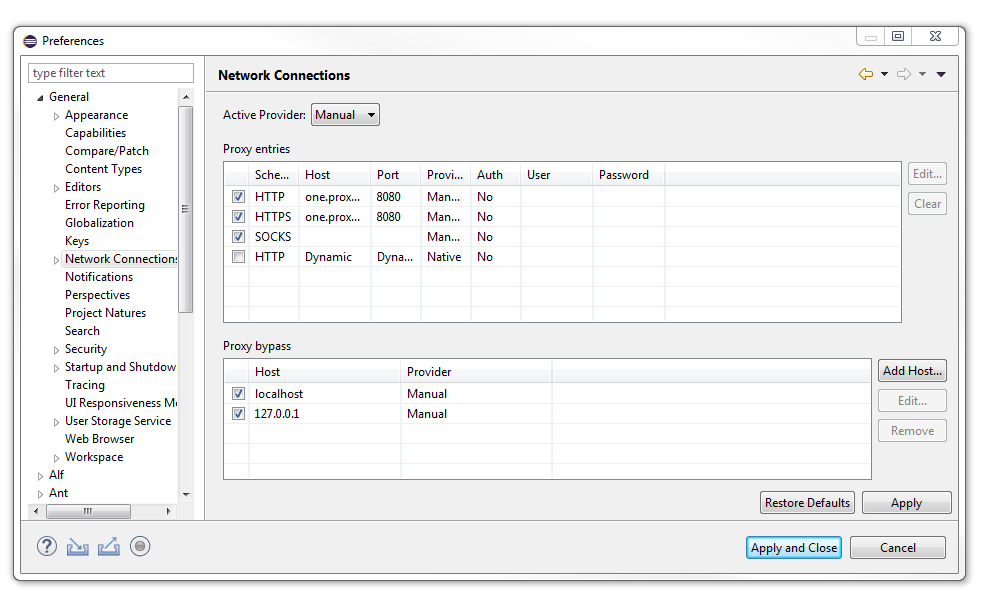
- Alternatively, go to preferences/geneal/network connection, and set up a proxy access gerrit, including
Select "finish". For a first time, you may get the following message. Select "Yes".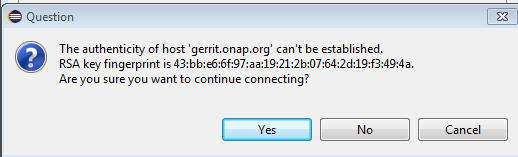
- The cloning process should complete, and the repository should be created on your local machine. If you encounter errors, contact the ONAP model administrator to get help.
- The view below shows an example of the newly created repository which has been opened up down to the level of the "Local" folder. Note: You should have the "master" branch only showing up as your "Local".
...