...
3. Design & Distribution Flow
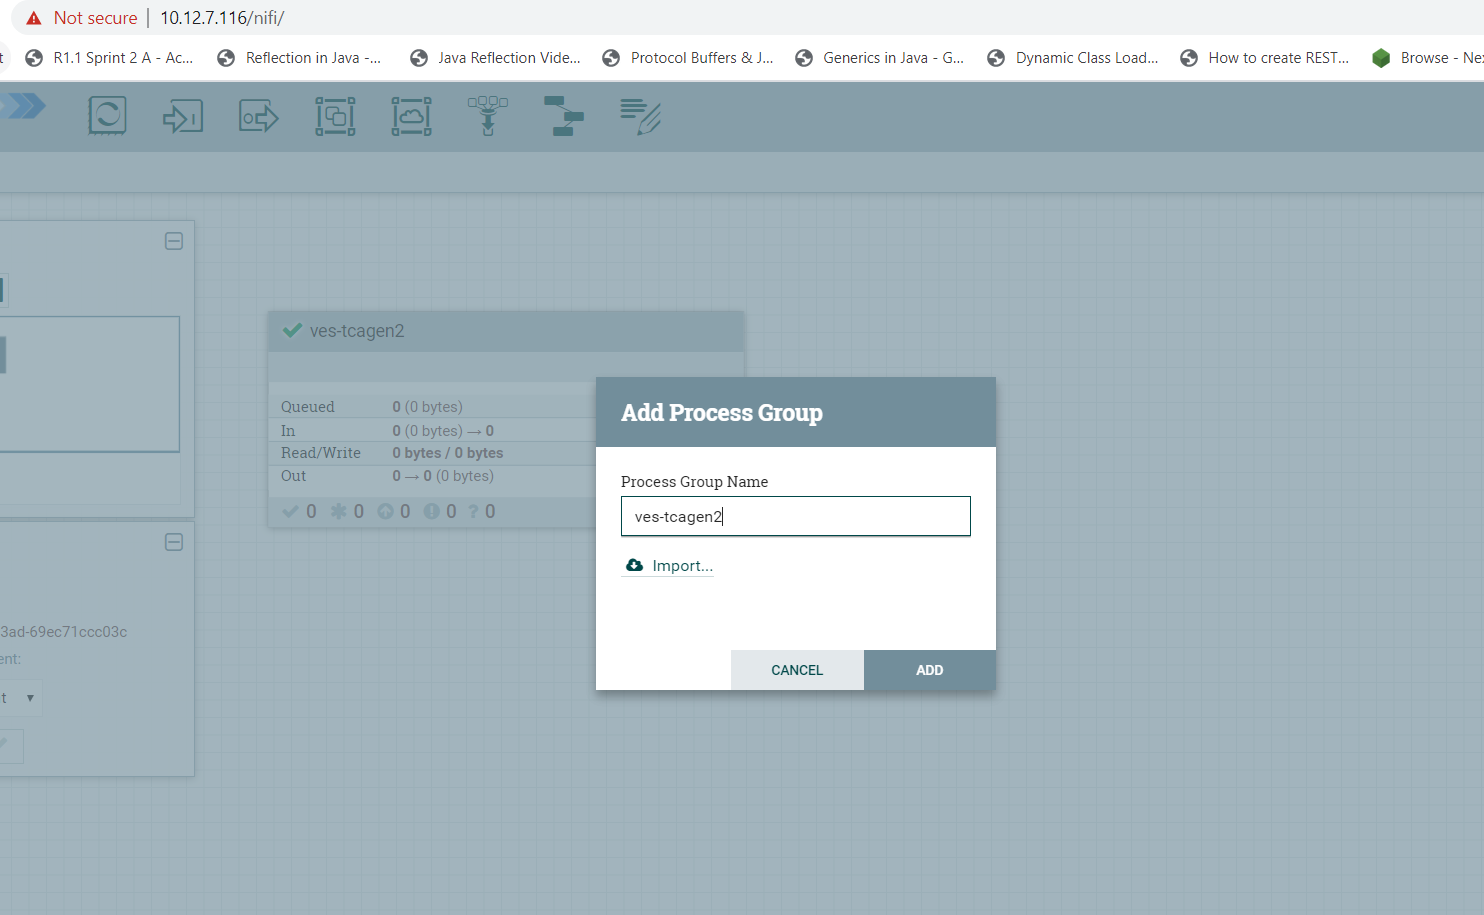
To start creating flows, we need to create a process group first. The name of the process group will be the name of the flow. Drag and Drop on the canvas, the ‘Processor Group’ icon from the DCAE Designer bar on the top.
a) Configure Nifi Registry url
...
Add a registry client. The Registry client url will be http://dcaemod-nifi-registry:18080

b) Add distribution target which will be the runtime api url
Once we have the desired flow checked in, we can go ahead and set the distribution target in the controller settings

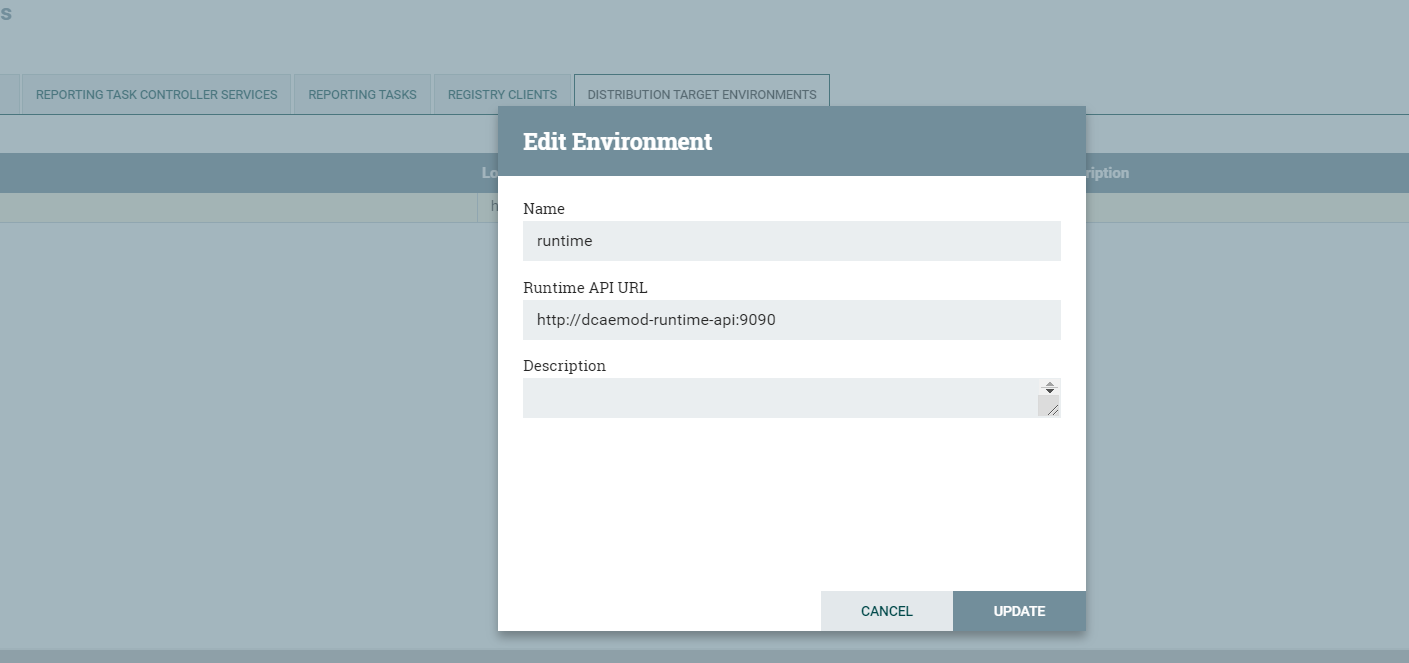
Distribution target URL will be http://dcaemod-runtime-api:9090
c) To start creating flows, we need to create a process group first. The name of the process group will be the name of the flow. Drag and Drop on the canvas, the ‘Processor Group’ icon from the DCAE Designer bar on the top.
Now enter the process group by double clicking it,
...
Note: Even if you move a component around on the canvas, and its position on the canvas changes, it is recognized as a change, and it will have to recommitted.
bd) Adding components and building the flow
...
The complete flow after joining our components looks like so

c) Add distribution target which will be the runtime api url
Once we have the desired flow checked in, we can go ahead and set the distribution target in the controller settings
Distribution target URL will be http://dcaemod-runtime-api:9090
de) Submit/ Distribute the flow:
...
The runtime is supposed to generate the blueprint out of the packaged design/flow and push it to the DCAE inventory and the DCAE Dasboard.
ef) Checking the components in the DCAE Dashboard
...