...
- Install/remove Microk8s with appropriate version
- Install/remove Helm with appropriate version
- Tweak Microk8s
- Download oom repo
- Install the needed Helm plugins
- Install ChartMuseum as a local helm repo
- Install docker (now needed to build oom charts)
- Build all oom charts and store them in the chart repo
- Tweak oom override file to fine tune deployment based on your VM capacity and component needs
- Deploy/Undeploy charts
- Enable local UI access
- Full Deployment Override on a single VM
1) Install/Upgrade Microk8s with appropriate version
...
Note this is a very basic setup, meaning you'll need to startup your local repo if you shut down your VM or if you exit this terminal, there are other ways to do it, like using a docker compose to ensure 'it's always on'
7) Install docker
During the processing of the oom helm charts (oom-cert-service component of platform), docker is needed as it is used to create certificates.
Also, you can setup a local database for Helm to store it's deployment (more info on Helm website), this is useful if you want to upgrade and undeploy charts, now on this setup which is aimed for developpers, the approach is a clean install and wipe if we need to change something so we won't describe this part here, see last point on how to deploy/undeploy with this setup
7) Install docker
During the processing of the oom helm charts (oom-cert-service component of platform), docker is needed as it is used to create certificates.
Follow the docker install instructions for Ubuntu here : https://Follow the docker install instructions for Ubuntu here : https://docs.docker.com/engine/install/ubuntu/
...
1) CPU/Memory might be limited, so be careful on what you enable / disable. K8S 1.19 now properly enforce CPU and memory requests/limits so it is important to define/override them correctly
2) Timeouts 2) Timeouts : the more component you enable, the more the liveness probes and readiness probes timeouts may have an influence on how often K8Sto be increased, knowing that we will most likely over commit the VM CPU.
First, here is a very basic override file to enable a very small setup with SDC, we will only enable aaf, portal, SDC and cassandra shared, this should work on a laptop with enough ram :
copy the content below to a file called onap-honolulu.yaml
| Code Block |
|---|
#################################################################
# Global configuration overrides.
#
# These overrides will affect all helm charts (ie. applications)
# that are listed below and are 'enabled'.
#################################################################
global:
  # Change to an unused port prefix range to prevent port conflicts
  # with other instances running within the same k8s cluster
  nodePortPrefix: 302
  nodePortPrefixExt: 304
  masterPassword: secretpassword
  # ONAP Repository
  # Uncomment the following to enable the use of a single docker
  # repository but ONLY if your repository mirrors all ONAP
  # docker images. This includes all images from dockerhub and
  # any other repository that hosts images for ONAP components.
  #repository: nexus3.onap.org:10001

  # readiness check - temporary repo until images migrated to nexus3
  readinessRepository: oomk8s
  # logging agent - temporary repo until images migrated to nexus3
  loggingRepository: docker.elastic.co

  # image pull policy
  pullPolicy: IfNotPresent

  # override default mount path root directory
  # referenced by persistent volumes and log files
  persistence:
    mountPath: /dockerdata-nfs

  # flag to enable debugging - application support required
  debugEnabled: false

#################################################################
# Enable/disable and configure helm charts (ie. applications)
# to customize the ONAP deployment.
#################################################################
aaf:
  enabled: true
  aaf-service:
    readiness:
      initialDelaySeconds: 150
cassandra:
  enabled: true
  replicaCount: 3
  config:
    cluster_domain: cluster.local
    heap:
      max: 1G
      min: 256M
  liveness:
    initialDelaySeconds: 60
    periodSeconds: 20
    timeoutSeconds: 10
    successThreshold: 1
    failureThreshold: 3
    # necessary to disable liveness probe when setting breakpoints
    # in debugger so K8s doesn't restart unresponsive container
    enabled: true

  readiness:
    initialDelaySeconds: 120
    periodSeconds: 20
    timeoutSeconds: 10
    successThreshold: 1
    failureThreshold: 3
portal:
  enabled: true
sdc:
  enabled: true
  config:
    environment:
      vnfRepoPort: 8703
  sdc-be:
    config:
      javaOptions: "-Xmx1g -Xms512m"
    liveness:
      periodSeconds: 300
      timeoutSeconds: 180
    readiness:
      periodSeconds: 300
      timeoutSeconds: 240
  sdc-fe:
    resources:
      small:
        limits:
          cpu: 1
          memory: 2Gi
        requests:
          cpu: 100m
memory: 500Mi |
You'll notice the tweaks to the timeouts and memory settings and limits, this is mostly what you have to adapt depending on your needs
Once the file is ready you can deploy :
1) First you need to ensure that the onap namespace exists (it now must be created prior deployment)
| Code Block |
|---|
kubectl create namespace onap |
2) Launch the chart deployment, pay attention to the last parameter, it must point to your override file create above
| Code Block |
|---|
helm deploy onap local/onap --namespace onap -f ~/onap-honolulu.yaml |
The deployment can take a while depending on how many charts you've enabled.
You should see all pods starting up and you should be able to see logs using kubectl, dive into containers etc...
How to undeploy and start fresh
The easiest is to use kubectl, you can clean up the cluster in 3 commands :
| Code Block |
|---|
kubectl delete namespace onap
kubectl delete pv --all
sudo rm -rf /dockerdata-nfs |
don't forget to create the namespace again before deploying again (helm won't complain if it is not there, but you'll end up with an empty cluster after if finishes)
10) Enable UI access
Once all pods are running and all jobs are completed,
You may want to connect to the ONAP UIs locally, to do so you first need to add the following to your /etc/host (adapt the IP address if you use a remote VM)
| Code Block |
|---|
# for myVM ONAP
127.0.0.1 portal.api.simpledemo.onap.org
127.0.0.1 sdc.api.simpledemo.onap.org
127.0.0.1 sdc.api.fe.simpledemo.onap.org
127.0.0.1 sdc.workflow.plugin.simpledemo.onap.org
127.0.0.1 vid.api.simpledemo.onap.org
127.0.0.1 policy.api.simpledemo.onap.org
127.0.0.1 aai.ui.simpledemo.onap.org
127.0.0.1 nbi.api.simpledemo.onap.org
127.0.0.1 clamp.api.simpledemo.onap.org
127.0.0.1 so-monitoring
127.0.0.1 robot-onap.onap.org
127.0.0.1 aaf-gui
127.0.0.1 robot-onap.onap.org
127.0.0.1 cdt.api.simpledemo.onap.org
127.0.0.1 appc.api.simpledemo.onap.org
127.0.0.1 cds.api.simpledemo.onap.org |
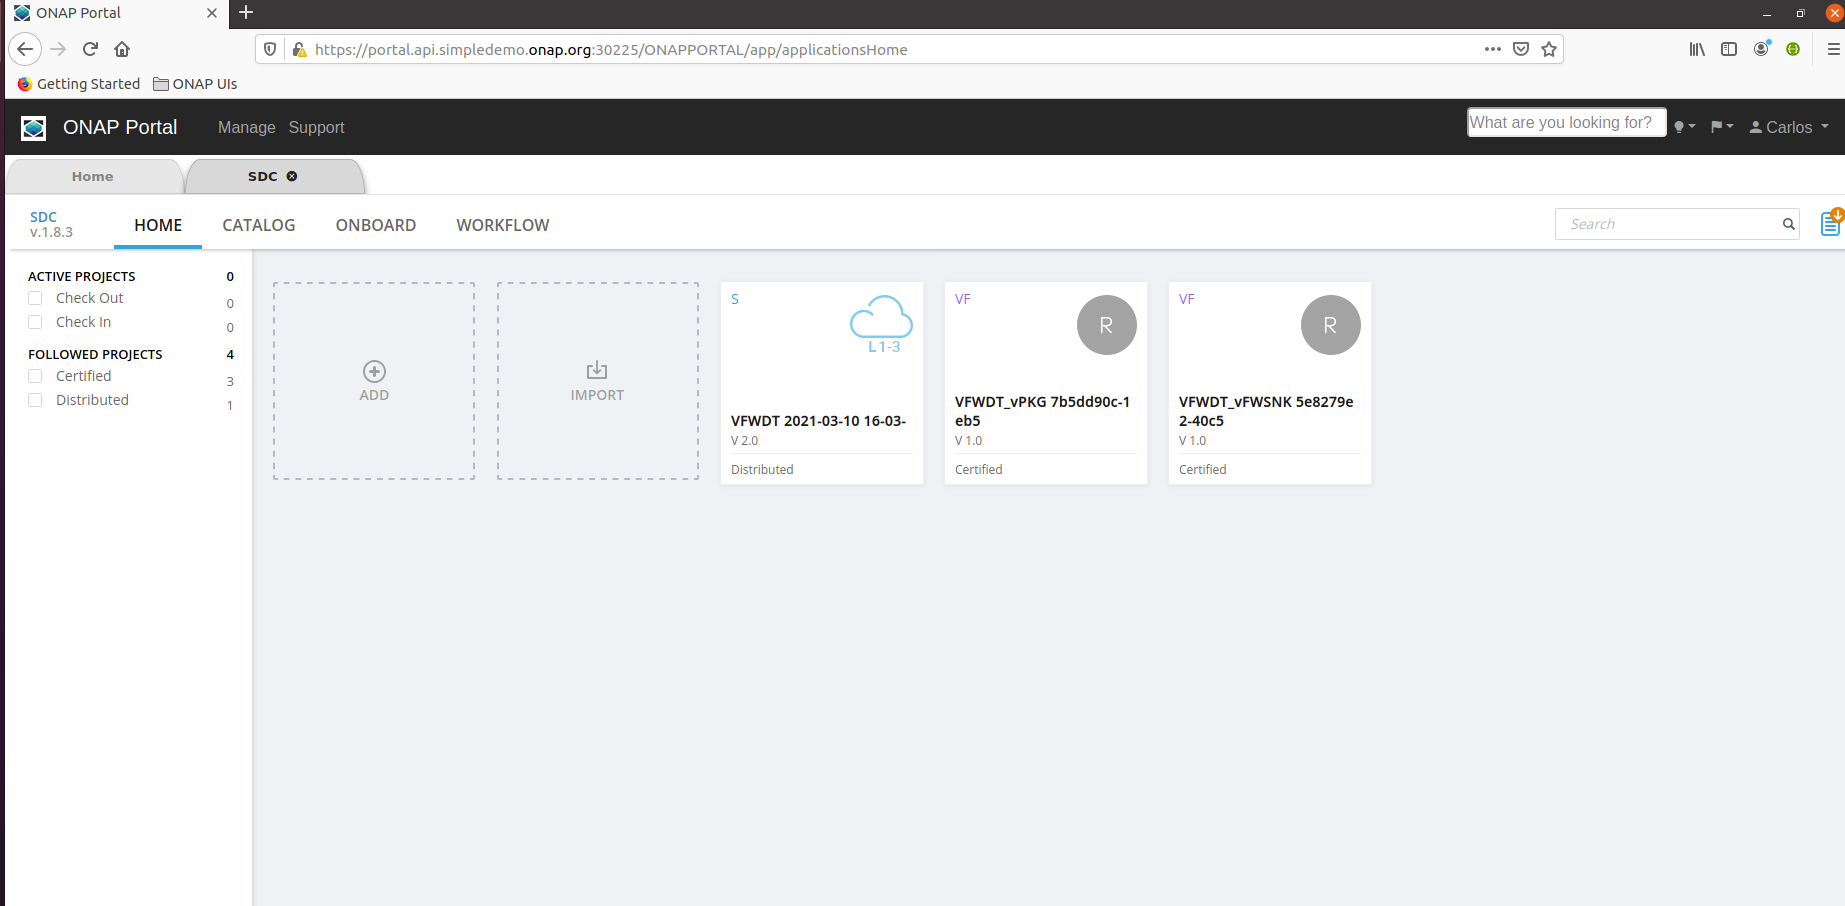
You can then access the portal UI by opening your browser to :
https://portal.api.simpledemo.onap.org:30225/ONAPPORTAL/login.htm
Note : Since SDC (and other UIs) are embedded into the portal UI frame, you browser may complain about trusting its certificate, to work around this issue, open the SDC UI directly first (to get your browser to accept the certificate), once done you should be able to open the SDC UI through the portal. To do so, open another tab of your browser to :
https://sdc.api.fe.simpledemo.onap.org:30207/
https://sdc.workflow.plugin.simpledemo.onap.org:30256/
Note : you need to repeat the above for each deployment, as certificates are generated by AAF during startup, certificates will change each time you deploy
You should now be able to use SDC :