This tutorial covers using the ONAP portal to onboard and distribute a prebuilt virtual network function, in this specific case, a firewall application which will throttle traffic through the ports it controls if the bandwidth being consumed goes above a certain threshold, and then open up the ports when traffic moderates below a "low tide" value.
The actual design of the virtual service using the Design Studio will be covered in a future tutorial.
Note that the ONAP Portal's SDC subsystem does not work correctly in the OS X Safari browser.
Roles in the Onboarding and Distribution Workflow
Typically, the workflow involved in designing, onboarding, and distributing a virtual service is compartmentalized, and through the course of this tutorial, we will be dividing the work up among four sample "users" included in the based ONAP environment by default:
cs0008: the "Designer" role, responsible for the design and configuration of the servicejm0007: the "Tester" role, responsible for testing a proposed distribution and approving or rejecting itgv0001: the "Governor" role, responsible for approve the actual distribution of a virtual serviceop0001: the "Ops" role, responsible for performing the actual distribution of an approve virtual service
All of these user IDs share the same password, demo123456!
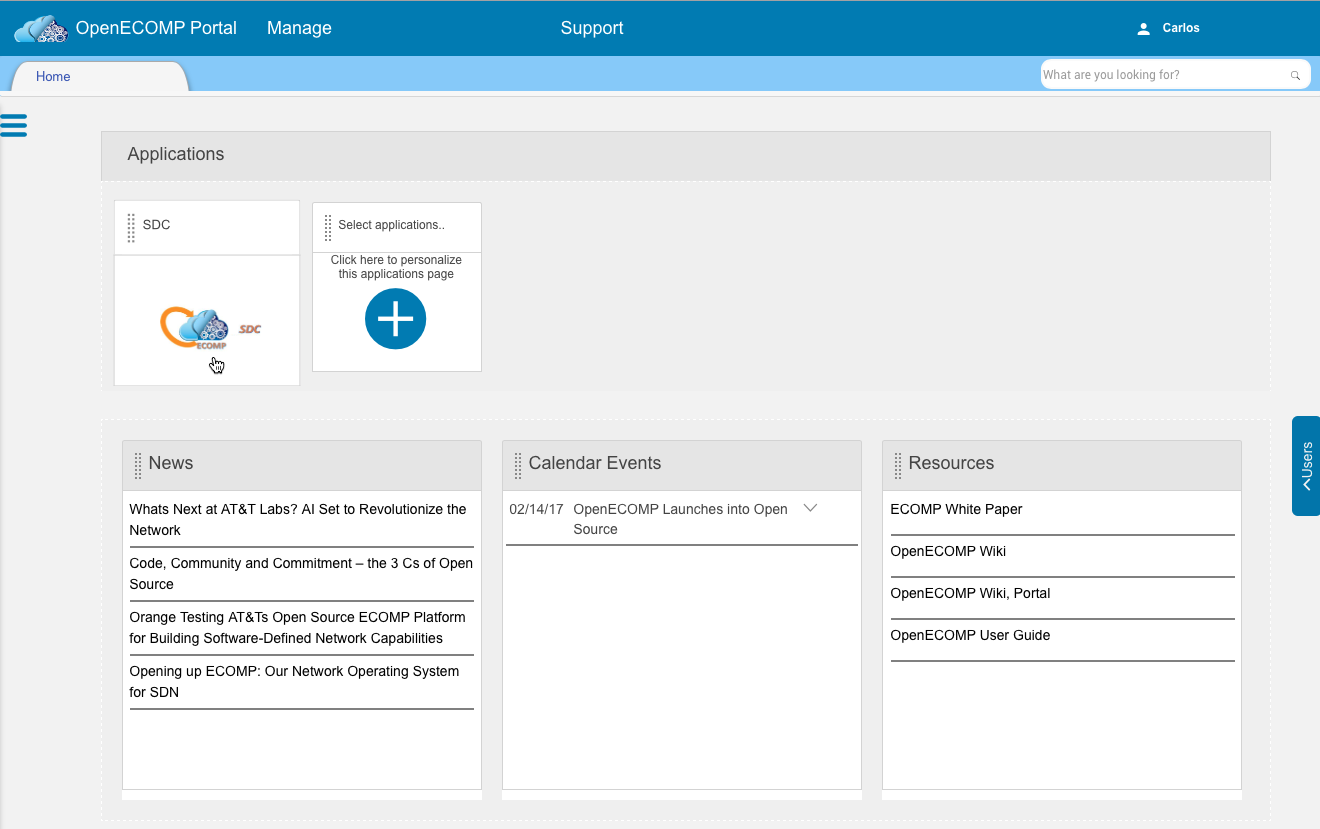
For the first steps, we will log into the ONAP Portal as our Designer, cs0008. The home screen will be similar to what we saw in the previous tutorial. All the next steps will be under the designer until mentioned otherwise. Click on the SDC icon.
1.1

1.0
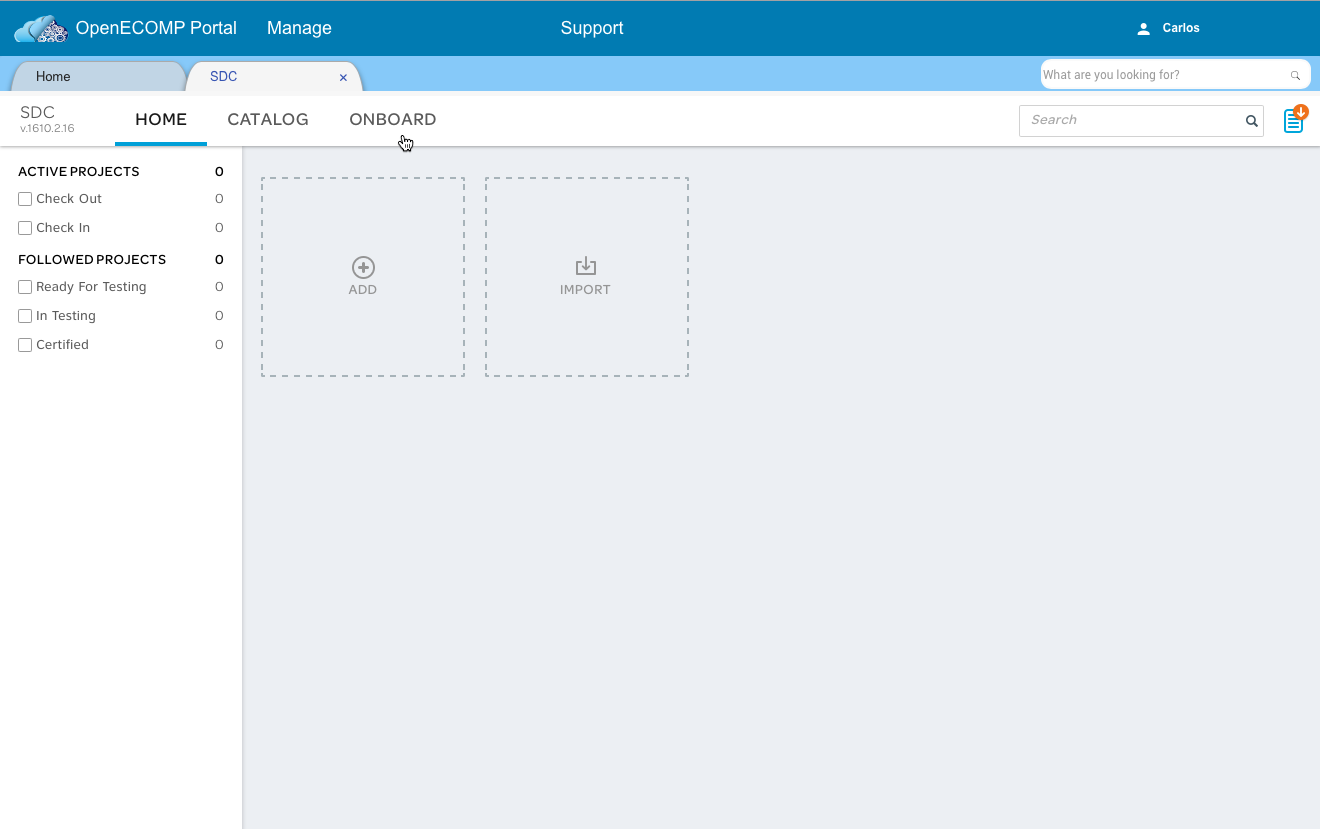
This will log you into the SDC and open its home page in a new tab. Click on "Onboard".
Creating a License Model
This takes you to the (currently empty) onboarding catalog. When you hover over the gray "Add" box with the plus button, two new buttons will appear: "New License Model" and "New Vendor Software Product". We need to create a license model for our distribution first, so click on the "Create New VLM" in 1.1 or "New License Model" button in 1.0:
1.1

1.0

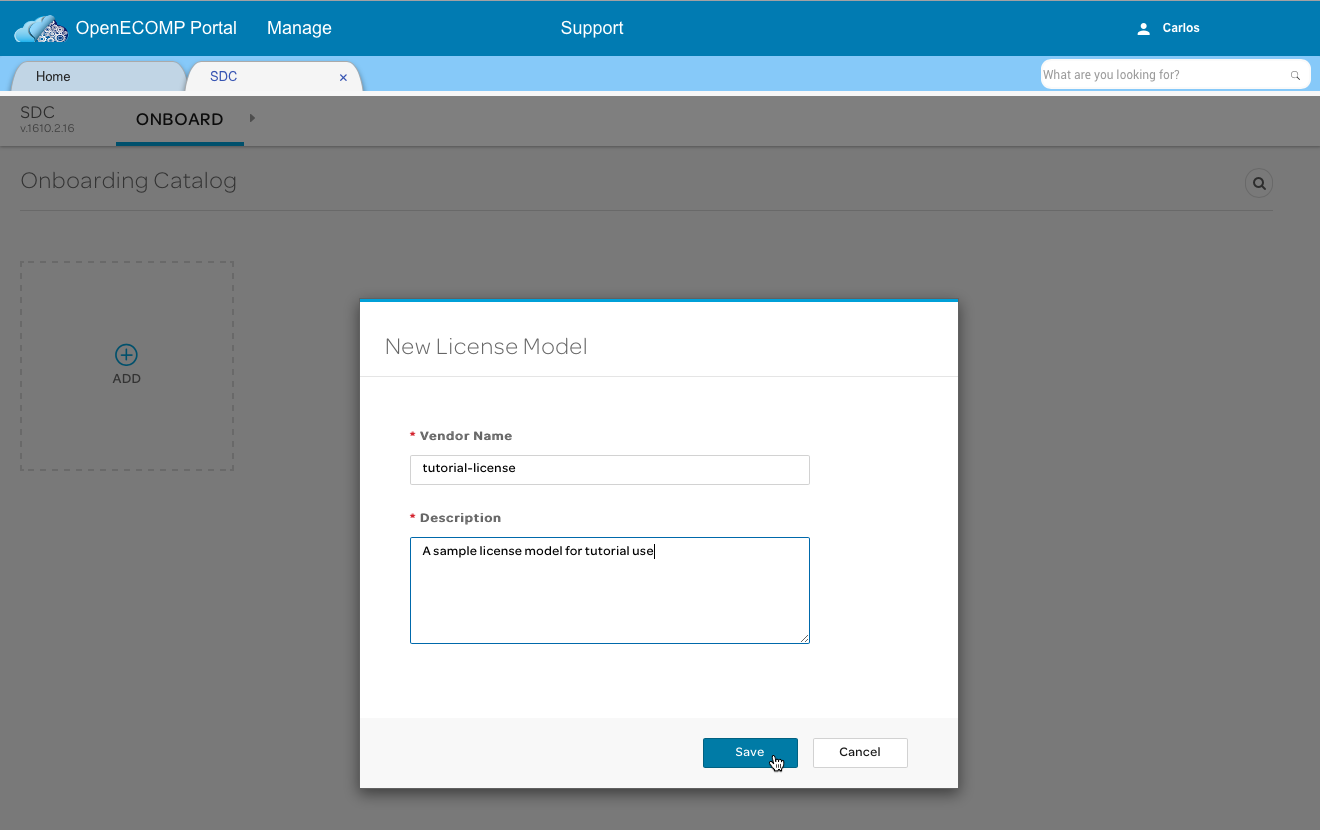
A pop-up dialog will appear, as shown below. Both fields are required, the "Vendor Name" is used for identification purposes as we proceed. Fill in the form and click the "Save" button.
This takes us to the configuration page for the license model we're creating. We'll start by clicking on the "License Key Groups" link in the left-hand sidebar.

Click on "Add license key group".

Fill in the "Vendor Name" and "Description" fields, select "Network-wide" from the "Operation Scope" pop-up

Select "Universal" from the "Type" pop-up. Click on "Save".

The new license key group will be displayed. Click on the "Entitlement Pools" link in the sidebar.

Click on "Add entitlement pool".

A dialog for configuring the entitlement pool now appears. Fill in the "Name", "Description", and "Manufacturer's Reference Number" values; again, these are used purely for identification. The "Increments" box can be left blank.
There are a number of configuration parameters available on the right side of the form, and a fuller discussion of those can be found in the "ONAP User Guide". For the purposes of this tutorial, we're again choosing "Network-wide" as the "Operational Scope", an "Absolute" threshold of 100, "CPU" entitlement metric, an aggregation function of "Other" with a value of "tbd", and a time value of "Month".

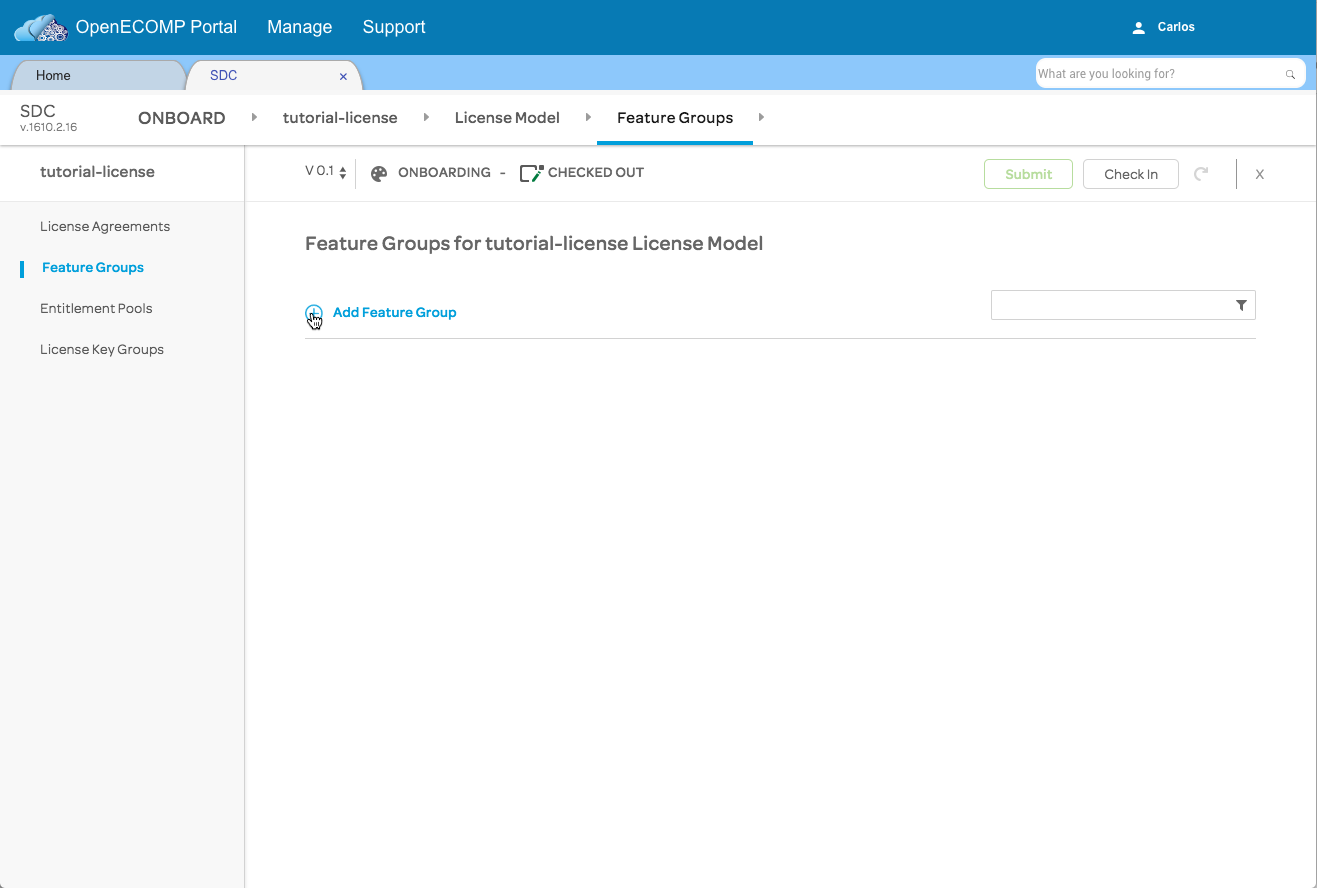
Save the new entitlement pool, and click on the "Feature Groups" link in the sidebar.

Click on "Add Feature Group".
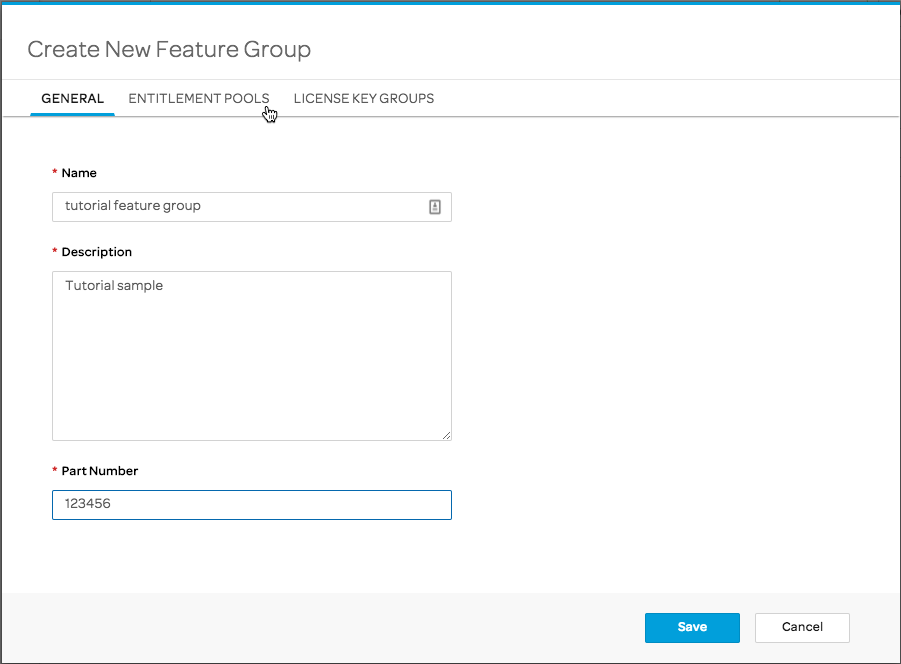
Fill in a name, a description, and a manufacturer's part number. Then click on "Entitlement Pools" in the top bar of the dialog.
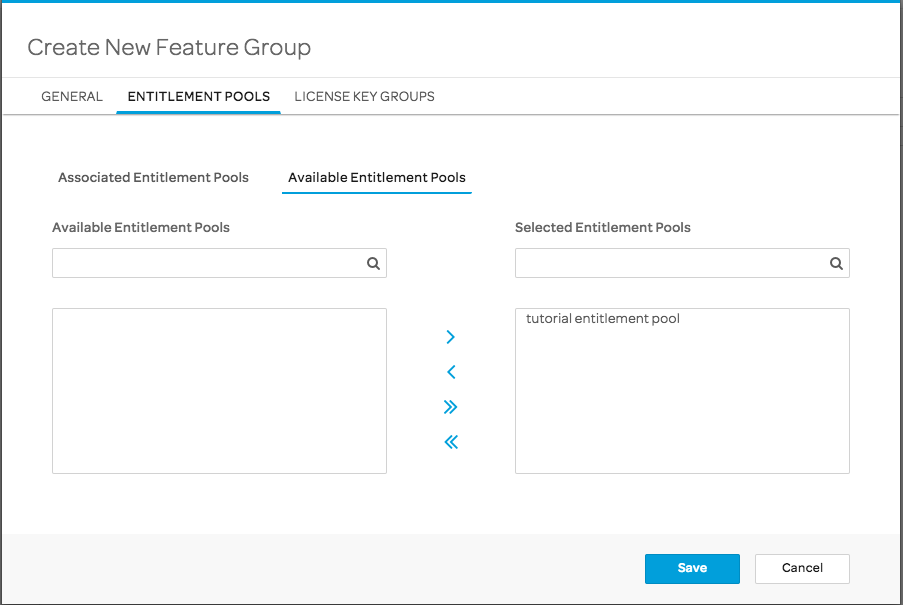
Click on "Available entitlement pools".

Select the entitlement pool we created, and use the right-facing arrow icon to move it over to the "Selected Entitlement Pools" list on the right. Next, click on "License Key Groups" in the top bar.
Click on "Available license key groups".
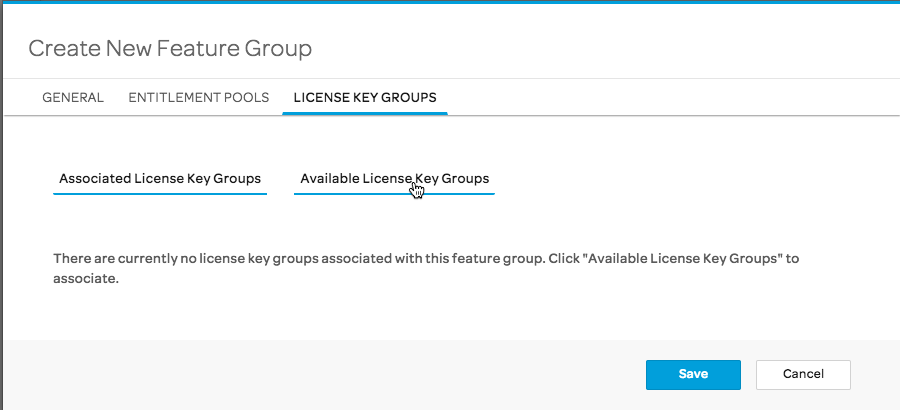
In the same way, select the license key group we created from the list of available ones on the left and use the right arrow icon to move it to the "Selected License Key Groups" list on the right. Click "Save".

Our Feature Group has been created. Click on the "License Agreements" link in the side bar.

Click on "Add license agreement".

Fill in the resulting form. We've chosen "Unlimited" for the terms of the license. Click on "Feature Groups" in the top bar.

Select the "tutorial feature group" we created from the list of available feature groups and use the right-arrow icon to move it to the list of "Selected Feature Groups". Click on "Save".

Now, use the "Check In" button to check in our new license model.

The "Check In" button will change to read "Check Out", and the "Submit" button will become active. Click on "Submit".

An alert will briefly appear to confirm that the license has been successfully submitted. We can now create a new vendor software product (VSP) for onboarding and distribution.
Click the "Onboard" link in the breadcrumb trail under the SDC tab to return to the onboarding catalog (where our new license is showing, now with a version number of 1.0).

13 Comments
Shaheen Ali
I have set up ONAP on our own Newton OpenStack instance. I cannot add a License Key Group. Where should I begin to debug? I have poked around the logs of vm-vid, vm-sdc and vm-message-router, but nothing stands out.
Daniel Rose
can you clarify a bit? Did you get an error? What was that error? Also posting to the mailing list or the questions module will get you more views.
Shaheen Ali
Let me clarify:
A big dialog box pops up saying one word: "error" <= lower case, wierd huh.
There is also a big red OK button in the lower right of the dialog box.
Daniel Rose
Seems odd, similiar thing is being brought up here
Re: Creating a Virtual Function (VF)
Shaheen Ali
Thanks for your response. One big difference is that I have no descriptive text in the error dialog box. Also, our Openstack instances are all in a security group where all UDP and TCP traffic is open. In other words, we are using a wholly open and permissive security group for all our instances.
Stephen Moffitt
Is the license model data/details used within other ONAP components and if yes where? Are the license models enforced/validated by ONAP?
Fei Zhang
Ofir Sonsino Michael O'Brien
I have same questions for this license model/artifact from SDC portal. Is it manatory steps in ONAP Dublin or not? Where is license related artifact location and which other ONAP componets use these license model/artifact? Seems A&AI does not any run-time information for it.
Could you help to clarify?
Ofir Sonsino
These license artifacts are included in the CSAR package that SDC distributes. You should ask the runtime components PTLs whether it is enforced (I suppose it is)
Fei Zhang
Thanks, Ofir.
Just double confirm, from SDC GUI, it is mandatory step. If we want use SDC, we must provide such license artifacts, right?
BestRegards
Fei
Fei Zhang
Hi, James Forsyth , Jonathan Gathman Takamune Cho Dan Timoney Mike Elliott Seshu Kumar Mudiganti Yan Yang Tao Shen ,
As Ofir Sonsino mentioned, I think this question need your help to clarify from your part. Could you help to have a look at?
Best Regards
Fei
Ofir Sonsino
It's only mandatory if you use VSPs (vendor software packages)
René ROBERT
Is there any Rest API to create a licence model ?
Eric Debeau
There is a REST API to create a licence model. It is not yet documented.The SDC documented API is here SDC API
We can find some example API calls in the test suite project.
I also proposed a YAML file description for the Integration project On-boarding YAML file